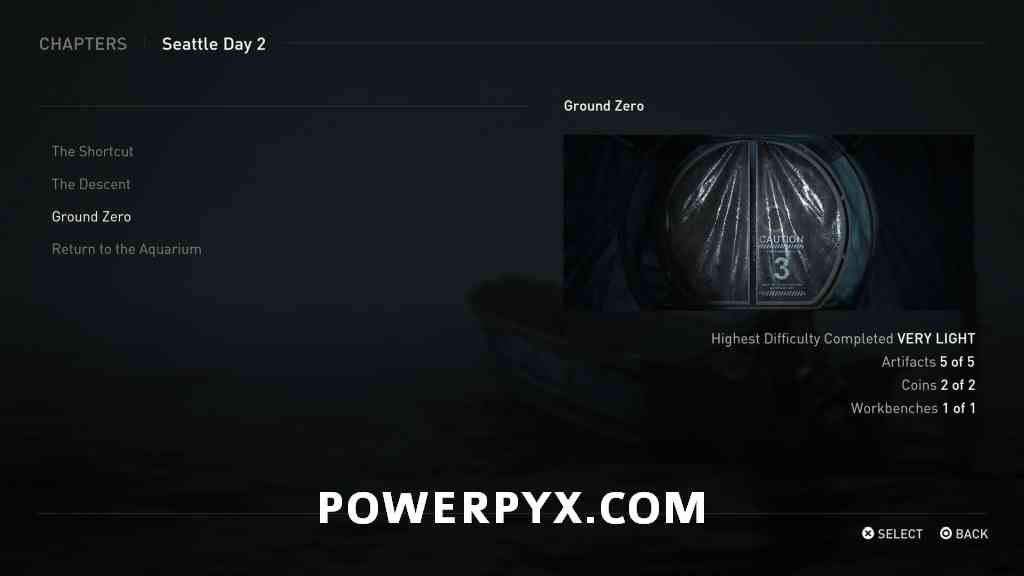
Chapter 35: Ground Zero (Seattle Day 2) contains 8 Collectible Locations in The Last of Us 2 (TLOU2). This walkthrough will guide you to all collectibles in Ground Zero Chapter in chronological order. Everything that’s needed for trophies and 100% completion is included: Artifacts, Journal Entries, Trading Cards, Coins, Safes, Training Manuals, Workbenches, Weapons, Supplements (Player Upgrades), Parts (Weapon Upgrades).
If you forget a Collectible you can still get it via Chapter Select, so nothing is missable.
- Artifacts: 5
- Coins: 2
- Workbenches: 1
Video Guide
Coin #1: Washington
After going down the first staircase in this chapter, it’s behind the counter on the left.
Artifact #1: Annex Letter
After splitting up with Nora (Oncology Center), walk until you get to the next staircase. BEFORE going down the staircase to the right you can crawl under some rubble into a dark room. It contains a document collectible on the floor.
Artifact #2: Soldier’s Letter + Parts x14
Now head down the above-mentioned staircase and drop down to the floor below. To the right of where you land is a revolving door with a corpse and a brown bag. Interact  with the bag to grab this collectible. The same room contains 14 Upgrade Parts on a shelf.
Artifact #3: Chapel Note + Supplements x12
From the above artifact, instead of going through the yellow door, turn around and take the other way leading to a chapel. On the altar sits a document. The same chapel contains 12 Supplements on the left.
Artifact #4: Patient’s Note
Now go through the yellow door and the quarantine tunnel behind it. In the area that follows, smash in the windows of the 2nd room on the right. Climb inside and grab the note off a stretcher with a corpse.
Supplements x12
In the room directly across from the above Artifact. You must circle around the area to get in there, check the top shelf.
Artifact #5: Doctor’s Note + Supplements x6
Directly across from the room with the last Supplements you can squeeze through a gap in the door, leading you to the “Surgery” area. You’ll find the artifact in the 2nd room of the Surgery area, on a desk. Open the drawer left of it for 6 Supplements (just before climbing over a broken wall).
Workbench #1 + Parts x36
From the last location, climb over the broken wall and 9 Parts will be straight in front of you. The Workbench and 27 more Parts in the room to the immediate left. This is the same room where you turn on the power (you have to go here for story purposes).
Supplements x18
After turning on the power and going through the next door (entering corridor with 2 clickers), immediately take a left to a room that was previously inaccessible (since it’s door required power). It contains 18 Supplements on a shelf on the left.
Supplements x40
Exit the last room but stay in the same corridor with the Clickers. At the end of the corridor, on the right, enter the Supply Room. It has some Pills on the Shelf where you enter and 3 Pill Bottles on the left behind glass (smash it), for a total of 40 Supplements. Beware, smashing the glass will attract all enemies in the area, but the flamethrower makes quick work of them.
Coin #2: Hawaii + Supplements x20
After defeating the two bosses, leave the boss area and you’ll come to a flooded garage. As soon as you’re in the garage, turn to the left for a small security guard house. Smash its windows to find the Coin inside the guard house and 20 Supplements on the box next to it.
Parts x16
Still in the same garage, in the back of the one truck where you need to squeeze through a gap.
That’s 100% of the collectibles you can find in Chapter 35: Ground Zero in The Last of Us Part II.
Chapter 36: Return to the Aquarium does not have any Collectibles! We continue at Chapter 37: The Marina.
For more Collectible Guides, check out the complete The Last of Us 2 Collectibles Guide.


snk says
In the last collectible (parts in the truck), be careful not to press X and go through the gap instead of climbing the truck.
If it happens, quickly pause and restart before the game autosaves.
Jimbob says
You can just squeeze right back to the other side…