
The Callisto Protocol Chapter 3: Aftermath contains 8 Collectible Locations. This walkthrough will guide you to all collectibles (Data-Bios & Implant Bios) in chronological order. Finding all Bios unlocks the Grim Reaper trophy. This guide also includes all other trophies & achievements in chronological order to get the Platinum / 1000 Gamerscore in one playthrough.
All of the Collectibles are missable. There is no Chapter Select and no New Game Plus. If you die you must pick up any unsaved ones since the last checkpoint. You can keep track by pressing D-Pad Up > R1/RB > Data-Bios Menu. The game keeps multiple Autosaves, so if you missed something you can reload the nearest autosave and replay from there. You can also make Manual Saves.
Chapter 3: Aftermath Collectibles

Patch 5.02 (June 29, 2023) changed 1 Collectible Location in this Chapter:
- Moved one corpse harvest/pickup to the corner of the red room
Data-Bios #5 (Harvest #1) – Sgt. Eric Jane: Locked Door
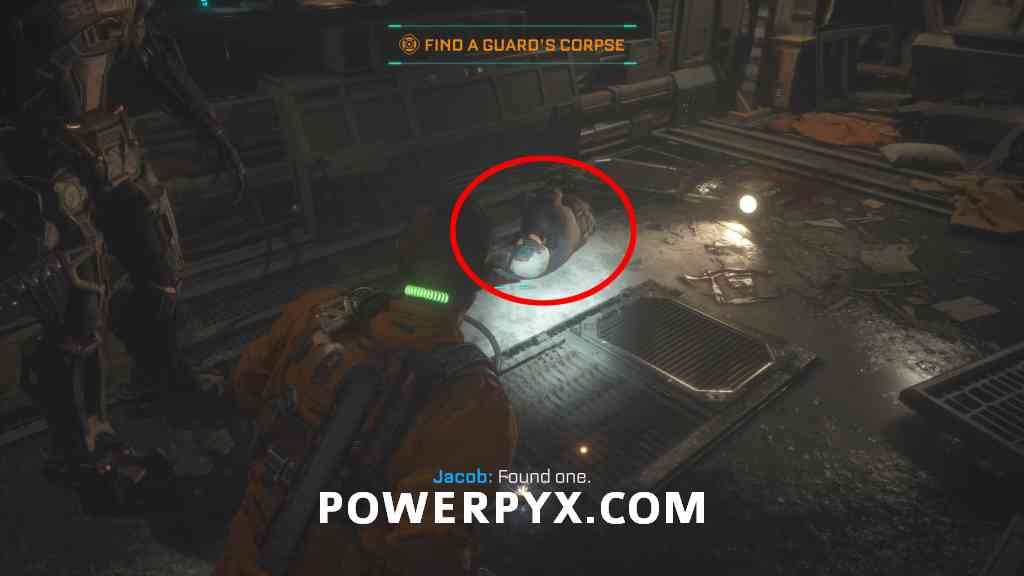
Objective: Locate the Medical Facility / Find a Guard’s Corpse
After encountering the first type of enemy that spits green slime projectiles at you, go straight to the end of the corridor into Recreation A225, then in the back of the room in a little side office, climb up the wall into a vent. When leaving the vent on the other side there’s a damaged security robot standing in front of you and a corpse on the ground. Clear out the two enemies in this room and interact with the locked door to Laundry B202. After this, Elias tells you to find a Guard’s Corpse. Backtrack to the damaged security robot, now you can harvest the Implant Bio from the corpse on the ground, in front of the security robot.
Data-Bios #6 (Harvest #2) – Ofc. Pruitt Matos: Laundry
Objective: Locate the Medical Facility
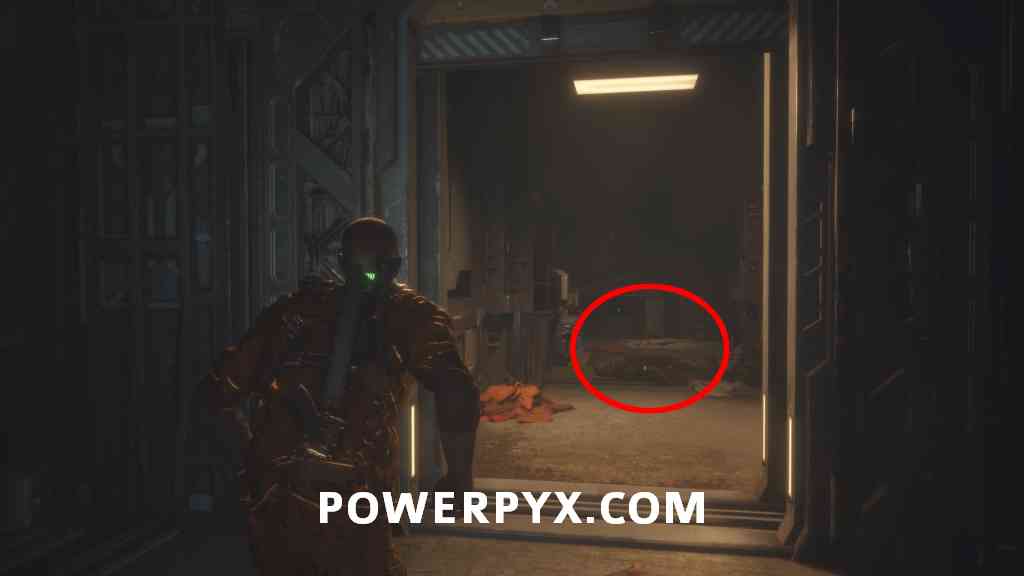
After harvesting the previous bio you can go through the door to Laundry B202. At the end of this room are doors leading left and right. Go through the door to the right, follow this path all the way to the end into Office B112. There you find a corpse to harvest.
Data-Bios #7 – Duncan Cole: Secret Room 1
Objective: Locate the Medical Facility
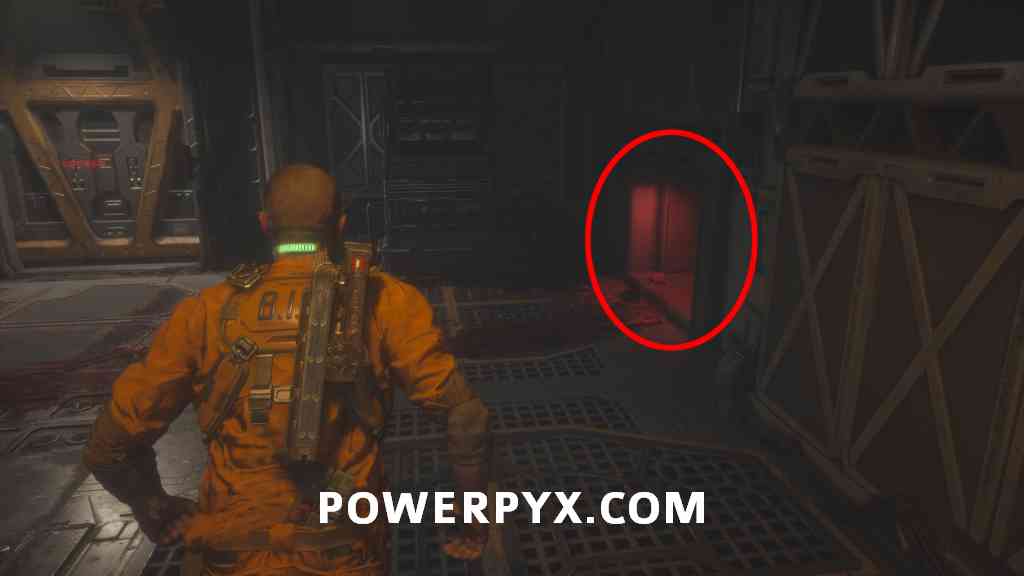
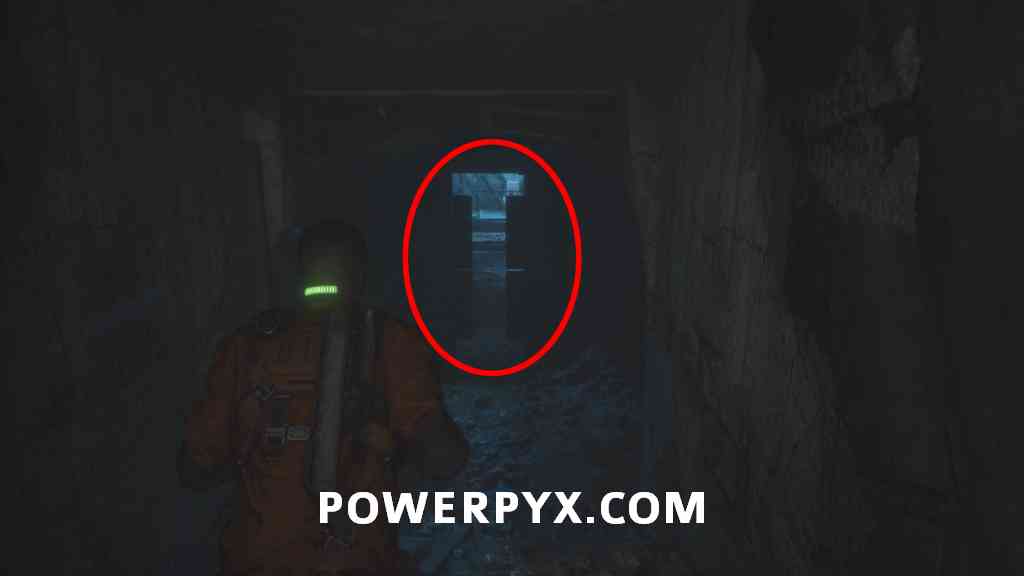
Backtrack to the main laundry room with the doors heading left and right. This time go through the door to the left. Continue forward and interact with the wall panel to open the door, then crawl through the vent to the right. After leaving the vent continue dropping down the holes in the floor. At the bottom of this underground section, enter the secret room. The bio is in there on the main table.
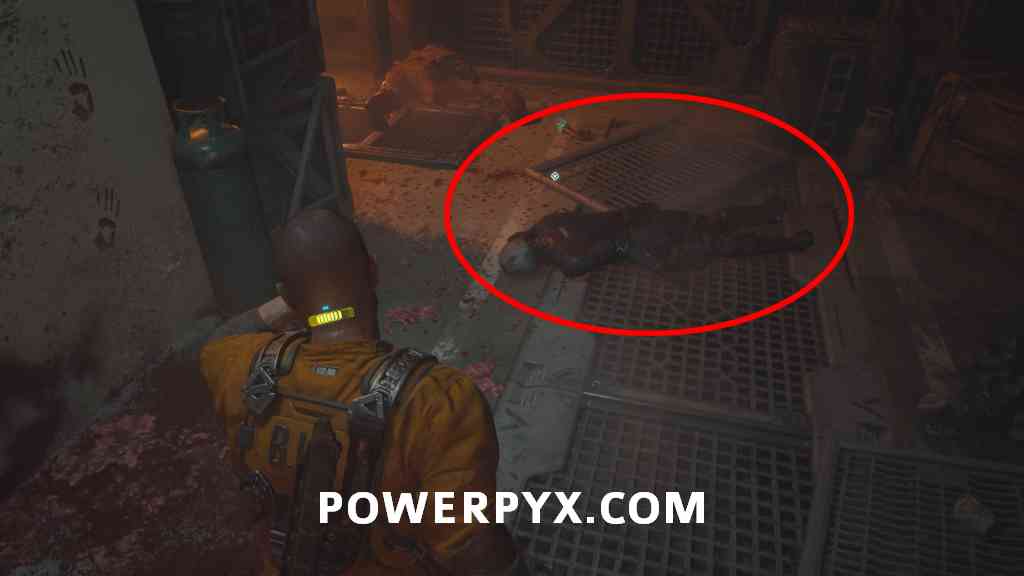
Data-Bios #8 (Harvest #3) – Dr. Ewan Hayes: MedLab Outbreak
Objective: Reach the Back Exit
Climb back up using the ladder. This time go through the door to Maintenance B414, which leads to the door of Medical Ward C101. Immediately after opening the door to Medical Ward C101, this corpse is on the floor in front of you.

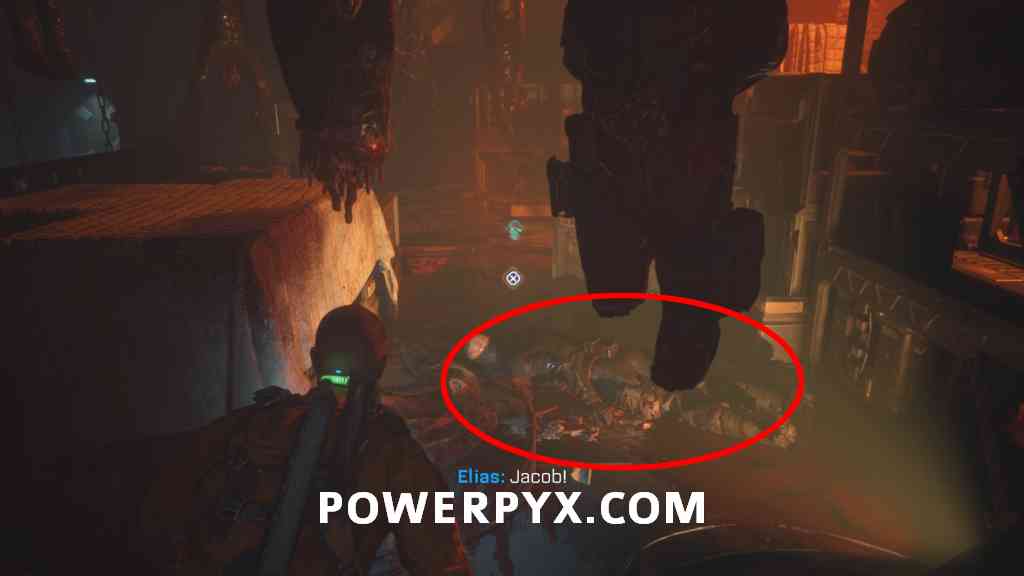
Data-Bios #9 (Harvest #4) – Ofc. Dachs Symmons: Hanged Guard
Objective: Look for an Elevator
After getting the GRP and going through a few doors, you’ll be in a room with lots of hanging bodies. This harvest body will be on the ground in front of you, in the middle of the room.
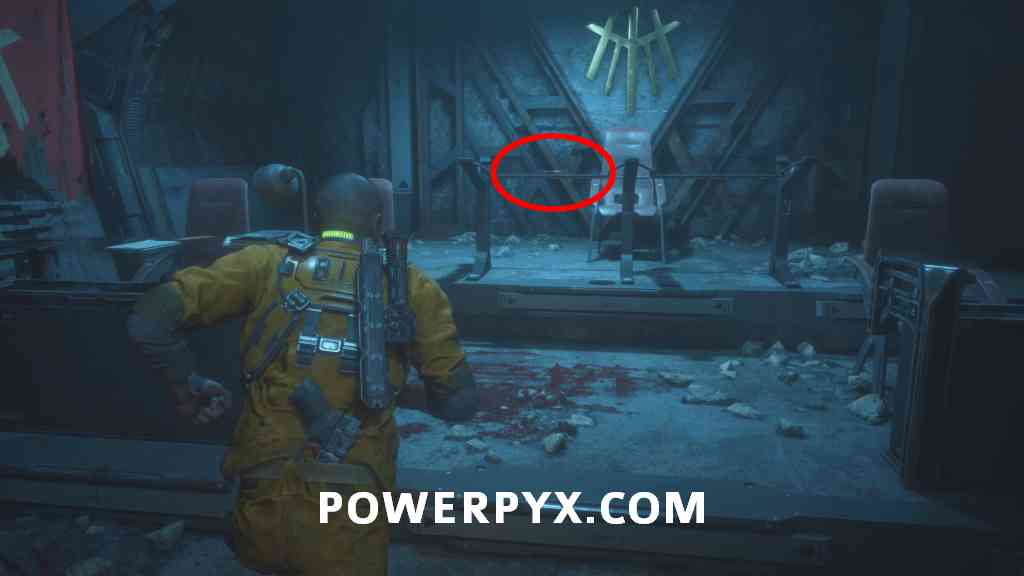
Data-Bios #10 (Harvest #5) – Ofc. Kerry Brown
Objective: Find a way out of the Basement
After using the maintenance elevator and it crashing in the basement, check near a spinning fan in the basement, on a corpse around to the side.

Trophies: In Striking Distance & Workplace Hazard
Immediately after the previous collectible you can climb the wall near the corpse and find a larger group of enemies. Using the GRP glove you can toss enemies with  +
+  >
>  . Toss one of them into the spiked walls to unlock
  Workplace Hazard. Additionally, to get
  In Striking Distance you must use the GRP glove to throw an enemy against a non-spiked wall (must survive the impact), with the next melee strike defeat that enemy to count as a “GRP + Melee” Combo. You can weaken up the enemy with other melee hits beforehand. If you need more than 1 strike after the GRP throw it won’t count. It has to be a single hit after the throw that kills the enemy, while the enemy is getting up from the floor. If you run out of GRP Batteries you can reload the checkpoint to retry. If you arrive at this section with all GRP energy already drained you can reload a previous autosave (but in this case make sure to recollect any Data-Bios from that old auto-save onward).
Data-Bios #11 (Harvest #6) – Tadhg Song
Objective: Restore Power
After crossing the gondola, climb up to where the two fuse switches are to find this corpse next to them.

Data-Bios #12 – Dani Nakamura
Objective: Use Shiv to Exit Cell
You will find it in the cell Dani locks you in during a cutscene, hard to miss.

Trophy: Terminated
Objective: Get Through Security
Shortly after the last collectible you come to a section with a security robot walking around. It’s impossible to miss, it’s on the main path you have to take. Shoot this robot in the head repeatedly to defeat it, which unlocks the trophy.
That’s everything in Chapter 3.
Next Up: Chapter 4 Collectibles
For all other Chapters, refer to The Callisto Protocol Collectibles Guide.
Fujin says
danis collectables sims missing in my play through
Katsuka says
Same here. I’ve found no fixes for it either.
Slav says
Same i could only find 7/8 even doe the databios is only for 7.
Ictoa says
I’m sure you have figured it out now, but for anyone else who may be confused here, the Bio seems to automatically unlock around the time you kill the enemy in the next area. I think its due to the version the game is running.
annonn says
Dani shows up in the “persons of interest” list, not the “aftermath” lost
Jesse says
I’m currently on chapter 6 and I inspected my Aftermath section to see I’m missing 2 audio logs for Duncan Cole. Please tell me this is normal. I’d really rather not restart.