
Marvel’s Spider-Man 2 has 10 Prowler Stash locations for the Co-Signing trophy. This guide shows all Prowler Stash Locations and the solutions on how to complete them. The first one is obtained in Main Quest 06: Amends, after this the other Stashes are available. They are marked on the map in defogged areas, or when the entire district is defogged at the second district level. The final location becomes available after having found all other Stashes.
They involve analyzing specific parts of buildings using  in order to find the entrances to each stash. Check the minimap on each screenshot as it shows you exactly where to stand to scan and/or open any entrances. None of them are missable, they can still be found after the story in free-roam.
For more Collectible Categories see » Marvel’s Spider-Man 2 Collectible Guide.
Prowler Stash #1 – Main Quest 6: Amends
The first stash is automatically obtained in Story Main Quest 6: Amends, cannot be missed. This unlocks the other Prowler Stashes.
Prowler Stash #2 – Midtown
Stash Location:

Scan Point:
On the south side of the building scan the “Braxton” sign (one floor below the rooftop). Now pull yourself up the American flag sticking out the wall ( +  ) and pull the logo under the Braxton sign with
  +
+  to reveal a vent. Go through the vent ( + ) while avoiding the lasers to find the reward at the end.

Prowler Stash #3 – Hell’s Kitchen
Stash Location:

Scan Point:
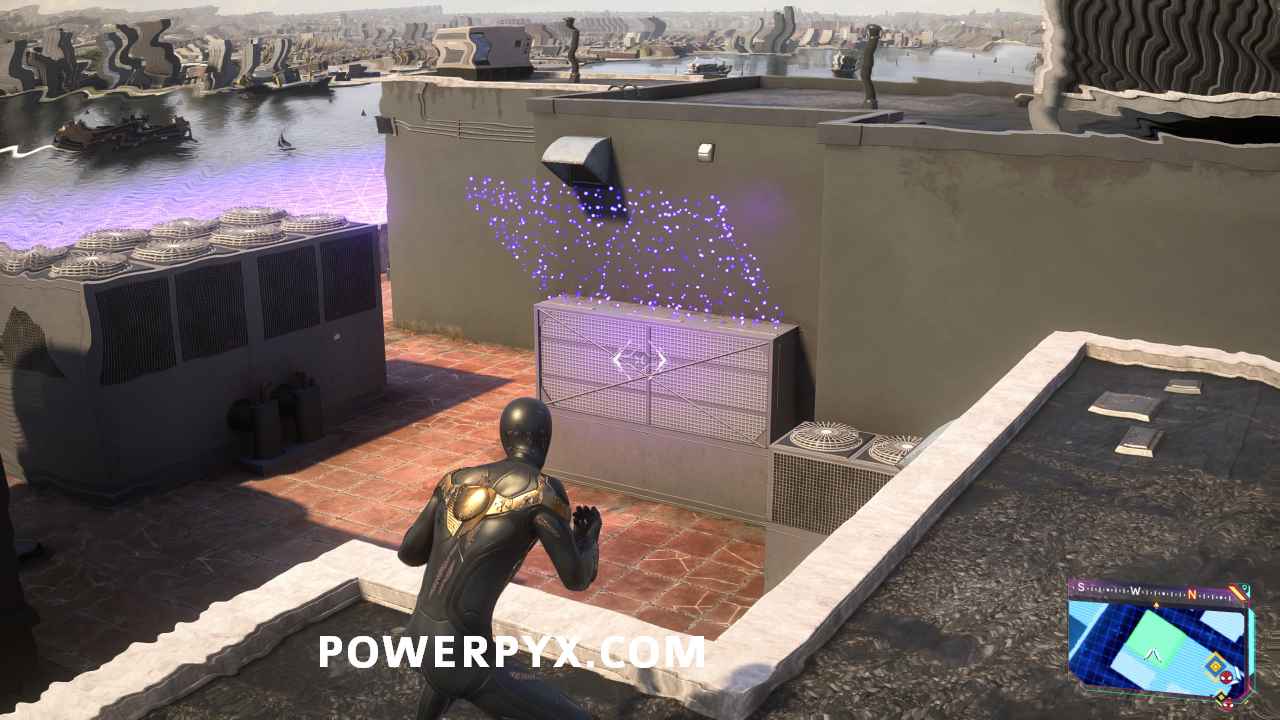
Scan the rooftop next to the big AC unit. Climb on the white sign, from there pull the part you scanned earlier.

This reveals a generator on the roof. Activate it with +  , then scan with
  and follow the orange cables to the next generator and activate it. After this follow the cable, shoot webs are the broken sparking parts ( + ). After repairing the cable and following it, the door on the roof opens and you can find the safe behind it.
Prowler Stash #4 – Greenwich
Stash Location:

Scan Point:
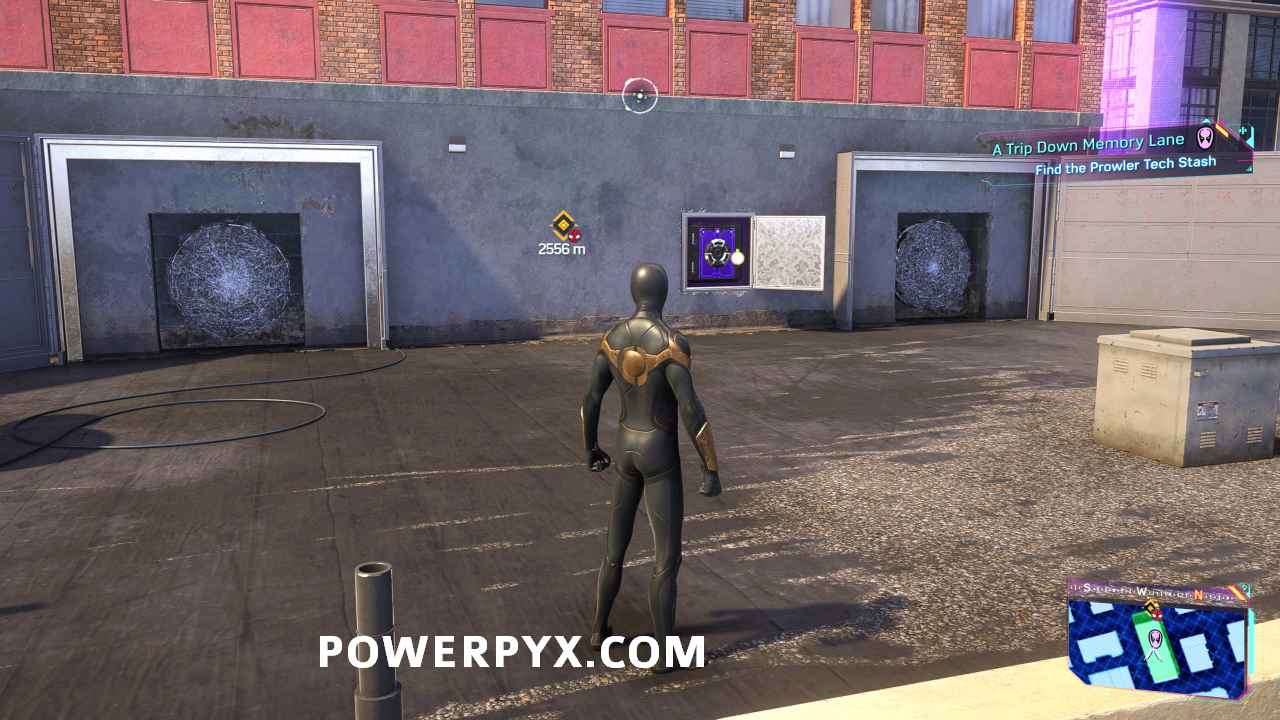
Scan on the roof here and you will be able to open a cover exposing the door:

The door has no power. Follow the lines showing on the scanner using which will lead you to 3 generators, charge them up with venom punch + to open the door and claim the reward.

Prowler Stash #5 – Downtown Brooklyn
Stash Location:

Scan Point:
There are two scan points. First scan this one from the upper part of the building and pull the lever:

Then move to the top of the white billboard, scan and pull the shutter up to get the reward.

Prowler Stash #6 – Williamsburg
Stash Location:

Scan Point:
Scan near the metal door on the roof, then pull it with + while standing at the edge of the roof (to the right when facing the door).

After this move the wheel then shoot webs at it to hold it in place, do the same with the one that appears next to it, then claim the reward.
Prowler Stash #7 – Little Odessa
Stash Location:

Scan Point:
Scan the container in the middle of the area, then move the container in front of it out of the way.

Move the container:
Use to scan the area which will mark a place to stand on some containers on the right. Here you can pull the container out of the way so you can enter the other one for the reward.

Prowler Stash #8 – Downtown Queens
Stash Location:

Scan Point:
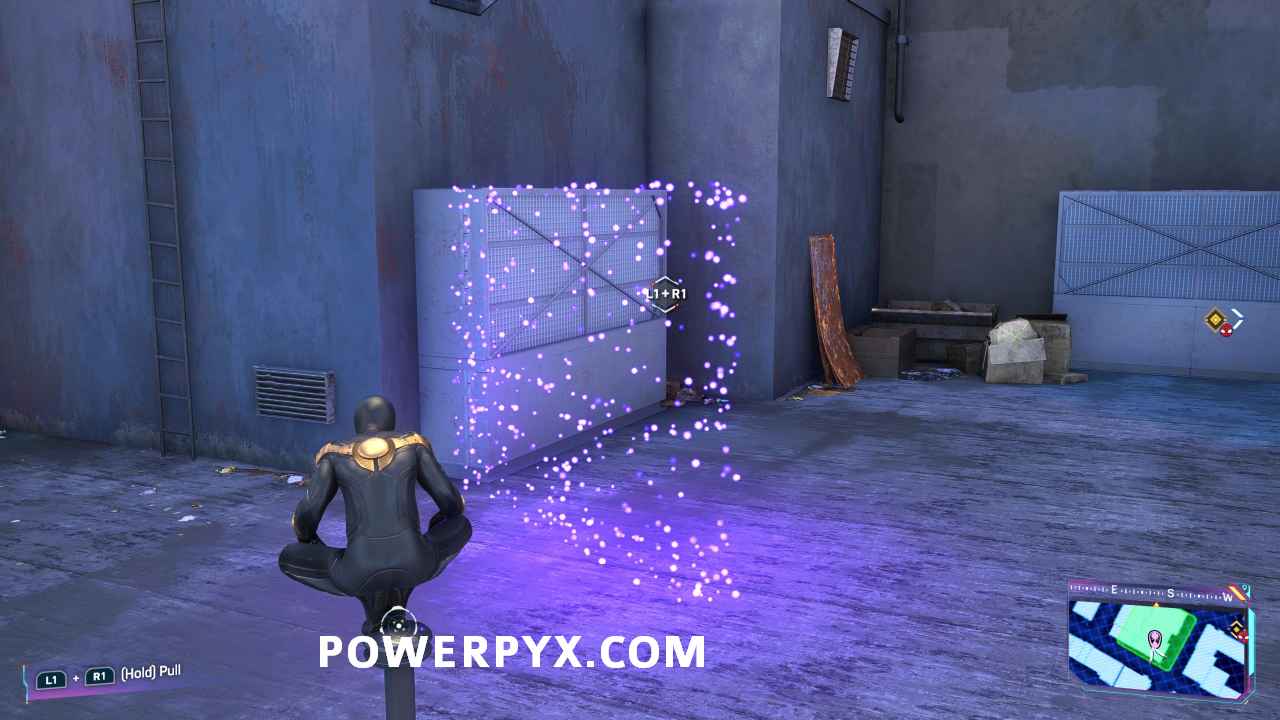
Scan and open the vent on the west side of the roof. Navigate the ventilation shaft, take the right path first and pull the lever at the end, then backtrack and take the left path to find the reward at the end.

Prowler Stash #9 – Astoria
Stash Location:

Scan Point:
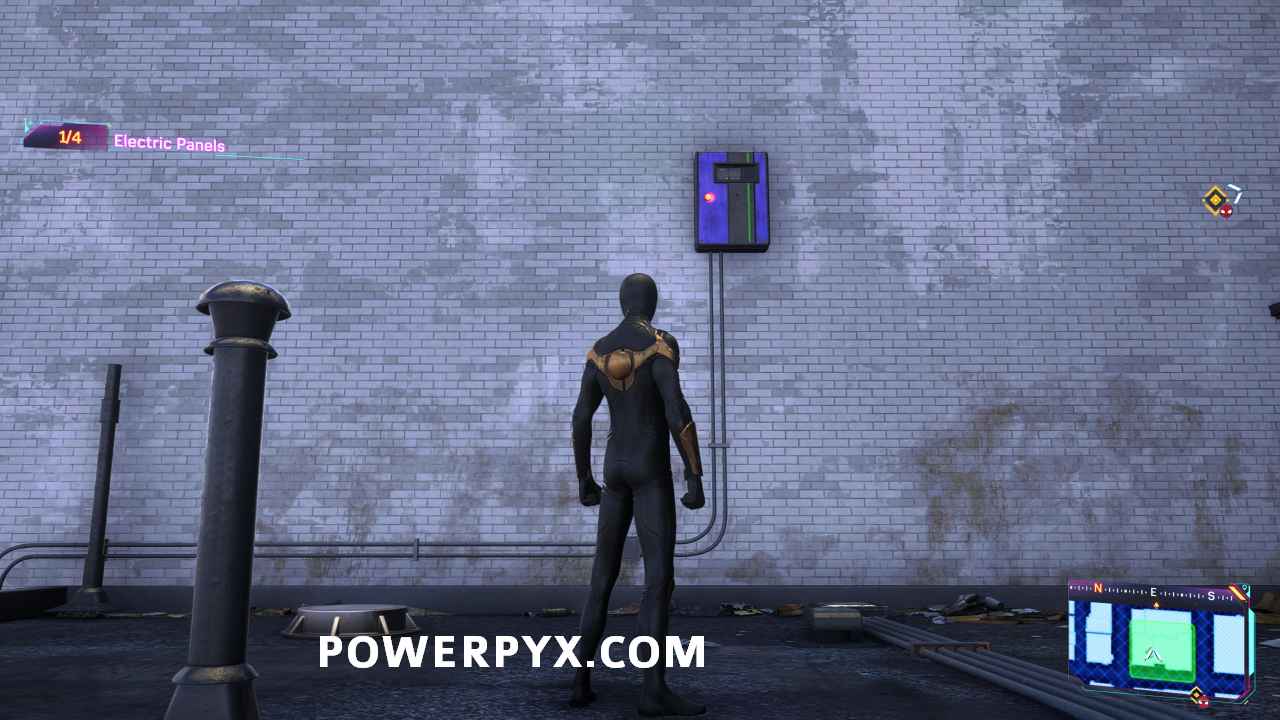
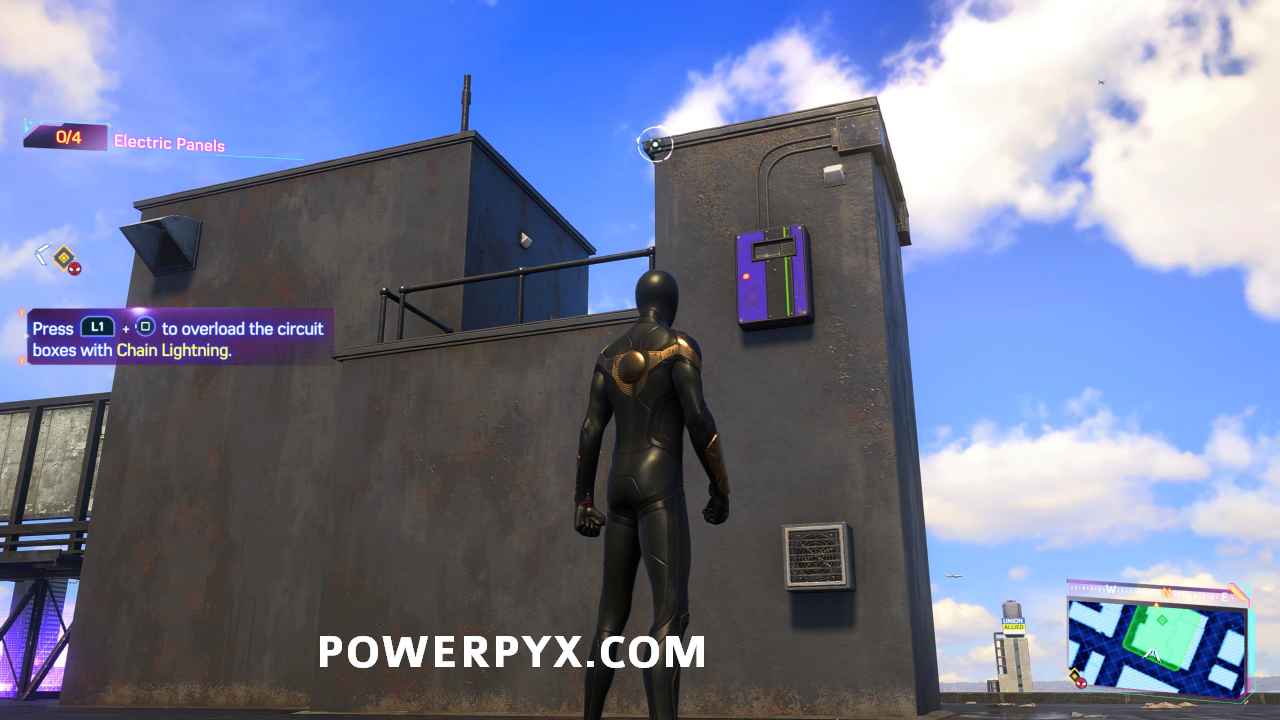
Scan the panel on the north-west lower roof. Shock this with chain lightning + . You will have to find another 3 panels and all of them must be activated in quick succession.
Panel #1:
Visible as soon as you scan and move the object out of the way, it’s by the door.

Panel #2:
Just above the previous panel on the wall.
Panel #3:
Above this one on the next level, on the side of the wall.

Panel #4:
At the very top of the building. Once you have activated all 4 panels you can enter the room and get the reward.
Prowler Stash #10 – Harlem
This final stash unlocks 1-2 minutes after finding the previous 9 stashes.
Stash Location:

Scan Point:
Scan the pole hanging off the south side of the roof. Then pull it with + . After this you get a waypoint marker, follow it and interact with the backpack to enter Miles’ apartment.

Inside your apartment:
Inside the apartment, go next to the TV in the living room, press  and Miles will comment that the record player is missing. You will then start hearing music coming from upstairs, leave through the door and go up the staircase, after the cutscene the final stash will be complete.

That’s all Prowler Stashes. After the last one you will unlock the Co-Signing trophy.
For more Collectible Categories see » Marvel’s Spider-Man 2 Collectible Guide.
gj says
final stash is not unlocking for me,been 30 mins and nothing
PowerPyx says
How far are you into the story?
I did everything after story. It’s possible it also requires story progress in addition to having completed the previous stashes. After completing all previous stashes I was just swinging around for 1-2 minutes and it spawned the last one.
Looknoel says
It wouldn’t show on the map, you gotta open your phone (swipe left on the touch pad) and select the mission.