
Eye of the Serpent is the twelfth Story Mission in Shadow of the Tomb Raider. This walkthrough will guide you through the whole Eye of the Serpent mission.
Region: Paititi
Quest Giver: automatic
Requirement: having finished The Hidden City
Enter the Mountain Temple
Time for two objectives which need to be crossed off our list. Rescue the captured Etzli and get our hands on the Silver Box.
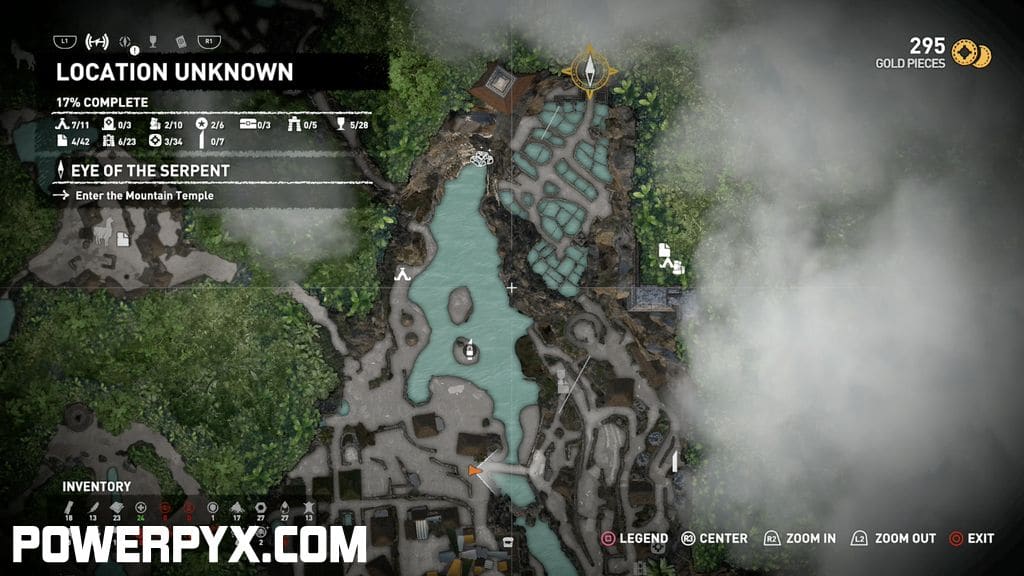
To start the mission, go to the northernmost part of Partiti, with the watered fields.

Find the Inner Stronghold
Once inside, we need to rappel down a wall to see, where we really are.

Almost looks like an entire village within the mountainside.

Use your instinct  to show the marker and climb/zipline over there.

After taking out a single enemy outside, there is a pair of guards inside. The new mechanic of crafting smoke bombs will be presented to you. It’s up to you, how you approach these two.

Open the Great Gate
In the outer courtyard, there will be quite a few enemies. Use instinct to see which enemies are yellow and thus not seen by their fellow buddies.

A good spot would be the mud-covered wall, where you can literally pick one after the other around the corner and put them down.

Then it is time to open the gate itself. Climb up the ladder to its right and Lara automatically will open it and

her allies come into the Stronghold. Etzli gets freed, while his mother Unuratu gets captured instead.

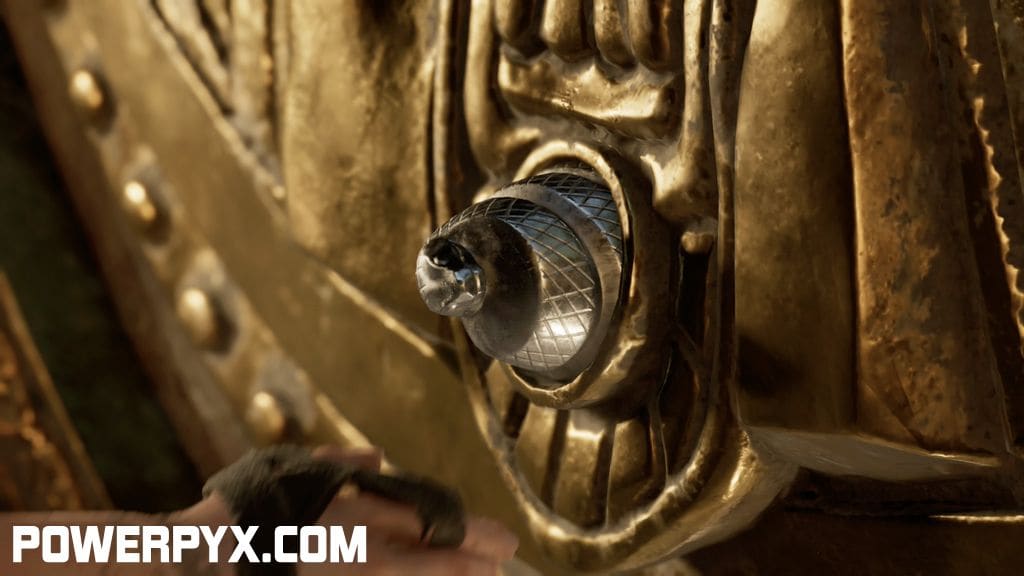
Unuratu signalizes to Lara that she shouldn’t bother about her, but continue to search for the Silver Box. Using the Silver Snake Key opens the door and will let us continue our little adventure.
Find the Silver Box of Ix Chel
Okay, now for a bit of climbing with our axe.

Rappel down and make another big leap via a beam sticking out.

One last gap for now which needs to be crossed via the grappling hook. Go inside the temple seen below and

jump down in the water and dive through yet another cave.

Next, we have to use a zipline to continue.

Dive into the Cenote
Probably the easiest objective across all missions. Press  .
.

Woooooo!

Find the Silver Box of Ix Chel [Part II]
Another part of the temple-structure and another dive awaits. Make use of again to show the markers of where to go.

When Lara is back on land, another short climbing/rappelling/jumping sequence awaits.
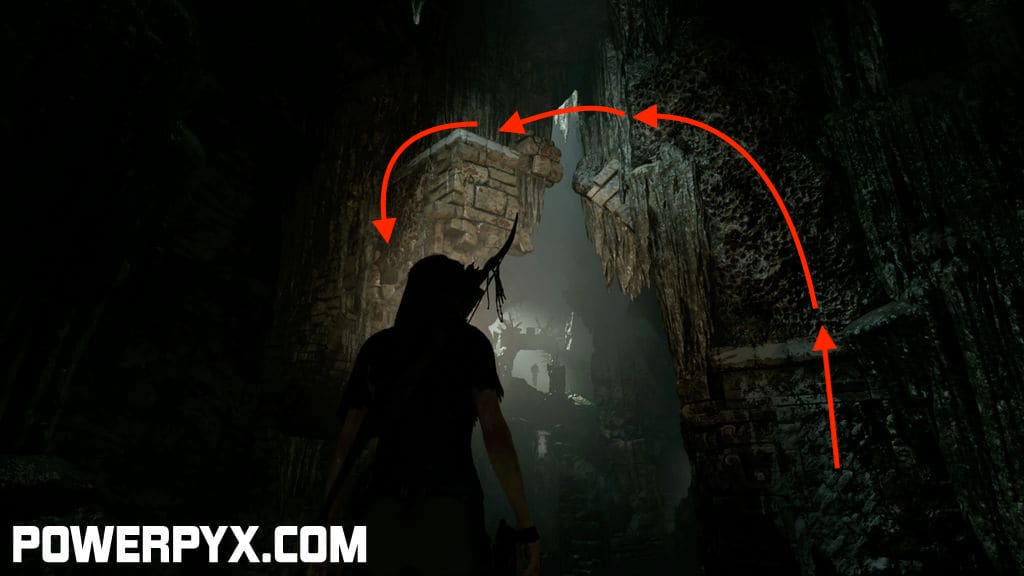
After that, there is yet another part which needs all of Lara’s traversal skills obtained so far.

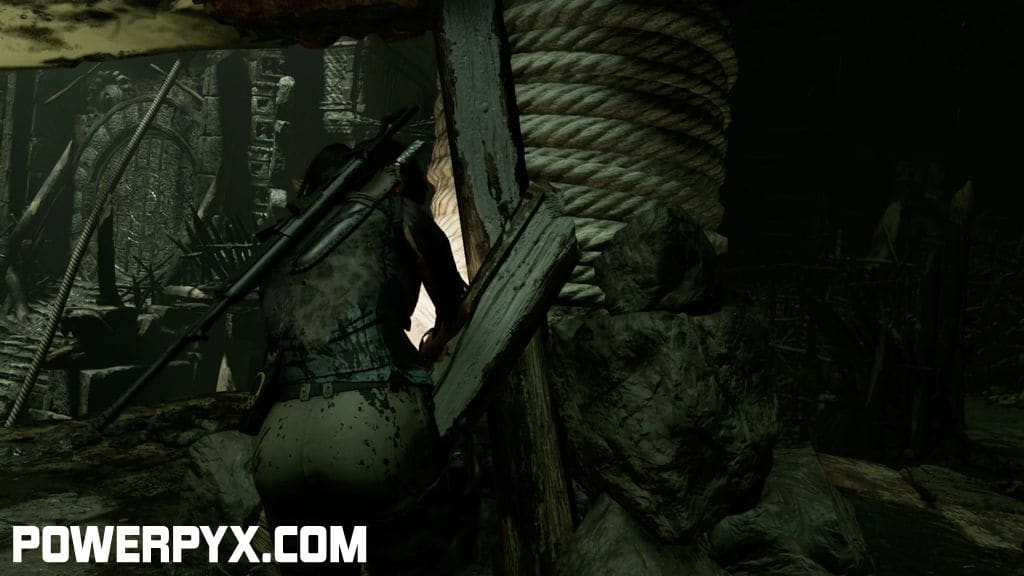
We will encounter a hanged Trinity solder along the way. Cut him down  and take his shotgun. We will very much need it – trust me.

When navigating through some narrow tunnels, we will see another of the weird/fast monsters we have seen from afar a few times before. Confrontation seems unavoidable now.

Told ya!

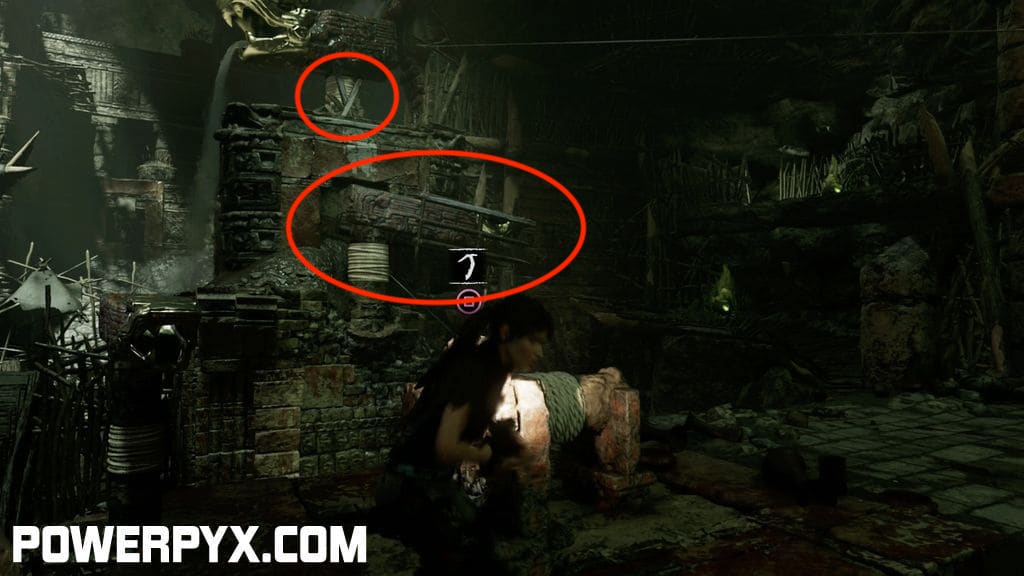
Survive the Ambush
Lara will drop down a story and will be swarmed by the fast and annoying creatures. They will mostly come from the two gates circled below.
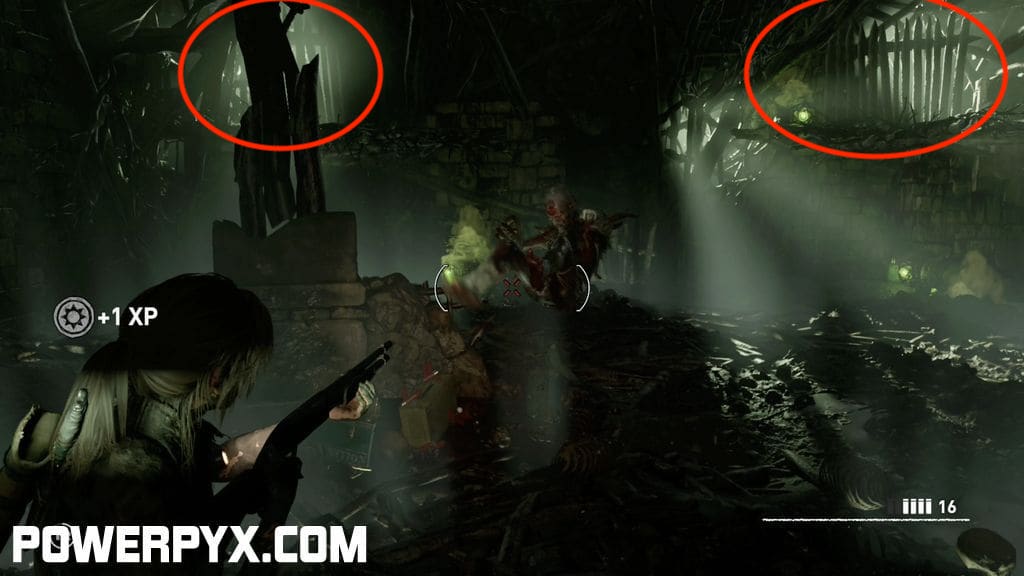
From time to time there will also be archers standing above. Take them out between the waves of normal enemies.

The final wave will be shown via a short cutscene. These three will be the last. For now. They’ll come back. Don’t worry.

Find the Silver Box of Ix Chel [Part III]
After swimming for a bit, we need to tether the giant wheel to the crank and turn it to turn the opening into the water and make a passage for us to dive through.

The last longer dive for this mission. At last.

Last wall-traversal for this mission At last.

Quite a nice view. The Silver Box is thought to be the large gate in the middle. Let’s have a try to open it, shall we?
First we are going to the side on the right.

Open the Gate
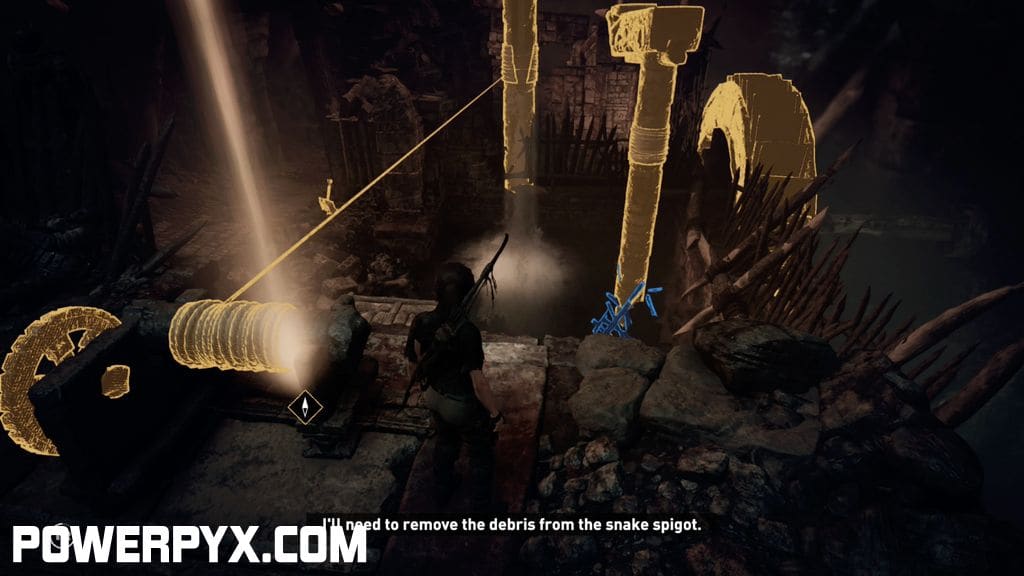
There is going to be a crank on the side and three serpents, whose heads can be tethered to it to control the flow of the water. Because the one at the very top is stuck by some rubble, we need to navigate the middle one all the way to the right to be able to climb it and
get rid of that stuff.
Now, we can move the heads in the correct positions one after the other. The one at the top facing towards us and the other two facing to the left. This will open the gate for us.

Oh, did I tell you that between your every move you will be attacked by the monsters, from close-range and by archers? Now I did.

Open the Second Gate
Well, it seems like there is a second gate behind the first one. Time to hop in the water in the middle once again and make a very short dive through the moving wheel, once there is an opening for us.

Here is what to do on this crank. You need to pull the Pillar on the left towards us, so that the basin below us is flooded. This way, we can reach the rubble (marked in blue) of the right and remove it.
Oh, did I tell you about the swarming enemies? I did.

The final positions of the two snake heads are facing to the right.

Finally, the gate will open and Lara will march in.

She will be followed by some of the creatures, including what appears to be their leader, but they stop at the end of the stairs and don’t enter the adjacent chamber.

When reaching the pedestal thought to contain the Box, we are out of luck again.

Speaking of luck – the whole cave seems to collapse and we have to bail out quite fast. More about this in the next mission, Empty-Handed. This concludes the Eye of the Serpent Main Mission Walkthrough.
For all other main missions check out the full Shadow of the Tomb Raider Walkthrough.
May says
when I go to turn the heads for the water for the 2nd wheel, the X doesn’t come up to free the one that’s stuck… I’ve reloaded from checkpoint but it still doesn’t allow me to do anything with it. how do I fix this?
dalailama1989 says
That one where the rubble is in half-deep water? Did you flood the whole basin with the left head? This way, you can dive down to the rubble and should be able to remove it.
jd says
it seem if you go exploring into cenote after you’ve been through it once there is not any exit have to start a new game.
Kettu1 says
There is a campfire, so you can fast travel