
Hirata Estate is the 3rd area in Sekiro Shadows Die Twice. This walkthrough will guide you through the Hirata Estate region.
- Dragonspring – Hirata Estate
- Estate Path
- Bamboo Thicket Slope
- Hirata Estate – Main Hall
- Hirata Audience Chamber
How to Unlock Hirata Estate Area
In order to reach this area you will need to pray at the Buddha Statue next to Sculptor in Dilapidated Temple while having the Young Lord’s Bell Charm in your inventory. You get this bell by talking to an old woman in Ashina Outskirts between the idols Outskirts Wall – Gate Path and Outskirts Wall – Stairway. Doing this will transport you to the Hirata Estate, directly next to the Dragonspring Idol.
Here’s a picture of where you find the old woman that gives the bell:

Now we can start with Hirata Estate.
Hirata Estate – Dragonspring and Estate Path
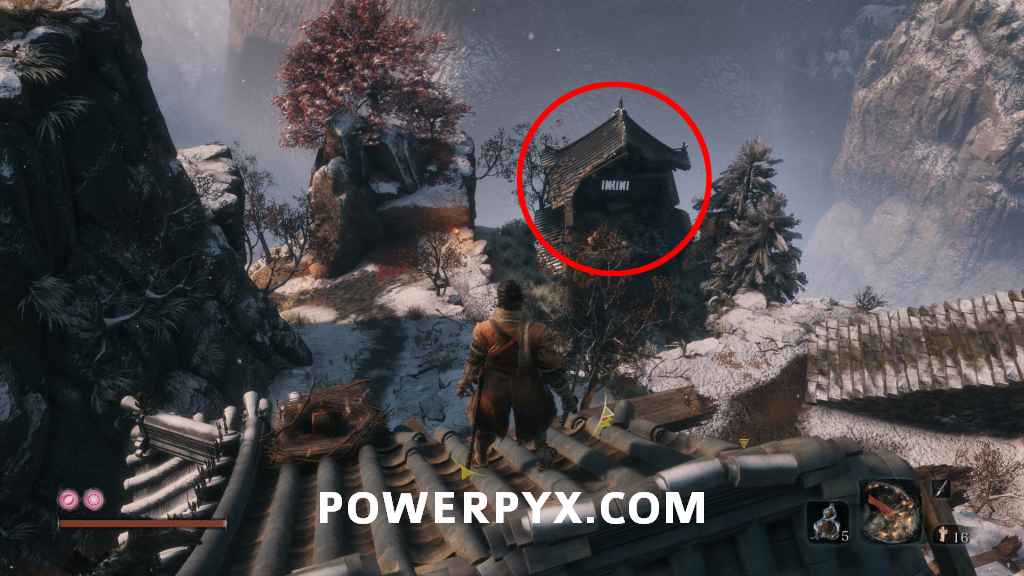
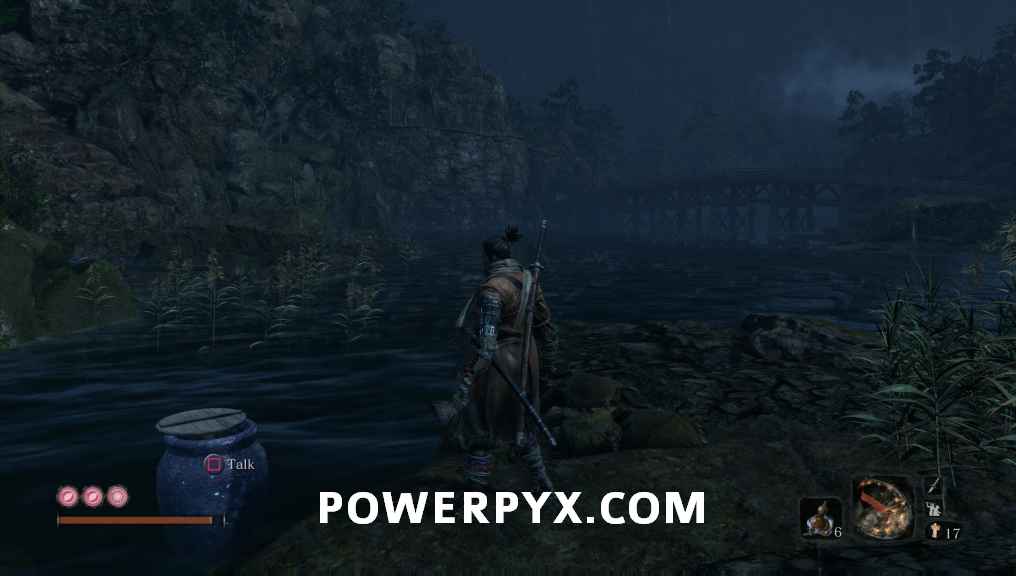
From the Dragonspring idol head towards the cliffs. You will see a river, a bridge and a village. On a small island in the river you can find a merchant in a pot selling you stuff for Scales obtained by killing the colorful carps throughout the game.

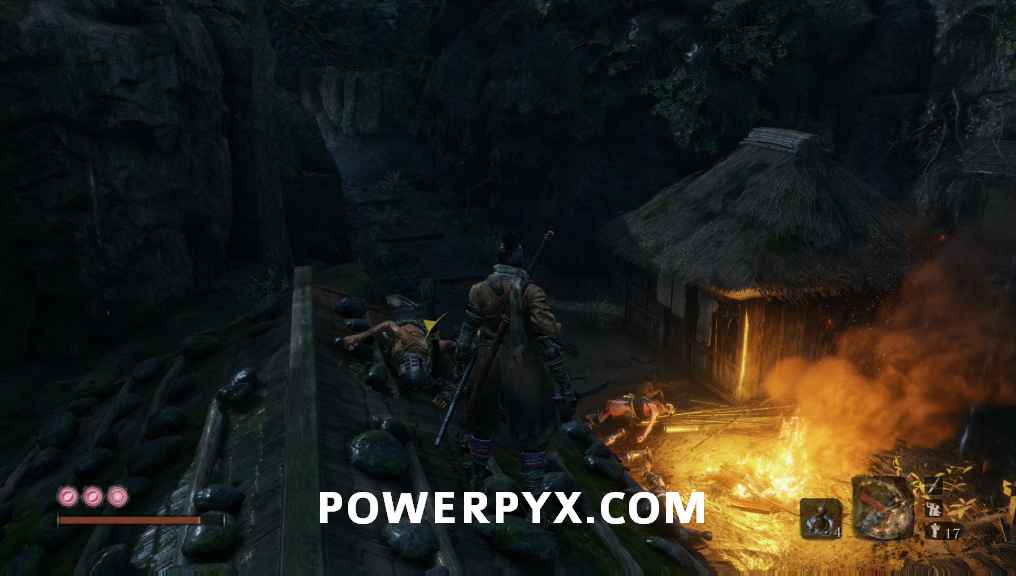
Cross the bridge and jump over the wall to reach the Estate Path Idol. From there follow the road until you reach a door. Unfortunately it is locked and you will have to take the route around. Head right from the door through the crack in the wall in order to reach another part of the village. Take care of the enemies there and you can find the Flame Vent upgrade for your prosthetic arm at the campfire there.

Head up the slope in front of the campfire until you reach a crossroad: going left will lead you straight to the locked door from before which you can now open for a shortcut and heading right is the way to go. Follow the path and you will reach a bridge with some shielded enemies and shortly after your first mini-boss of the area: Shinobi Hunter Enshin of Misen. Stealth kill the torch enemy nearest the bridge, then run forward and take out the archer and the other two melee enemies. Now run away, just backtrack the way you came so the boss loses sight on you. Now you no longer need to deal with the mobs. Sneak along the grass on the left and stealth-attack the boss in order to take away one of his health bars, which will shorten the fight by half. Defeating him will also get you another Prayer Bead.

Hirata Estate – Bamboo Thicket Slope
Just after defeating the boss you will reach the Bamboo Thicket Slope Idol. Follow the path up and cross the bridge. Enter the burning village in front of you. You will find Great Shinobi Owl, your father, who will give you the Hidden Temple Key which you will need later on. Escape the burning area by grappling up the building, followed by a grapple hook section until you reach solid ground again.


From here, take your first to the right to find a group of enemies in front of a cave. Traverse through the cave, walljump up the well and shortly afterward you will reach the Main Hall Idol. Follow the only path here while dealing with the enemies until you reach a shallow pond. On the other side of the pond you can see a group of enemies and a larger one waiting in front of an entrance. The big guy is your next mini-boss: Juzou the Drunkard.
You can approach him head on if you are brave enough but you can also make it a bit easier for you. On the left side you will find some enemies in the building, kill the first 3 of them and go out of the building to stand on the porch there. The boss will notice you but the others won’t so you can pull him away from the mob to fight him one on one. Additionally you can find a friendly samurai while exiting the shallow water on the right side who will assist you in the fight.


Hirata Estate – Hirata Audience Chamber
After defeating the boss head into the building he was standing in front of. Inside you will find a couple of NPCs as well as the Hirata Audience Chamber Idol. Follow the corridor down the cave and open the door there. This is the door you needed the Hidden Temple Key from the Owl for. Inside your second main boss fight in the game will start: Lady Butterfly.
This boss fight has two phases. Even though Lady Butterfly only shows 1 life, she will actually respawn after you killed her once (meaning you must defeat her twice). She attacks quickly and has the biggest moveset yet. You can hit her once, followed by a dodge to the right to attack her again. This works for the most time of the fight. When she goes into the air she might attempt to jump-grab you so be ready to dodge. In the second half of the fight she will summon illusions to help her. You can either run around until she de-summons them (this will trigger a homing spell attack, from which you can hide behind some pillars) or use Snap Seed to despawn them yourself. Additionally you can also use fireckackers to stun her for some free hits. Once victorious you will receive her Memory which you can use to upgrade attack strength at an Idol.


This concludes the “Hirata Estate” area.
Next up: Ashina Castle
For all other areas check out the full Sekiro Shadows Die Twice Walkthrough.
Bo3alwa says
Hey PowerPyx
Thanks you for this great work
I got another prayer bead after you fight with dunkard … in the house behind him there is a picture on the left wall, when you wall hug the wall it’s unlock secret room with chest That contain prayer bead
PowerPyx says
Nice one, found it! Well spotted, I love how many secrets there are in this game! Thanks for reporting =)
Jon says
You guys missed the mini boss immediately after the hunter. At the very top of the bamboo, using the first wall jump before the bridge to Owl
PowerPyx says
That’s a normal mob, guarding one of the prosthetic tools. Only the named enemies with 2 lives counts as bosses and give special drops.
CheapTactics says
There’s another prosthetic tool guarded by a tough purple ninja. After the bamboo idol, go in the water and at the end there’s a tree to grapple. There’s an item at the end, and some bamboos can be broken. Then you can walljump all the way up, where there’s like a temple with a tool inside. But you have to fight some dude that moves really fast.
unahpita says
Thanks! I found it!
remast86 says
Shinobi Axe of the Monkey is found in this area after an eavesdroppable conversation between a thick skulled thief and his commander.
Okami says
There’s also another Sculptor’s Idol in the boss arena against Lady Butterfly after you defeated her.
Nobu says
After beating Lady Butterfly there is a Sculptor Idol appearing in the room, i dont know if that means anything.
Cheers from Spain, following your guides long time ago!
berserk says
Some people say the samurai in the drunkard fight will go to the temple if he survives and he will sell some stuff. Is it true ?
Sekiro says
Yes
Jay10_LR says
I did not see you mentioned the sakura droplet you received after beating lady butterfly.. It grants you an additional resurrection. I wanted to know how to use it.