
Death’s Door is the 5th Main Story Quest in Horizon Forbidden West (HZFW). This walkthrough will guide you through all objectives of the Death’s Door main mission.
Starting Location: Barren Light
Quest Giver: automatically triggered upon completing The Embassy
Quest Level: Level 10
Requirement: having completed The Embassy
Reward: +5000 XP, +2 Skill Points
Mission Info: Aloy heads to the location of the coordinates she recovered from the Spire. Sylens is leading her somewhere… but the sage’s motives are as mysterious as the new lands she must cross.
Objectives:
- Go to the Coordinates Recovered from the Spire
- Examine the Device
- Watch the Hologram
- Follow the Orb’s Trail – Investigate Sylens’ Workshop (Optional)
- Examine the Orb
- Enter the Facility
- Gather Resources for the Igniter – Gather a Leaplasher Spark Coil
- Craft the Igniter
- Ignite the Firegleam
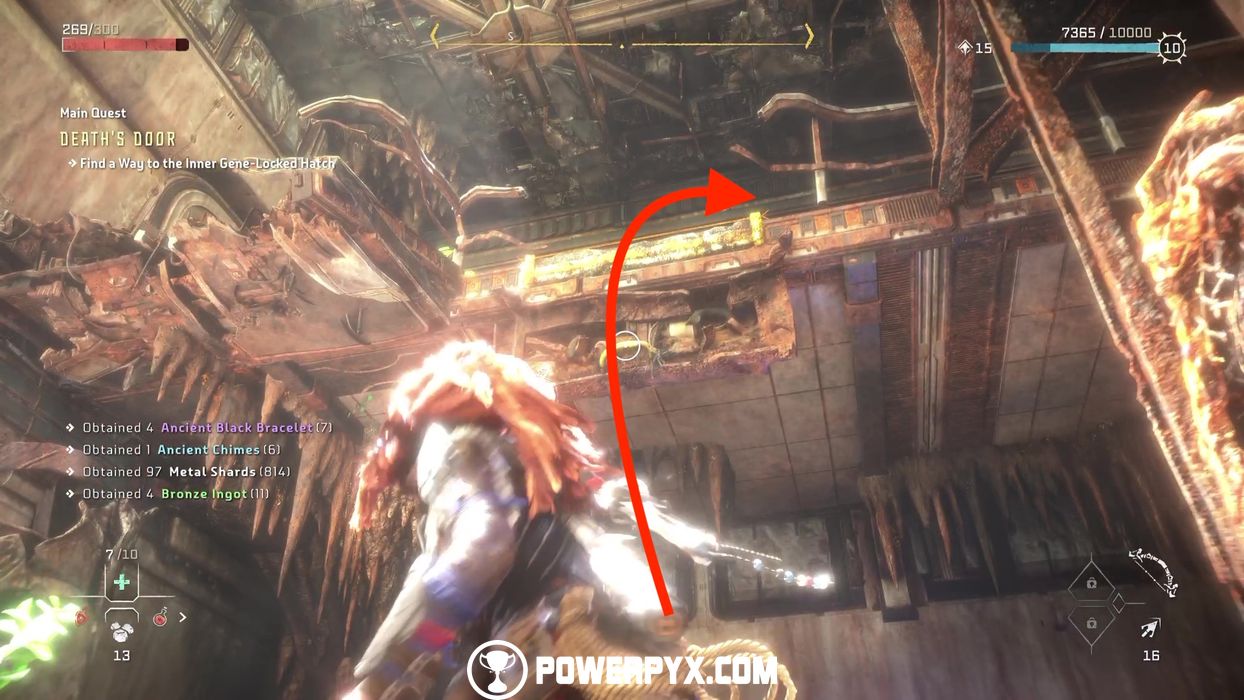
- Find a Way to the Inner Gene-Locked Hatch
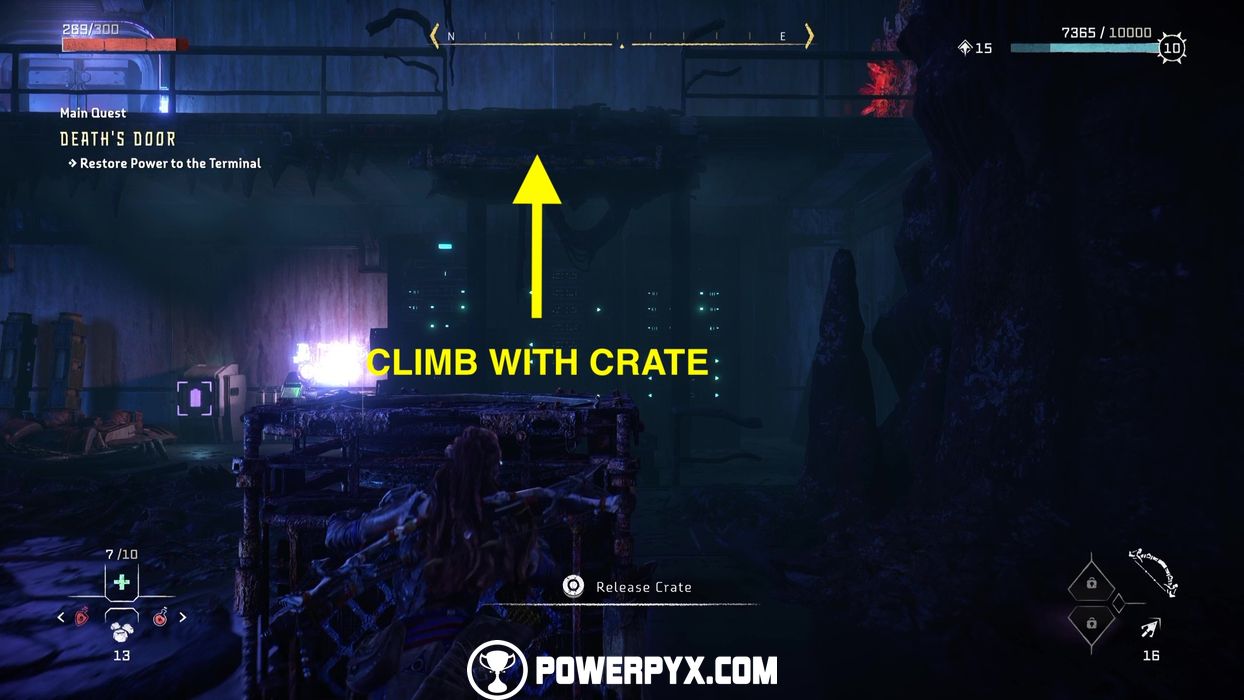
- Restore Power to the Terminal
- Find a Way to the Inner Gene-Locked Hatch
- Explore the North Side of the Facility
- Unlock the Door
- Find a Way to the Inner Gene-Locked Hatch
- Search the Facility for a GAIA Backup
- Examine the Access Console
- Find a Way to Lower the GAIA Repository
- Examine the GAIA Repository
- Kill the Mysterious Attacker
- Shoot the RECLUSE SPIDER Arm Couplings
- Shoot the RECLUSE SPIDER Stem Couplings
- Search for a Way Out
- Ignite the Firegleam
Starting Location: Barren Light
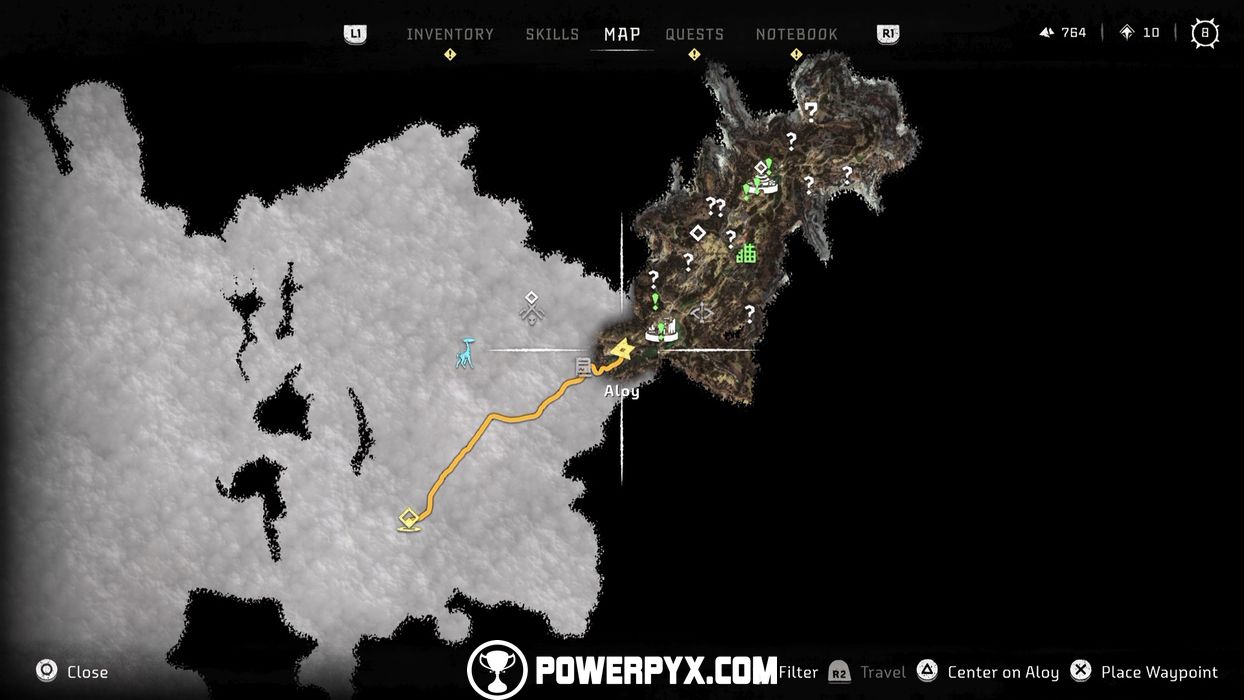

Go to the Coordinates Recovered from the Spire
Before heading further into the Forbidden West, make sure to recover any parts or resources from the camp where the massacre in the previous mission took place. On your way to the next quest marker, you might run into a Tallneck. Feel free to stop by and override it to uncover more of the map. Once at the location, approach the green-lit panel to unlock the next objective.


Examine the Device
Press  at the console to activate it.

Watch the Hologram
The device triggers a hologram of Sylens. Just simply watch the interaction between Sylens and HADES for the next objective to trigger.
Follow the Orb’s Trail – Investigate Sylens’ Workshop (Optional)
Now we need to follow the Orb’s trail. If you want, you can look around Sylens’ workshop for parts and resources and know more about Sylens’ attempt at extracting HADES’ knowledge. Exit the cave and keep flanking the lake past the Corruptor machines.
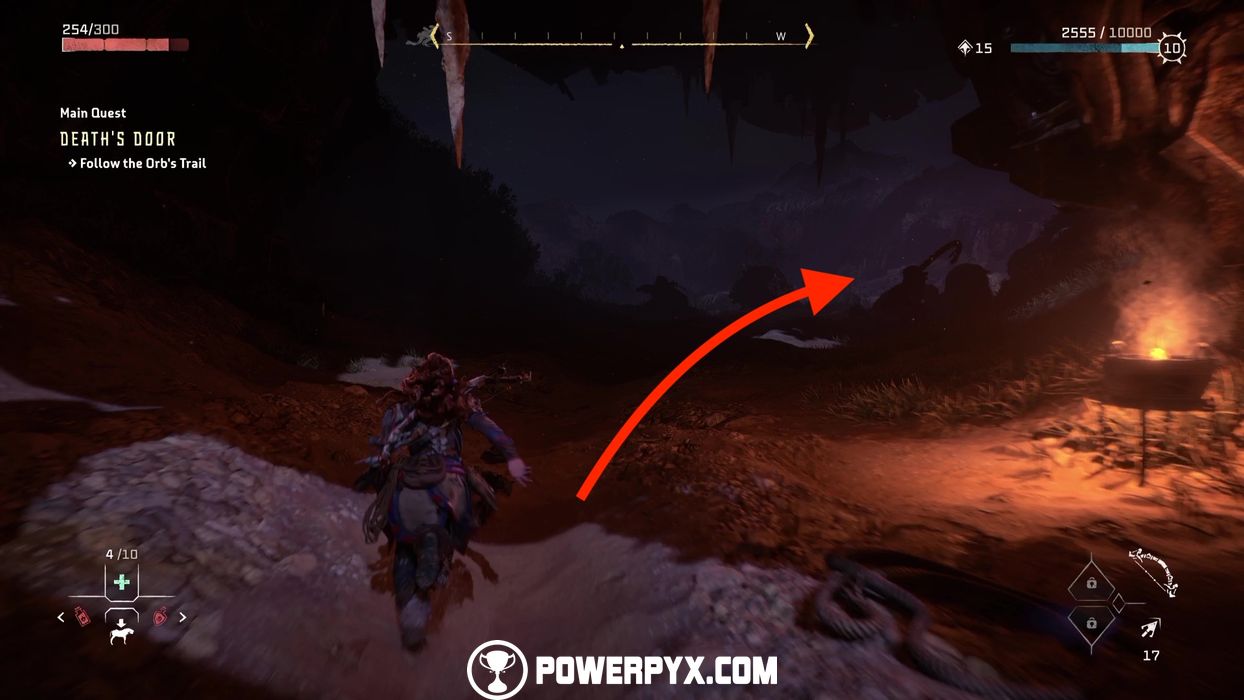
You eventually should head into a Scrapper and a Glinthawk biome. Engage or ignore the machines and keep following the waypoints. Go past the Merchant and eventually you will head into what resembles a ruinous mined cave. This is HADES’ Proving Lab. Keep going past the dead Slitherfang and you should unlock the next objective.

Examine the Orb
Approach the Orb to examine HADES.
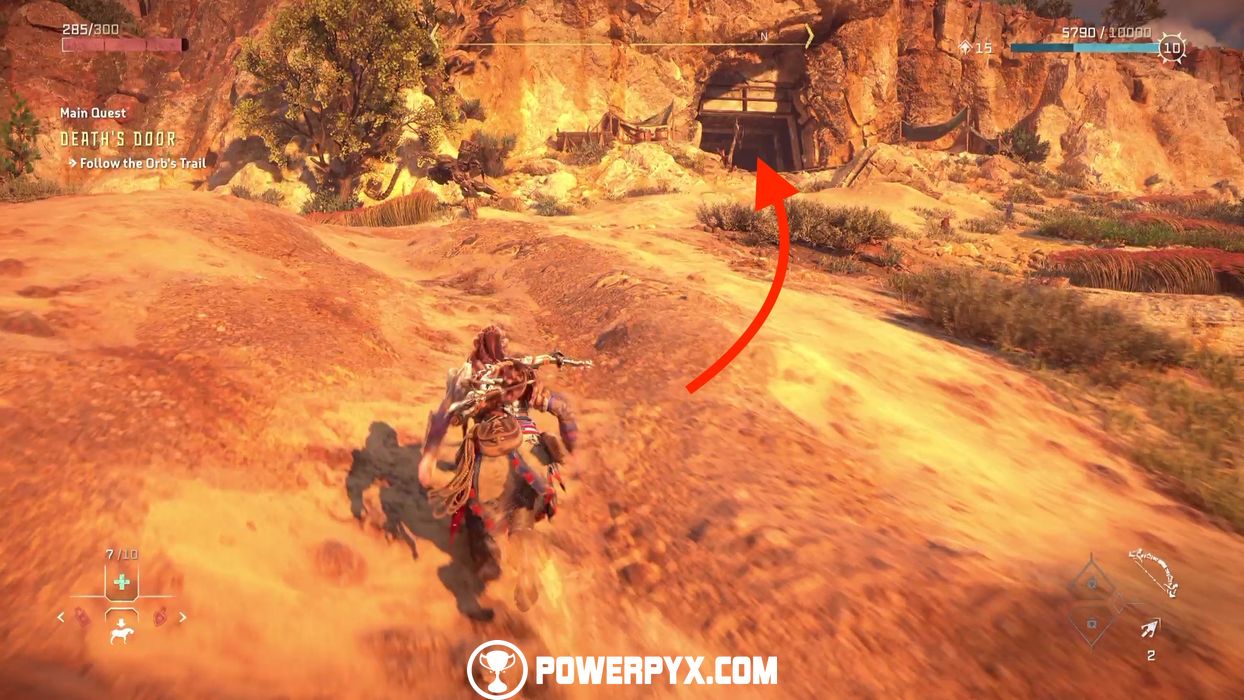
Enter the Facility
After talking with Sylens’ hologram, you can now approach the laser door to enter the facility. However, we cannot open the door just yet. We need some parts to build an Igniter to burn the flower crystals (Firegleam) stuck on the door wall.
Gather Resources for the Igniter – Gather a Leaplasher Spark Coil
We need to start by gathering a Leaplasher Spark Coil. Exit the cave and you should see some Leaplasher machines by the lake. Scan them to add them to the Machine Catalog and discover their weaknesses (Purgewater and Regular Arrow) and then dispose of them to get the resources you need. Once you’ve killed at least one Leaplasher, approach it to collect the part you need.

Craft the Igniter
Go back to the entrance of the cave, but don’t go in. Instead, approach the nearby workbench to craft the Igniter. Scroll down to Special Gear and then hold  to craft the Igniter.


Ignite the Firegleam
Now go back inside the cave and use your new weapon to burn the Firegleam from the gene-locked hatch with  .
.

Find a Way to the Inner Gene-Locked Hatch
After opening the door with the Igniter, make your way to the next room and open a new door. You’ll now be in a watery area where you need some platforming to access a hatch that gives you access to yet another door.


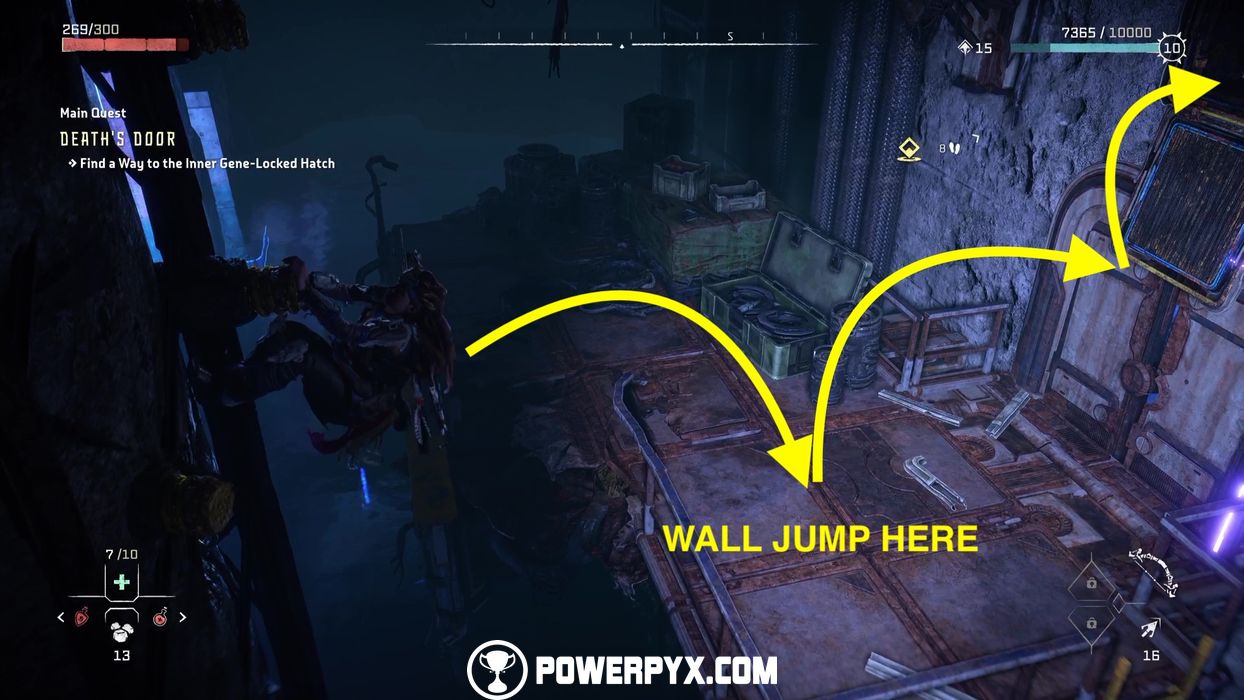
Once you’ve climbed through the hatch, grab an energy cell to reactivate the door and enter the next area.

In the new area, use your Pullcaster to pull yourself up and push the crate into the hole.

Restore Power to the Terminal
Drop down into the same hole and then move the crate opposite where it landed to make it up a platform.

Ignite the Firegleam and walk through the hole in the wall.

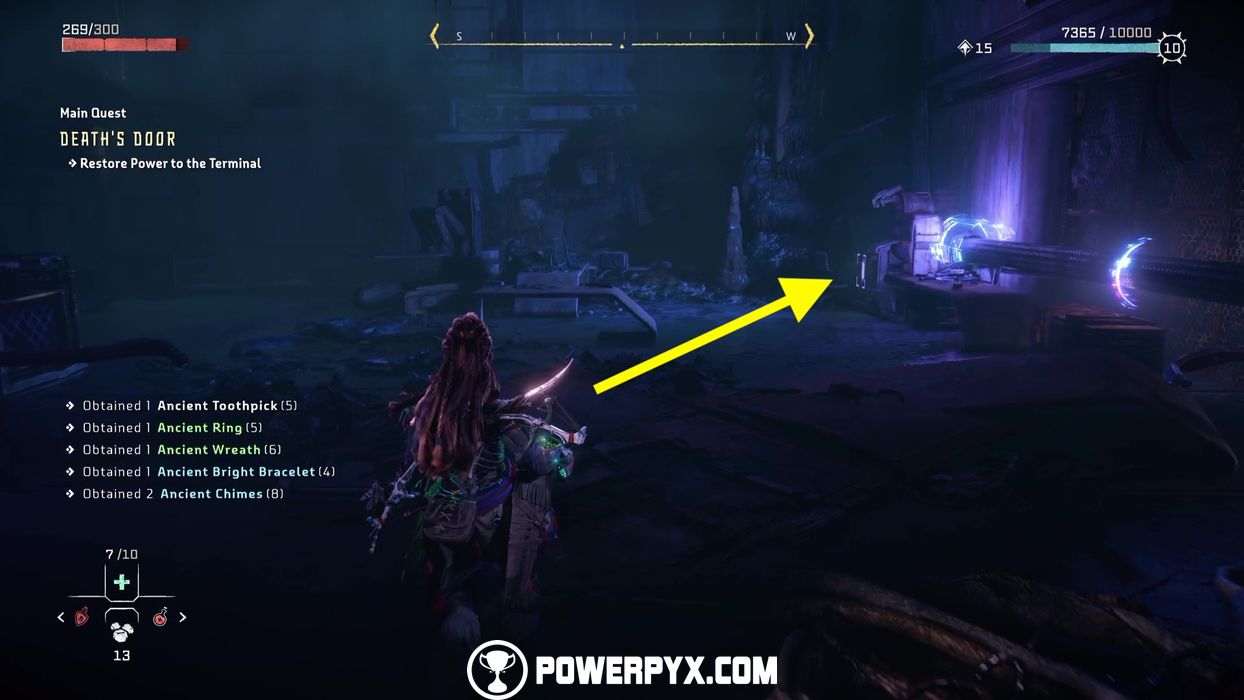
You’ll end up in the same area where you’ve used the energy cell from before to open a door. Grab the same energy cell and carry it to the room you came from. Place the energy cell into the right slot (one opens a trunk with some loot) to activate the next objective.

Find a Way to the Inner Gene-Locked Hatch
Climb back up the platform and open the door. Enter the door and you’ll find yourself in a much larger watery area than the one before.

Start by climbing up the only available ladder and then drop down onto a new platform from which you can see some tilted poles you can attach your Pullcaster on. Remove the plate, jump and grapple to the point.

Climb up the pole and then jump onto the nearby yellow climbing paths until you can jump no more. Instead, glide over to the platform before you.


Drop down the ladder for a backup shortcut should you fall into the water. From here, cast yourself up to the grapple point.

Explore the North Side of the Facility
From the pole, glide over to the next map marker, where you see more Firegleam.

Ignite it and enter the new lab. In a chest here is the recipe to the Vertical Traps.
Unlock the Door
The code to unlock the door is 7482. The code can be found by scanning a Datapoint found in the same room where the chest is.


Find a Way to the Inner Gene-Locked Hatch
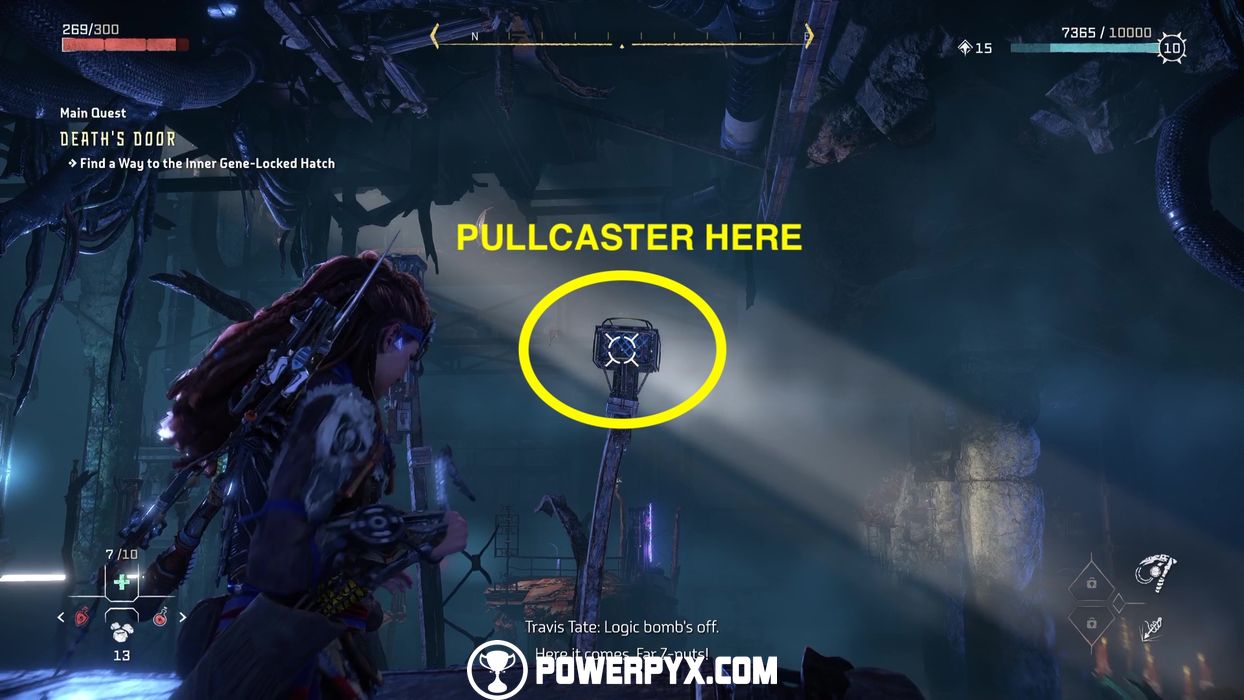
Enter the new corridor and pry a new door open for another climbing section. Climb up the yellow points and then enter the door to reveal a new room with yet another door.


Open the door and get ready for another platforming sequence. First off, lower the ladder in case you need a faster way to come back up.

Now, walk onto the small yellow plank protruding from the platform and aim for the pillar where there are more yellow climb points.

Climb up the pillar until you can no more and then move your camera to the right to reveal a grapple point for your Pullcaster.

Climb and drop down.

From here, look to your left to find a target for the Pullcaster. This will bring down a ledge that you can use to make your way forward.


Shoot down the next Pullcaster lock and then jump towards it to pull yourself to it. Then, right before landing, press  to shoot yourself into the air, and glide where the mission marker is and open the gene-locked hatch.


Search the Facility for a GAIA Backup
Enter the facility and approach the console.

Examine the Access Console
Now approach and examine the green-lit access console in the middle.

Find a Way to Lower the GAIA Repository
To uncouple the cables, aim for the red component on the moving arm. Now you can go examine it.
Examine the GAIA Repository
Approach the wheel to examine it.

Kill the Mysterious Attacker
A mysterious attacker appears who is impervious to arrows or the spear. The objective says to kill him but he can’t actually be damaged or killed. Instead, you must evade him and interact with a green console.
Shoot the RECLUSE SPIDER Arm Couplings
Shoot down some of the RECLUSE SPIDER’s arm couplings. Aim for all red parts to uncouple the arms when they can be taken down. Once you’ve destroyed all the arm couplings, we need to start going for the Stem Couplings.

Shoot the RECLUSE SPIDER Stem Couplings
The Stem Couplings are located in the neck part of the robot, so activate your Focus to highlight them. Take down all the stem couplings until the next cutscene triggers.

Search for a Way Out
Swim forward until you get to a room patrolled by some Specter machines (MISSABLE MACHINE).
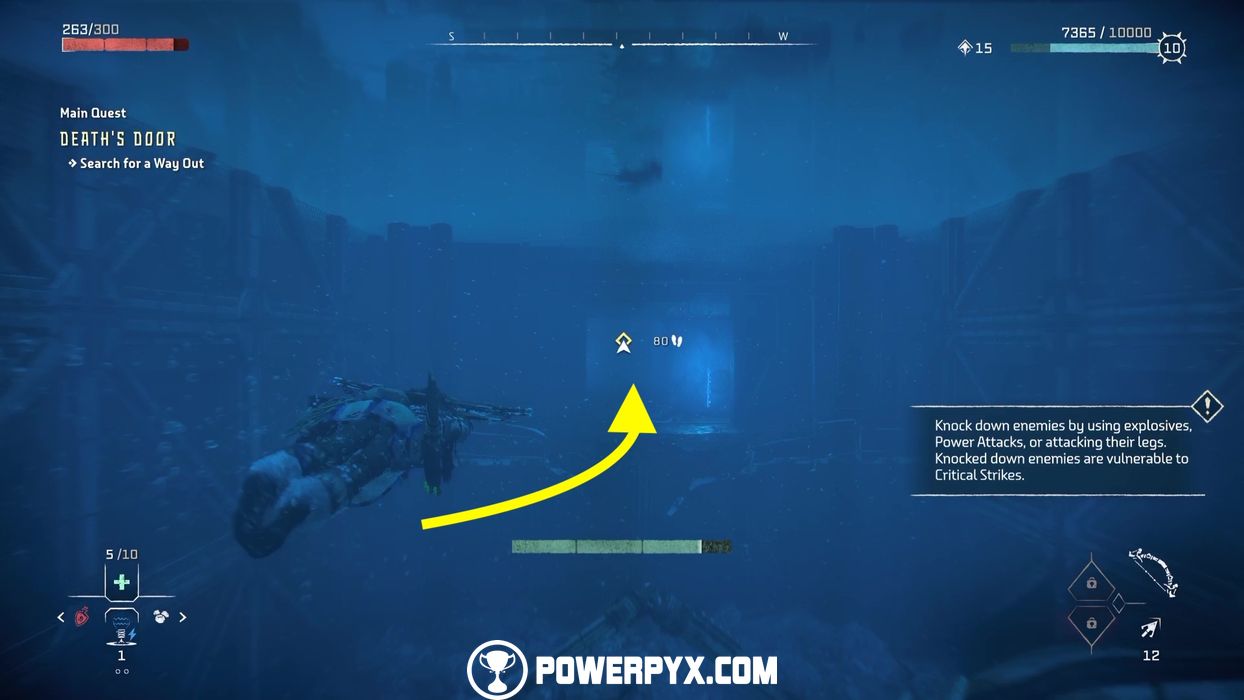


Quickly scan them to add them to the machine catalog (MISSABLE MACHINE), but then ignore them and keep under water, resurfacing for oxygen only when necessary. Swim across the room and then use your Focus to highlight a door you can open.

Swim through it and use the boost points to make it past the strong current.

Once you can swim back up, do so and you’ll find a platform for you to take a rest. Form here, aim at the air vent to pull it open with your Pullcaster and the continue through the vent itself.

Again, swim underwater to avoid the next group of Scepters and continue on until you can open a new door, then swim back up and you’ll find a ladder and some climb points that will lead you to another air vent.

Get inside the vent, drop down and open yet another door.
Ignite the Firegleam
In the next power room ignite the Firegleam to proceed forward.

This finishes Death’s Door Main Quest in Horizon 2: Forbidden West.
For all other Side Quests and Main Quests, check out the complete Horizon Forbidden West Walkthrough.
Joseph Carrasquillo says
Thank you for your detailed walkthrough. Pre purchased the game, and it is very difficult. I no longer enjoy HFW because of a few things that make it unenjoyable but it’s an amazing game.
FranciRoosters says
Thank you for reading it!
Bloom says
This quest got me stressed, almost bangged my head to the wall but over all, i love the game
Diana says
Thank you for the walk through. This is a very hard area. It has been a head banger. I enjoy this game, I have to go slow, so there is alot of pausing for me.
leo says
I have a glitch at the point of entering through the hatch door. There is not hatch door that I can grab to climb through the door above. What can I do?