
Horizon Forbidden West has 6 Signal Tower Locations (Signal Lenses). Signal Towers are a type of Collectable. You need at least one of them for the trophy “Recovered 5 Different Collectables”. They look like tall tower structures and have a lens at the top that you must reach and collect. Completing all of them also rewards you with some crafting materials: 1 Bronze Ingot and 2 Greenshine Silver.
If you’ve already finished the story you can simply fly up with your Sunwing flying mount. In the early game you will have to climb up yourself. Remember that you can press R3 to highlight climbable walls and ledges, this makes navigation easier.
None of the Signal Towers are missable. You can still find all of them after the story in free-roam.
This guide lists them in the same order as the in-game Collectables Menu so you can easily reference the ones you are missing.
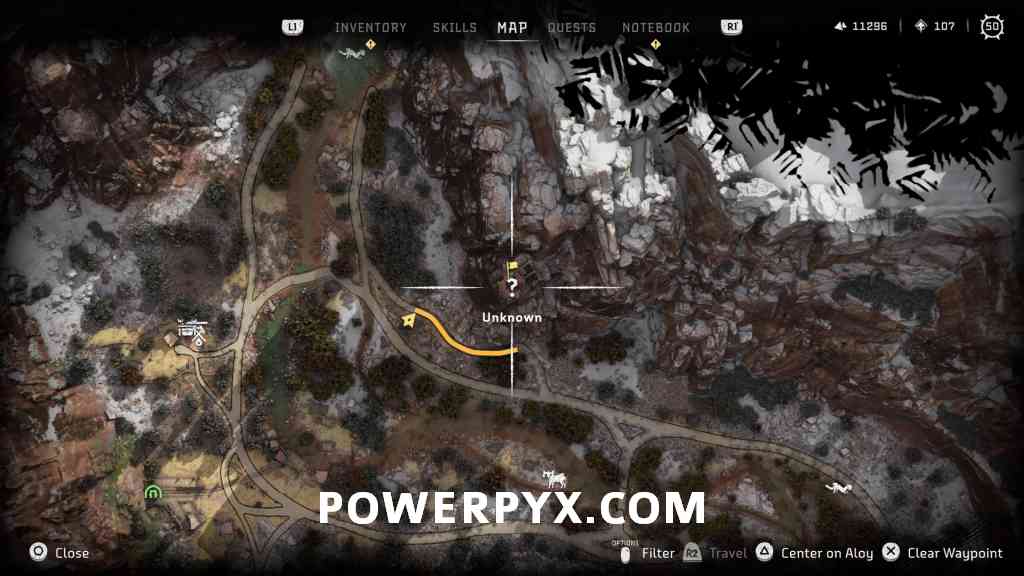
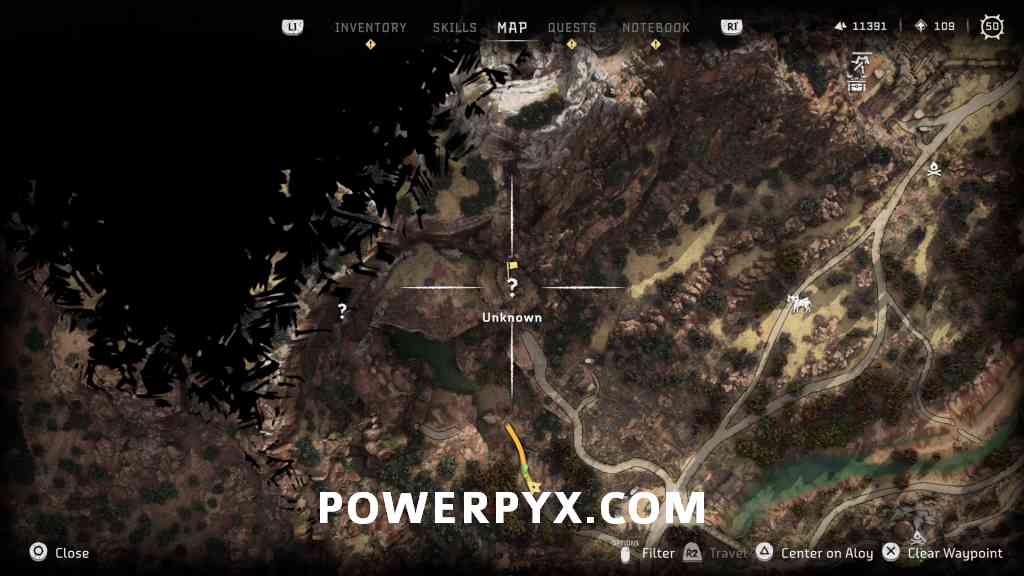
Signal Tower #1: Lens of Dawn
Press  to mark the yellow climbable ledges and climb up the mountain wall south of the Signal Tower. There is some rubble below the tower, from there you can start climbing up and to the right. Once you reach the tower you must jump to the yellow wooden beams, then from there climb the yellow parts around the tower. Remember you can press
  to drop down from a ledge if needed.

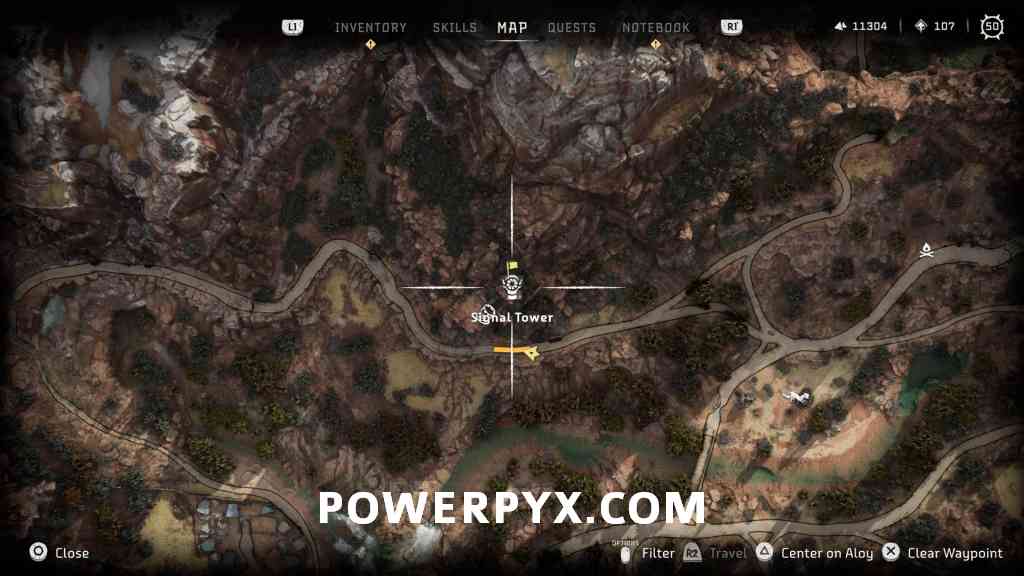
Signal Tower #2: Lens of Morning
As usual, use to scan for the climbable ledges on the mountain wall below the tower. At the top you’ll reach a metal flower, this can be ignored for now (you can’t interact with it in the early game, the ability to use metal flowers unlocks during Main Quest 12: Seeds of the Past – it leads only to a supply chest and valuables chest, nothing important). Without using the metal flower, you can leap to the window to the right and climb in. Then follow the path to the left and circle around the tower. This will lead you to yellow climbable parts on the tower wall, use these to climb all the way up.

Signal Tower #3: Lens of Midday
This tower has a relatively long but simple climb. Scan for the climbable walls with again and climb from one wall to the next. Then use the yellow parts around the tower to climb it.


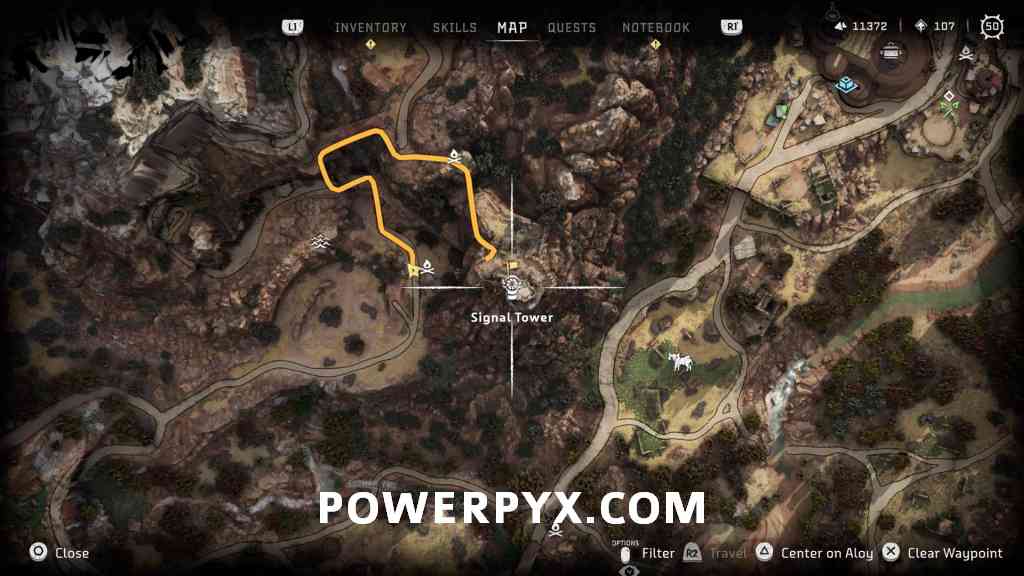
Signal Tower #4: Lens of Afternoon
From the campfire west of the Signal Tower, shoot the ladder with an arrow to climb it. In the next climbing section you will have to do an  jump to pull yourself up between broken ladders. Then in the section after that you must do a wall jump ( jump on the wall >
  to jump back to other wall), this gives you a boost to reach the climbable ledges. Keep following the path until you see the tower in front of you and reach a broken bridge. There you must jump off the bridge and again press to latch onto a grapple point on the other side. Shimmy around the right side, pull yourself up to reach the tower. Climb the yellow parts around the tower to reach the top.

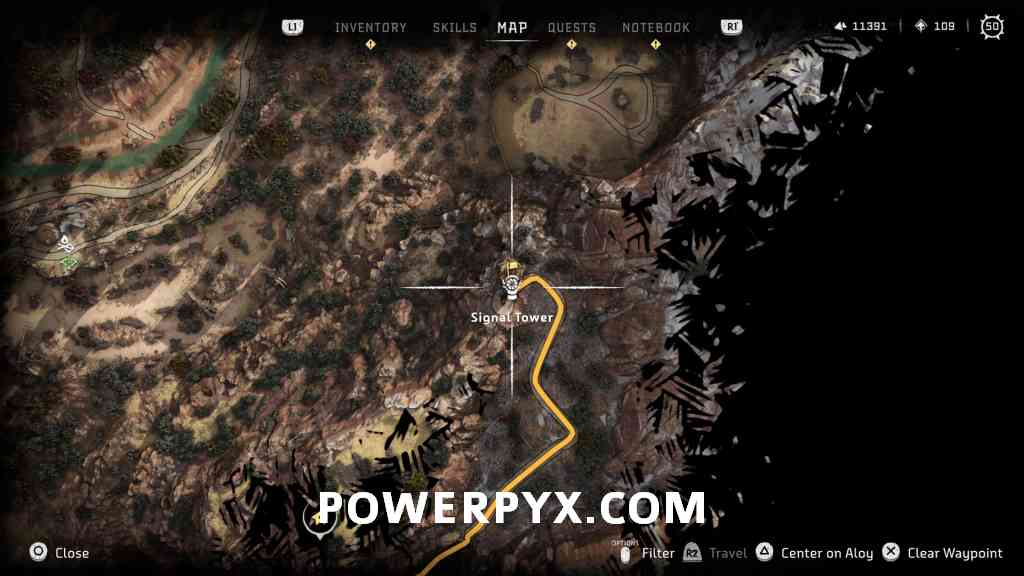
Signal Tower #5: Lens of Twilight
You can approach this tower via the road to the south of it. There is a long road leading up the mountain, when fully zooming in on the map you can see the road leading to the tower. Simply follow the road to the end. When you reach the tower, check the left side of the tower for a destructible wall with a blue grapple point for your pullcaster. Use pullcaster (  +
+  > hold
  ) to destroy the wall. Then climb the yellow ledges around the tower.

Signal Tower #6: Lens of Evening
The climbing path for this tower starts south-west of it, across the river. As usual, scan for the climbable rocks with . Climb up the wall and you’ll end up on the mountain west of the signal tower. From there you can jump over to the mountain with the signal tower on it – at a broken bridge you can press to jump over to a grapple point. Kill all machines and talk to the Oseram woman (Raynah). Then use the pullcaster + > hold to pull down the walls of the tower. There are a total of 3 walls to pull down, after the 3rd one look up for a grapple point you can jump up to with . From there head out the left balcony and climb up the last few yellow parts of the tower. After grabbing the lens, talk to the woman (Raynah) again.

Collecting Your Reward
After getting all Lenses, go speak to Raynah in Barren Light, she’s near the campfire fast travel point. If she doesn’t spawn right away, try saving at the campfire, quit to title screen, click continue and she should spawn. She gives you 1 Bronze Ingot and 2 Greenshine Silver (weapon upgrade materials). Keep them for later, it will come in handy when upgrading weapons at workbenches.


For everything else needed to 100% completion, check out the full Horizon Forbidden West Wiki & Strategy Guide.
Leave a Reply