
Unfinished Business is a Favour (Side Quest) for a ghost called the “Lake Spirit” in God of War 2018. This walkthrough will guide you through all objectives of Unfinished Business Favour. It counts towards a trophy of the same named “Unfinished Business” for completing the quests of all wayward spirits.
- Quest Giver: Lake Spirit
- Requirement: Must have completed The Light of Alfheim up to when you return to Midgard.
- Reward: Common Pommel, 1 Corrupt Remnant and 1880 XP
- Availability: After returning from story quest in Alfheim Realm (the favour is still available after the story)
This quest requires you to find 4 spirits around the Lake of Nine. Finding either one will start the quest. The earliest opportunity is after returning from your story quest in Alfheim.
Cliffs of the Raven
Once back to Midgard from Alfheim you can get in a boat from one of the docks. Take the boat and sail to the Cliffs of the Raven dock in Midgard. Here is where to find the dock:
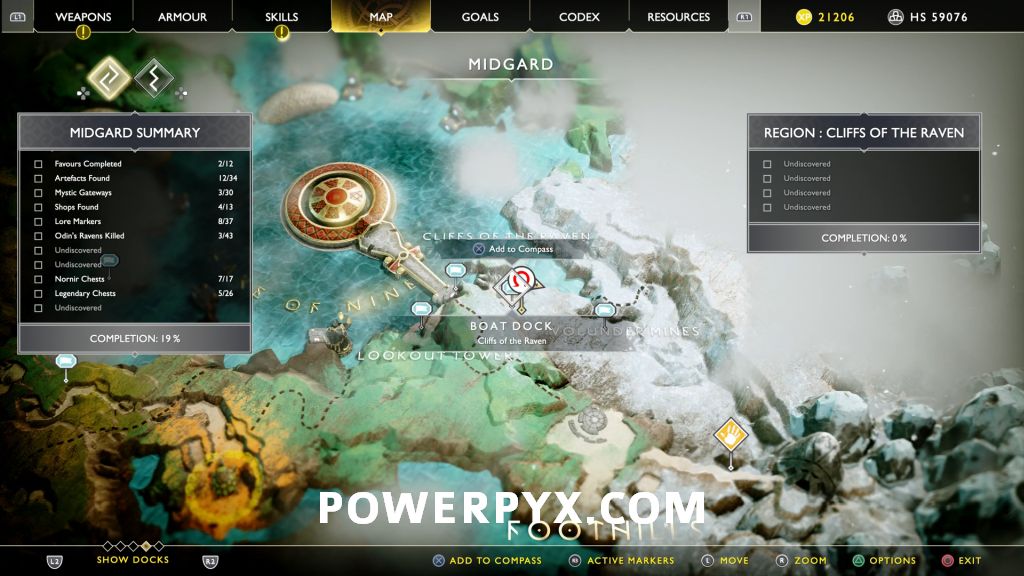
Once you dock the boat you will be attacked by a small group of enemies. Once they have been taken out read the glowing glyphs on the tablet to awaken the Lake Spirit. Speak with the spirit to activate the quest. Be sure to open your Favours menu in the Goals section and track this quest.
Forgotten Caverns
Head to the North most marker on the map to dock at Forgotten Caverns which is located here:
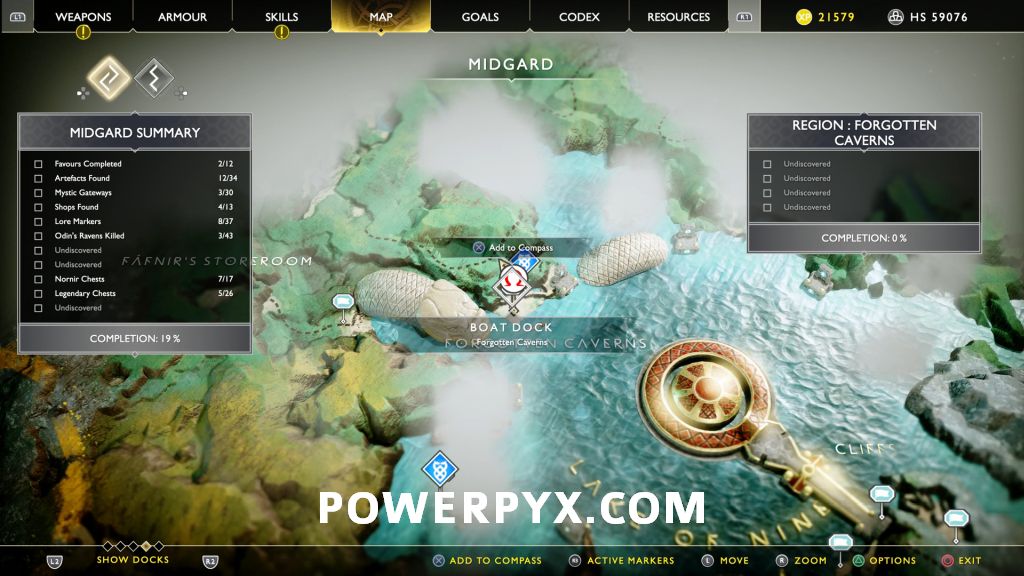
Once docked, take out the enemies there and head to the Northeast part of the island and have Atreus read the glyphs on the rune tablet. This spawns a few more enemies that you should be able to take out without much effort. Once all 5 enemies are defeated the Lake Spirit will show himself, speak with him. If you’ve already beaten the game the water level will be lower and you must climb the Forgotten Caverns from its southern dock.
Isle of Death
After speaking to the spirit get back in your boat and sail to the next marker south of you, this is the Isle of Death:

Once on the island, climb up the stone wall straight ahead of you. Atreus will be able to read the stone instantly, this triggers a wave of enemies. Defeat the wave of ice enemies to get the spirit to show itself. Speak with the spirit.
Iron Cove
Now head back to the boat to head to the final marker further south, at the Iron Cove:

If you’re doing this right after returning from Alfheim (medium water level), you can simply dock at the Iron Cove and have Atreus read the stone to spawn the enemies. Take them out to spawn the spirit. Speak with the spirit to end this favour. If you’ve already beaten the game (low water level), the only way to reach it is by using the zipline at the top of Isle of Death, where you found the third spirit. This zipline will lead to a shipwreck at the Iron Cove and you need to throw the axe at some explosives to clear out the rocks blocking the path.
And this completes the Unfinished Business quest in God of War.
For more Walkthroughs, check out the full God of War Favours Walkthrough (All Side Quests).
purposelycryptic says
“Requirement: Must have completed The Light of Alfheim up to when you return to Midgard”
This is incorrect; you can start and complete this quest *much* earlier, right after first arriving at the Lake of Nine, once you encounter the World Serpent and the water level drops to reveal Tyr’s Temple.
Atreus even points it out to you as soon as the water drops, saying he wants to check out the ship-wrecks by the ‘Isle of the Dead’; if you do as he says and dock at the island, after killing the handful of Draugr present, the first spirit pops up and calls out to you, and interacting with it starts the quest (You can technically start the quest at any of the Lore Tablets linked to the spirits in the quest, but this appears to be the intended starting point).
This is why the reward is so low-level: The first step gets you the ‘Versatile Warrior’s Handle’, and the remaining steps each give you a ‘Corrupt Remnant’ that can only be used to upgrade that specific handle.
It’s meant to be the first side-quest in the game, and serves both as a tour of sorts of the various areas of the Lake of Nine, as well as an introduction to the gear upgrade system, giving you all the necessary materials to fully upgrade the ‘Versatile Warrior’s Handle’. The spirits also partially explain the current situation at the Lake, as well as in Midgard in general.
I completed it before even visiting Tyr’s Temple… although, because I’m a little OCD, I literally explored every inch of every area available before even stepping foot on the bridge; really wish I hadn’t, since I had to do the whole tour again afterwards to activate all the Mystic Gateways :/