
The Eyes of Odin is a Favor (Side Quest) for Kratos in God of War Ragnarok. This walkthrough will guide you through all objectives of The Eyes of Odin Side Quest. For an overview of all quests in the game see God of War Ragnarok All Favors.
Requirement: Access to all Realms
Reward: 10000 Kratos XP, 2500 Atreus XP, Niflheim’s Justice Amulet Enchantment, Hilt of Forsbrandr
Objectives:
- Kill Odin’s Ravens
- Travel to Niflheim
- Open the ravens’ gifts
- Defeat the Raven Keeper
Starting Location: The Eyes of Odin
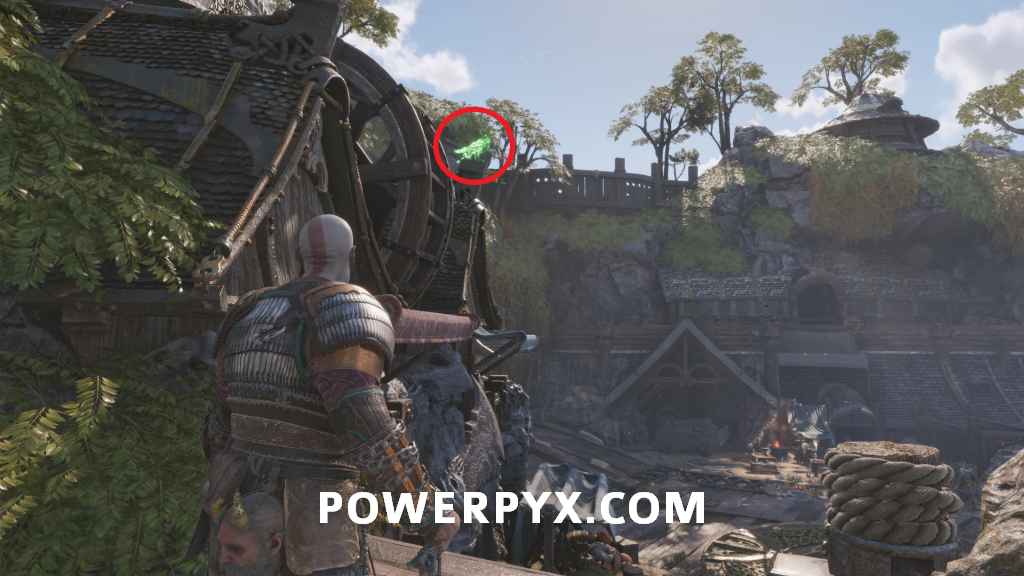
The Eyes of Odin will start automatically upon killing your first Odin’s Raven. These can be found sitting/flying around all the realms. Below is an example of what they look like. They also make a metallic screeching sound when nearby.
Kill Odin’s Ravens
There are 48 Odin’s Ravens spread across the different realms. You will need to kill them all to complete it. For the locations of all Odin’s Ravens, please see: God of War Ragnarok All Collectible Locations.
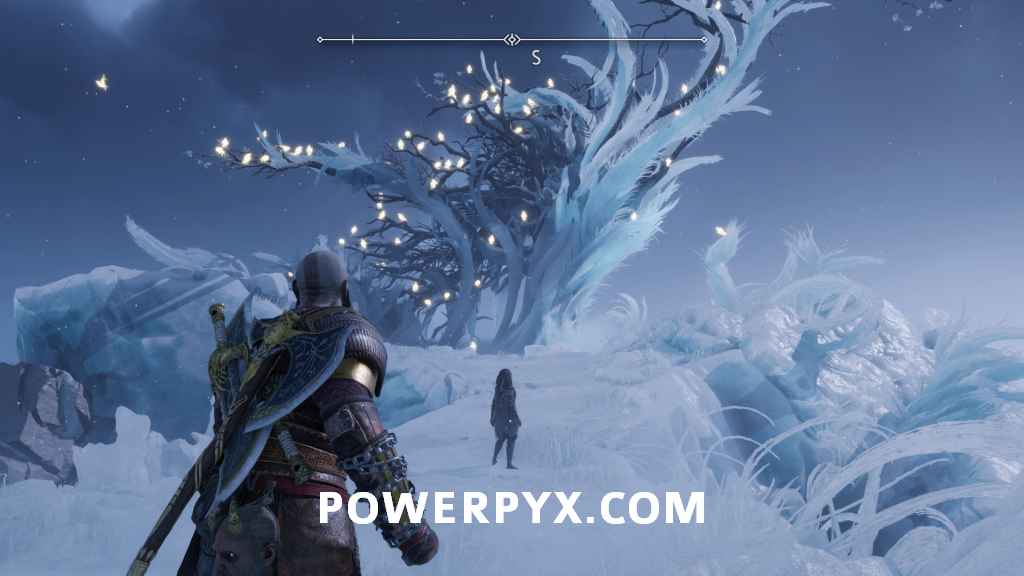
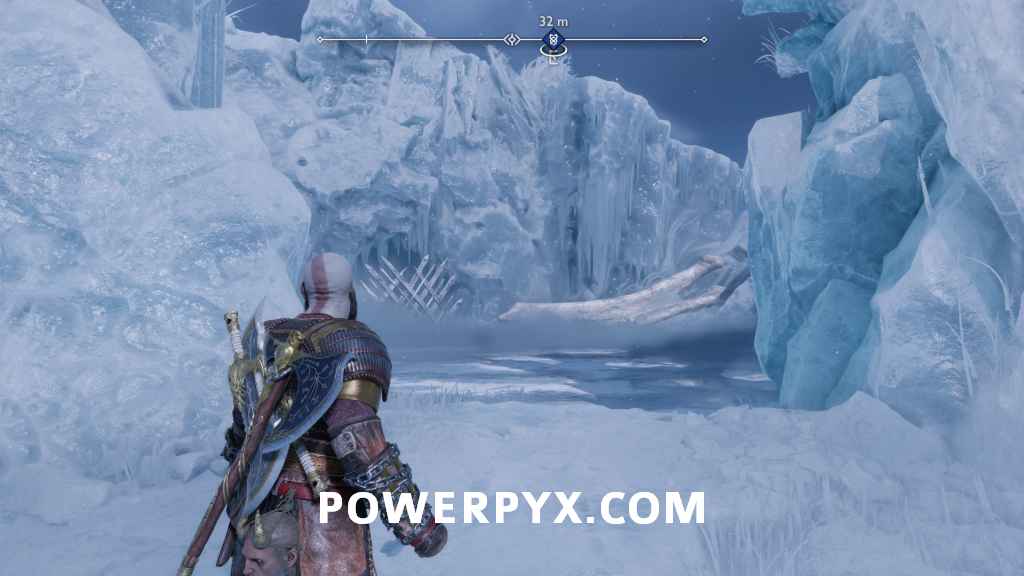
Travel to Niflheim
At any point once you have access, you will be able to travel to Niflheim to claim your rewards.

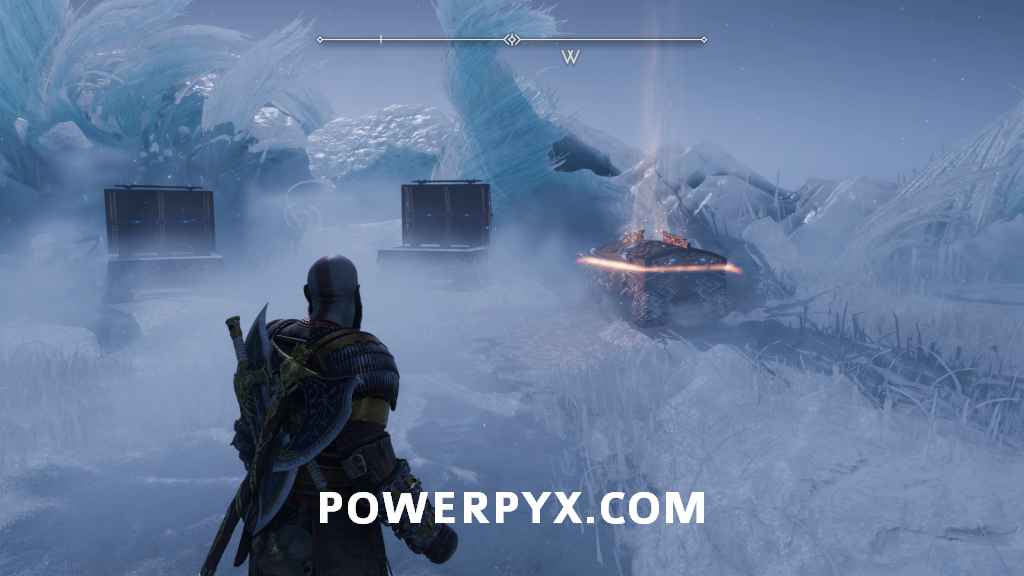
Open the ravens’ gifts
At the foot of The Raven Tree will be six Legendary Chests that you can open after killing enough Odin’s Ravens:
- Legendary Chest 1 (Girdle of Raven Tears): Requires 6 Odin’s Ravens killed
- Legendary Chest 2 (Bracers of Raven Tears): Requires 12 Odin’s Ravens killed
- Legendary Chest 3 (Cuirass of Raven Tears): Requires 18 Odin’s Ravens killed
- Legendary Chest 4 (Breath of Thamur): Requires 28 Odin’s Ravens killed
- Legendary Chest 5 (Meteoric Slam): Requires 38 Odin’s Ravens killed
- Legendary Chest 6 (The Finger of Ruin): Requires 48 Odin’s Ravens killed
After opening all chests, The Raven Keeper will appear.
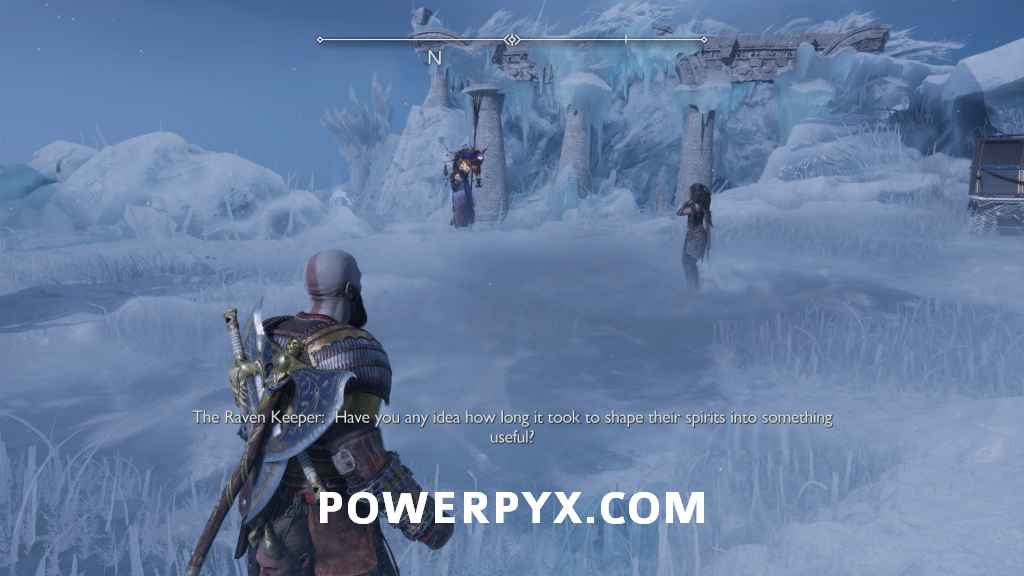
Defeat the Raven Keeper

Head into the open area next to the shop to fight the Raven Keeper.
The Raven Keeper can be fought after killing all of Odin’s Ravens and opening the chests at The Raven Tree. The Raven Keeper is a Hel-Revenant, so you will need to shoot her with Runic/Sonic Arrows to make her vulnerable. She will mostly use either an unblockable ice breath that you will want to dodge, two ice walls that are best blocked, or melee you with a block break attack. As long as you don’t attempt to dodge your ice wall attacks (as this will almost always result in you getting hit by them), she herself isn’t too difficult.
The difficulty here will come from the enemies she will spawn at different intervals. At 80%, 50% and 20% health, the Raven Keeper will disappear and spawn a wave of enemies, and will come back after killing a few of them. The first wave is mostly just Hel-Reavers and Hel-Shadows, and the second wave will incorporate a Hel-Viken. When The Raven Keeper does return after a wave, you will want to focus on clearing the regular enemies first so that you don’t get attacked from behind. The third wave is the hardest however, as this will initiate a second boss fight with The Pale One, a frost dragon.
The Pale One will start by flying in and shooting ice at you. When it is flying, you can throw your Draupnir Spear at its head to bring it crashing down and give you a chance to deal extra damage. When on the ground, it will either attempt to bite you, which can be blocked or dodged, or it will use ice attacks that are best dodged. It may be best keeping your runic attacks and Spartan Wrath for this fight.
Once The Pale One is defeated, The Raven Keeper will return. Finish her off and remember to use your arrows on her. Throughout the fight the regular enemies will drop occasional health crystals, but not a lot. There will also be no checkpoint at all despite there being a second boss fight in the middle, which can make this a bit difficult on higher difficulties. A particularly beneficial skill for this fight is Elemental Siphon II on the Draupnir Spear, as this allows you to receive a temporary resistance to the element you absorbed, making everything in the fight hurt you less. You will need to hold  to do this and it has some build-up, but with all the regular enemies it shouldn’t be too hard to keep this up for most of the fight.
This finishes The Eyes of Odin Side Quest in God of War Ragnarok.
For all other quests refer to God of War Ragnarok Walkthrough.
Leave a Reply