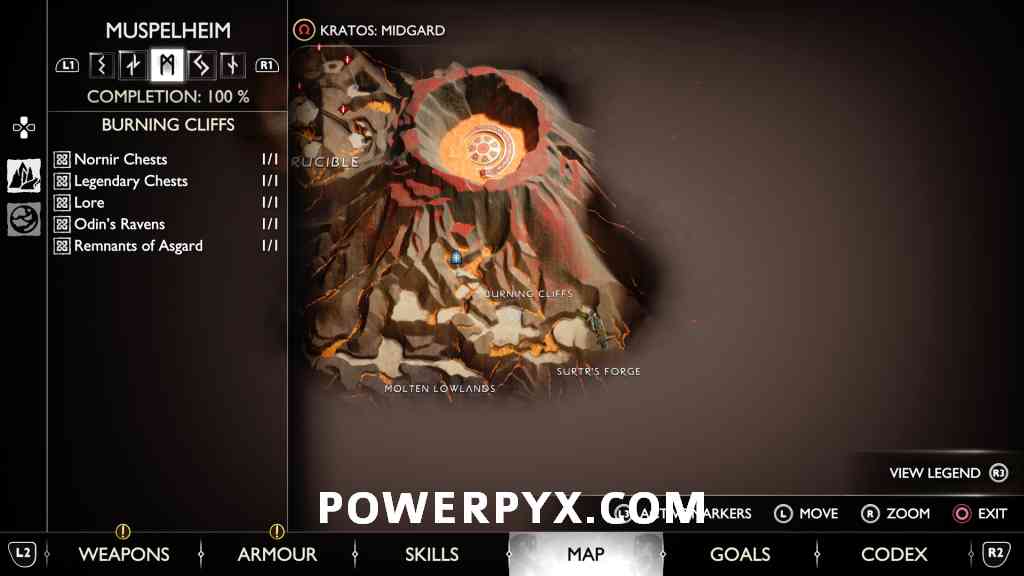
Burning Cliffs contains 5 Collectible Locations in God of War Ragnarok. This walkthrough will guide you to all the collectibles in Burning Cliffs Region in chronological order. Everything that’s needed for trophies and 100% completion is included. Nothing is missable, everything can be collected after the story.
- Nornir Chests: 1
- Legendary Chests: 1
- Lore: 1
- Odin’s Ravens: 1
- Remnants of Asgard: 1
When you first visit the area in the story, you are still missing the unlockable skills needed to reach some collectibles. This walkthrough is intended for use after the story.
Collectibles Overview:
Collectibles
#1 – Legendary Chest (Divine Ashes / Alternatively: Muspelheim Seed)
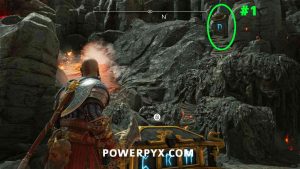
After the story, fast travel back to the “Burning Cliffs” Mystic Gateway. Follow the linear path downhill (can only go one way here). The Legendary Chest is at the cave entrance in plain sight, you have to go past it to advance further into the area, impossible to not see it. If you haven’t already found 2 Muspelheim Seeds in Svartalfheim, then this chest will give you a seed instead of Divine Ashes.
#2 – Odin’s Raven
To the right of the Legendary Chest.
#3 – Nornir Chest
From the Legendary Chest, squeeze through the gap on the left, then turn left and climb along the wall. After walking a little bit downhill (before Remnants of Asgard encounter), there’s a yellow-glowing rock on the right. Throw the spear at it to blow it up. Behind it is the chest. You must light 3 braziers on fire to open the chest by using the Chaos Blades with  +
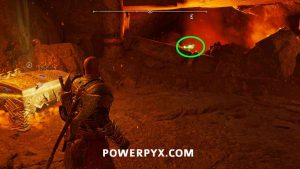
+  and also placing purple arrows for chain reactions. The first is behind the chest, get close to it and use Chaos Blades on it. The 2nd and 3rd are across from the chest. You must first light the left of the two (see image before labeled #2). To do so, go back to where you blew up the yellow-glowing rock with Spear, plant 3 purple arrows on the walls, place one of them close enough that you can light it with the Chaos Blades, thus causing a chain reaction that lights the left brazier. Remember you can (and should) shoot up to 3 purple arrows at the same point to grow the radius of the chain reaction. So in total use 9 arrows, shoot 3 at each spot for them to cover a much bigger radius, this makes it easier for your fire to jump over to the brazier. The third brazier is the on to the right, for it go back to the Nornir Chest. Turn around from the chest to see Brazier #2 and #3. You must place purple arrows between the 2nd and 3rd brazier, then shoot an arrow into the 2nd brazier that you already lit up. If you hit the fire in the brazier it will create a little explosion and your purple arrows cause a chain reaction that carries the fire over to the 3rd brazier (see image labeled with #3 below). Afterward you can open the chest.
#4 – Remnants of Asgard
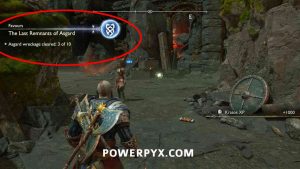
Enter the next area after the Nornir Chest and you’ll be attacked by some enemies. Kill them to complete the Remnants of Asgard ‘collectible’ and open the red reward chest afterward for materials and Hacksilver. The Remnants of Asgard only spawn after finishing the main story. You must backtrack for it after the story.
#5 – Lore (Rune Read – Valhalla Rises)
Same area as the Remnants of Asgard encounter, check for blue letters on the wall.
That’s 100% of the collectibles you can find in Burning Cliffs area in God of War Ragnarok.
Next Up: Surtr’s Forge
For more Collectible Guides, check out the complete God of War Ragnarok Collectibles Guide.







Leave a Reply