
Shock Therapy is a Yaran Story (Side Quest) in Far Cry 6. This walkthrough will guide you through all objectives of the Shock Therapy side mission.
Region: Valle De Oro (Central Region)
Sub-Region: Cruz Del Salvador
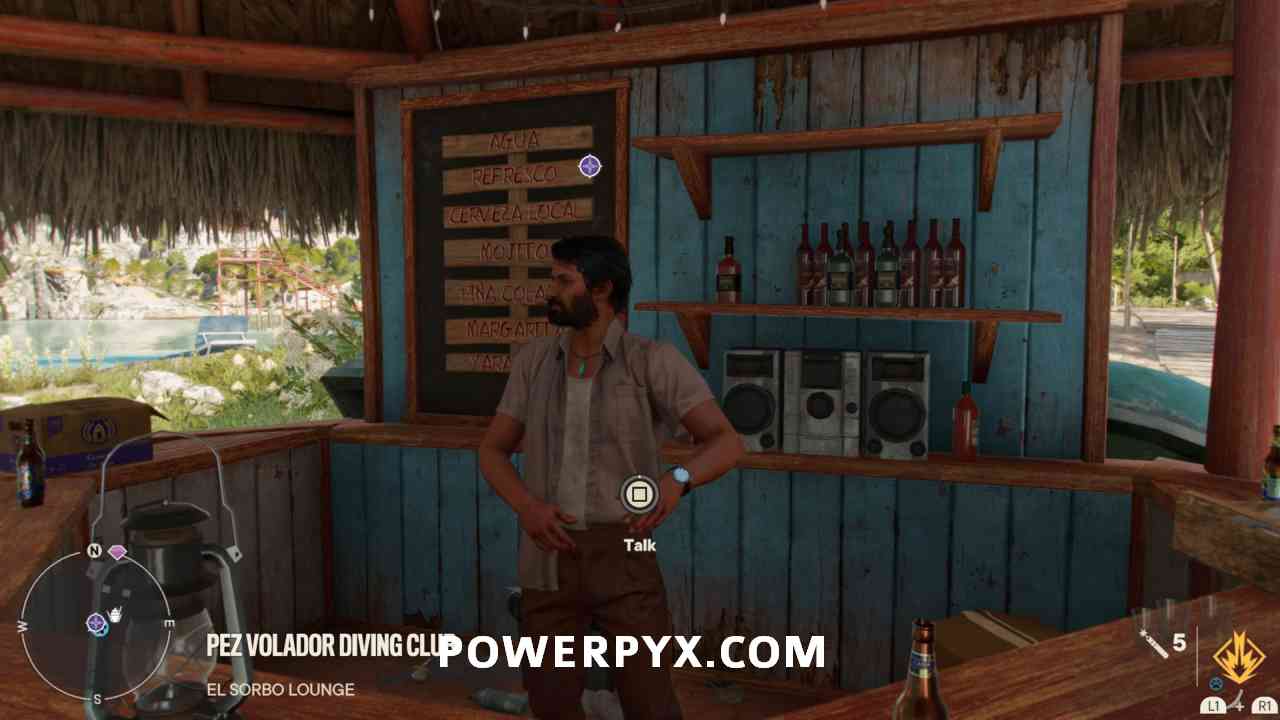
Quest Giver: Dr. Yanny Dabolos
Requirement: Find the quest start in the open world
Reward: 100 XP
Mission Info: You are dangerously out of balance, guerrilla. A negative disparity exists inside your power region below your trillibubs. Follow my five-and-a-half program to cosmic oneness.
Objectives:
- Step 1: Cast Your Line
- Step 2: Feed some Pelicans
- Step 3: Meditate at the Eagle’s Nest
- Step 4: Get some Air Time
- Step 5: Forgive your Enemies
- Talk to Dr. Dabolos
Starting Location: Shock Therapy


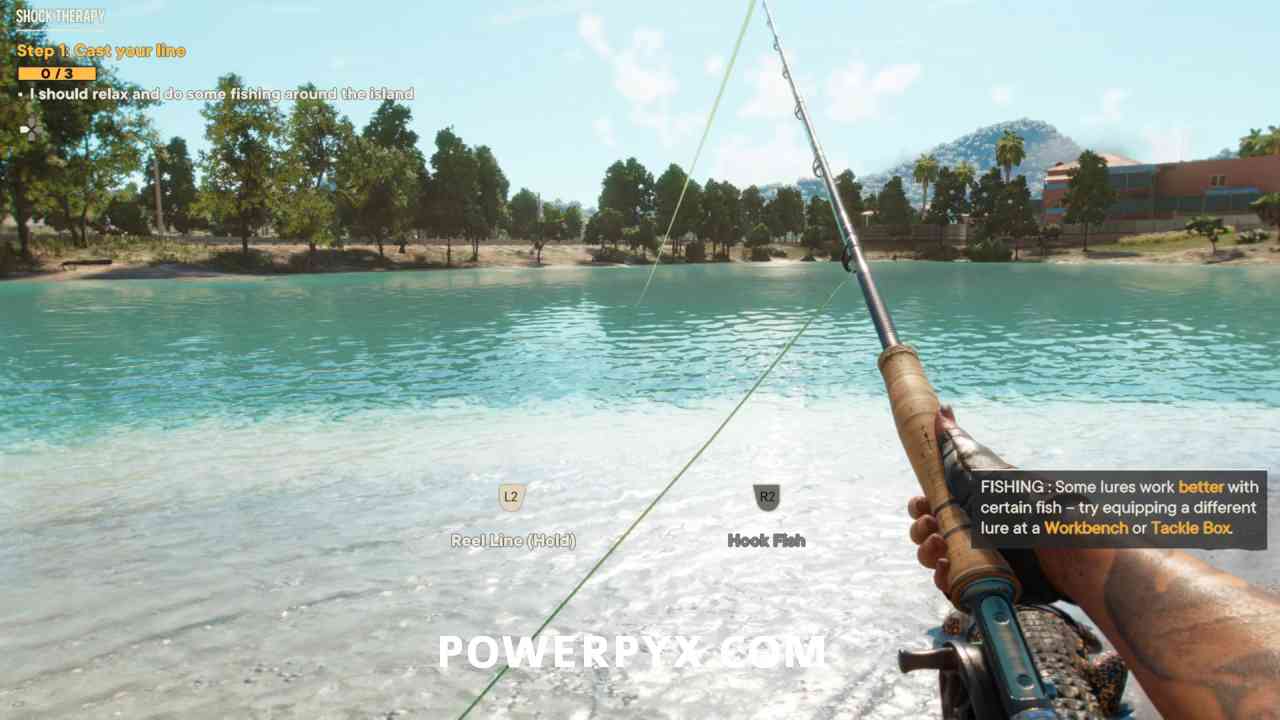
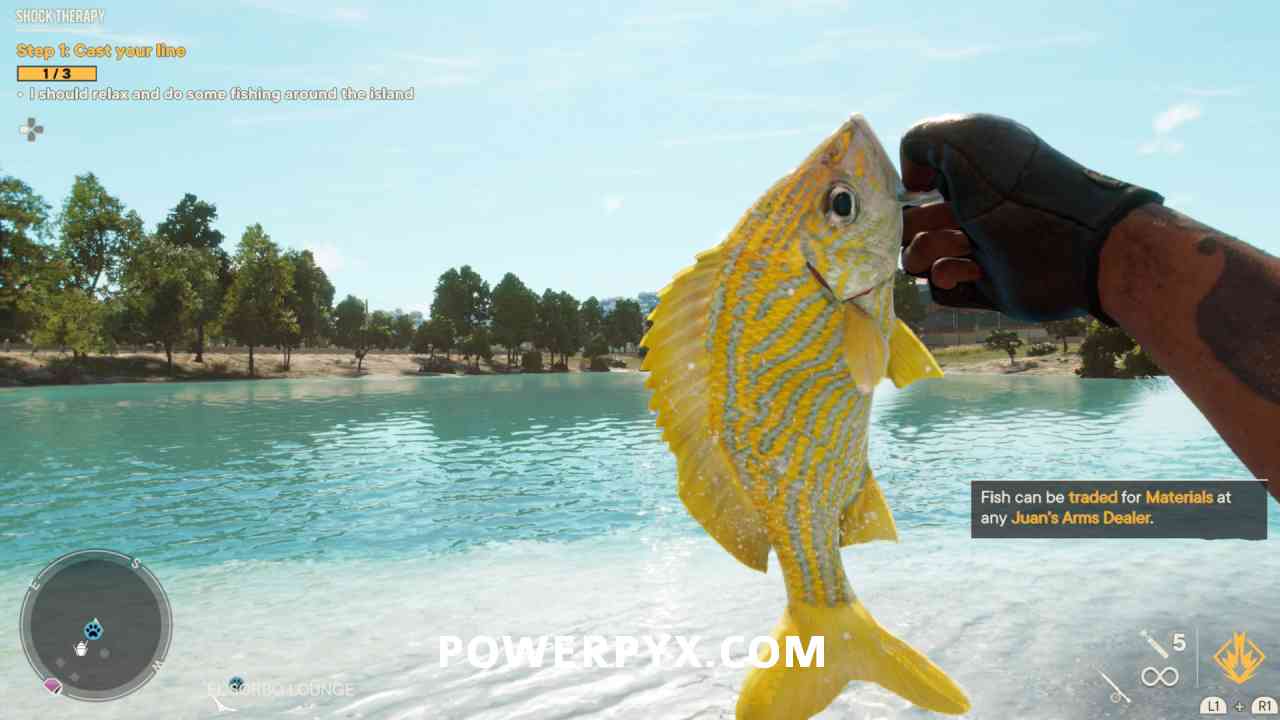
Step 1: Cast Your Line
First you must catch 3 fish on the island where the quest started. At this point in the game you’ll already have the fishing rod automatically (was unlocked during “Fuel the Revolution” on Isla Santuario). You must select the fishing rod from the weapon wheel, hold  /
/  and select it from the bottom left.
Now hold  /
/  to cast your lure. Then hold
  /
/  to reel it in quickly. Just keep reeling it in as fast as possible, no need to tap the button, just hold down the button. The fish should be attracted to it then. If you see fish following it in the water, stop reeling it in and wait for them to bite, then hook them with / . Now hold / t reel in the line and use the right stick in the direction shown on screen so that the line doesn’t snap. If you push the right stick in the wrong direction the line could snap and you’d lose the fish. If you haven’t fished before it can take a few tries to get used to it but after catching one fish the next two should be even easier.
Step 2: Feed some Pelicans
After catching any 3 fish, the quest giver will give you a call to now feed the fish to 3 Pelicans. These will randomly land around the island where the quest started. They have to be on the ground (not in the air or water) so that you can approach them and interact with them to feed them fish. Just run around the island in circles and also go down the bridge to check if some Pelicans landed there. Look in the air and watch out for Pelicans and where they land. It can take a while to find 3, it took me about 5 minutes of running around the island in circles. If you have absolutely no luck, you could try fast travelling away and coming back here, it’s just a bit random so be patient and watch the skies for landing Pelicans.


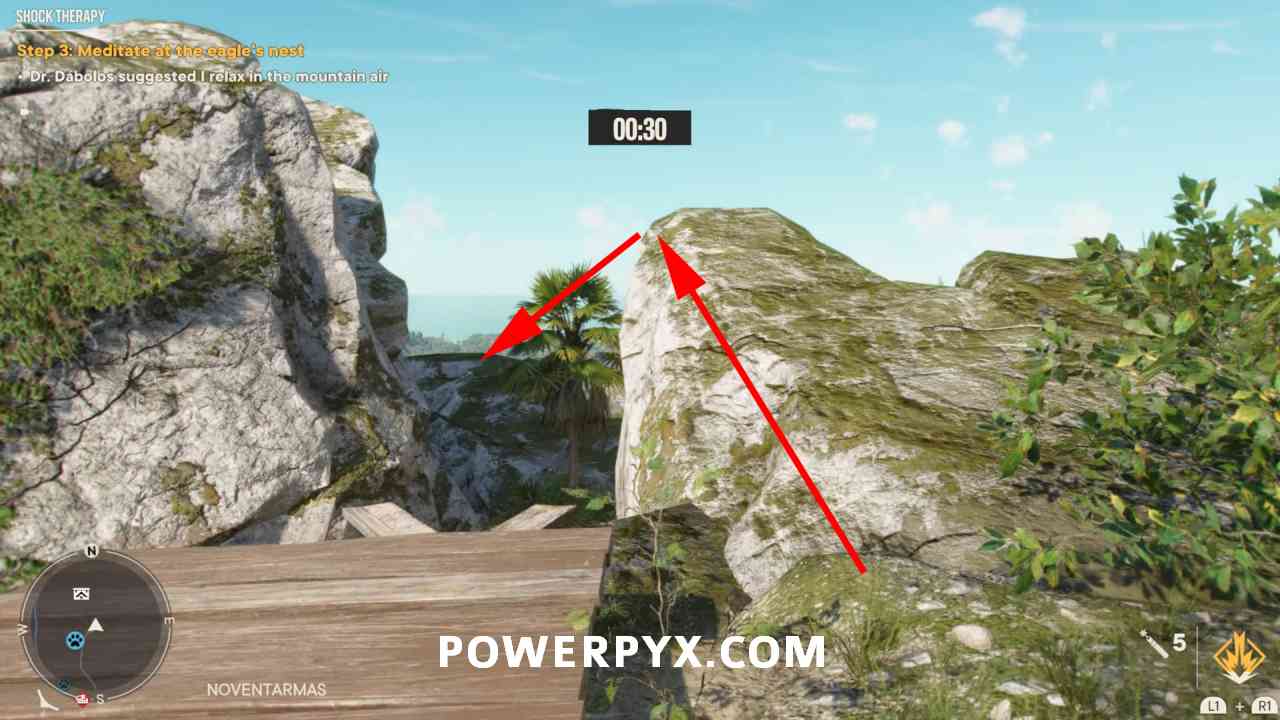
Step 3: Meditate at the Eagle’s Nest
With 3 Pelicans happily fed, the doctor now wants you to meditate in an eagle’s nest. Go to the quest marker location a little further north in Valle De Oro. You can either land directly at the top of the mountain with a helicopter or wingsuit/parachute, or use the nearby rocks to jump over (3rd image below) and climb up the yellow ledges (4th image below).
Once at the top, stand completely still inside the eagle’s nest. You can’t be crouched, must stand upright. A 30 second timer will count down the time when doing it correctly.


Step 4: Get some Air Time
Now you need to use the wingsuit or parachute for 30 seconds in mid-air. The wingsuit is unlocked from building the ‘Hidden Network’ facility at any of the 3 main camps. The easiest option is to use the “Air Drop” fast travel option over any hideout or captured FND base, so simply hold  /
/  on any fast travel location that offers the Airdrop option (doesn’t work over main camps). Alternatively, you could jump off a high mountain but that would be more complicated than it needs to be.
Step 5: Forgive your Enemies
The fifth step is to “forgive your enemies” by stabbing them in the back. You must approach enemies from behind and press  to do a melee takedown. This is most easily done in stealth, but it can also be achieved in combat as long as you can get behind the enemies (e.g. if they’re facing your Amigo). Repeat on 3 enemies.

Talk to Dr. Dabolos
Lastly, return to the quest giver where the quest started. This will finish the quest.
This finishes Shock Therapy Yaran Story in Far Cry 6.
For all other Quests, check out the complete Far Cry 6 Walkthrough.
Xfarcryfan says
I hated this mission so much I quit the game and erased the save. Whoever is responsible for it should be fired immediately.
David says
because of which part? i had so much trouble finding a pelican that wasn’t flying or in the water!
Bob says
You can feed the same pelican three times, you don’t need to find others
John says
Would have ignored this mission if it was ’t for Dr Dabolos calling me everytime I went into combat. It was annoying for sure.