
Water Tower is a Story Quest (Main Mission) in Dying Light 2. This walkthrough will guide you through all objectives of the Water Tower Story Mission.
Region: Horseshoe
Quest Giver: Sophie or Aitor (choice dependent)
Requirement: Complete The Raid
Reward: 250 Combat XP, 1000 Parkour XP, Loose Screw Weapon, 1 Remote C4 throwable, Gang Leader weapon charm
Mission Info: Jack and Joe threatened to blow up the Water Tower and deprive everyone of the water. I had to climb the tower unnoticed and take control of it.
Objectives:
- Get to the Water Tower
- Find and disarm the explosives
- Climb to the top of the Water Tower
- Defeat Jack and Joe (choice dependent)
- Get the water flowing again
- Search Barney’s hideout for evidence
- Defeat Barney
If you assigned the water tower to the Survivors
- Wait for Sophie’s call
- Meet Sophie at the Bazaar
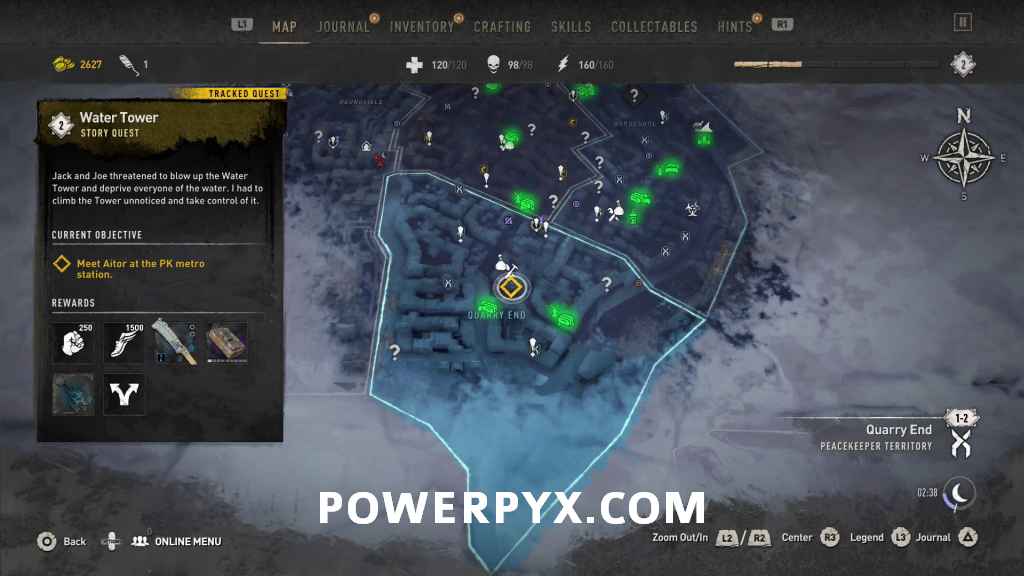
If you assigned the water tower to the Peacekeepers
- Meet Aitor at the PK metro station
Starting Location: Water Tower
 |
 |
Get to the Water Tower
After completing The Raid, whichever way you ended up doing so, you will be tasked with going to the Water Tower in the Horseshoe area and capturing it back from Jack and Joe. There is a fence all around the outside of the area, so you will need to jump over to get inside using something like one of the broken vehicles near the fence.

In the area, there will be some infected you can deal with or ignore, then pick the lock on the marked door to enter the Water Tower.
Find and disarm the explosives
Jack and Joe have set up 3 explosives on different floors of the water tower that you need to grab. They are pointed at by the objective marker in the floors when you are on them, so just go over and interact with them to remove them.

You will then have to parkour your way up the Water Tower to reach the next floors. Out of the first floor, climb the white water jugs to the open door ledge, then jump up and onto the rooftop of the area you were just in.
 |
 |
Turn immediately to the left and you should see another platform. Jumping up to it, start climbing clockwise around the water tower to reach the next floor.

When you reach the next walkway extending from the center of the building there is a ladder you can kick down, just in case you fall down and need to get back up quicker.

Turn to the center of the tower and break the barrier in the doorway, then grab the next explosive stuck to the barrels inside.
 |
 |
To continue upwards you need to climb the yellow rails on the central pillar, then jumping to the open window above.

You can then move directly out from the middle of the tower, climbing to the top of the side tower, where there is another ladder you can kick down before continuing.

From the tower jump to the next ledge and back into the center of the water tower. Through the green door you will find the final explosive on the next set of barrels.

Climb to the top of the Water Tower
Before climbing further, there is a GRE crate on this floor you can open to obtain some Inhibitors.

You can then climb up the wall just beside the GRE crate and jump upwards to the next ledge to continue climbing.

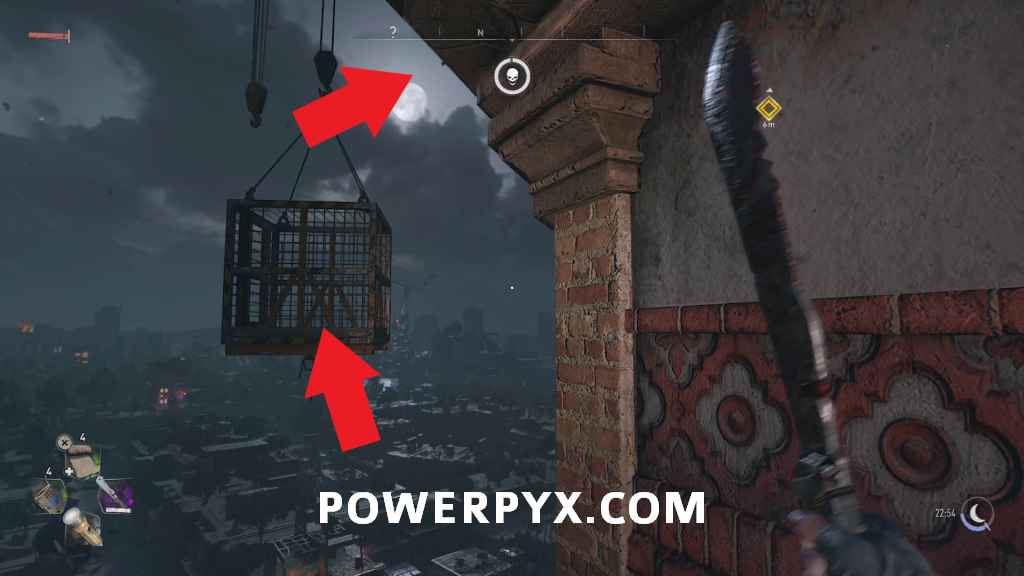
Break the window to get back outside, then turn to the right and jump to the hanging cage. From the cage, you can jump up to the final ledge on top of the water tower, then interact with the wooden barrier blocking the window to enter the top room of the water tower.
Inside you will be stopped by Jack and Joe, with an opportunity to talk to them first. The first choice you make doesn’t matter, they have the same dialogue either way. What matters is the timed dialogue that appears after.

If you choose “I will help you.”, then Jack and Joe will leave without fighting. This doesn’t change the rest of this story quest, but you can then complete the side quest Moonshine later in the game.
If you choose “I won’t help you.”, then Jack and Joe will become hostile and you need to kill them before you can deal with the water tower.
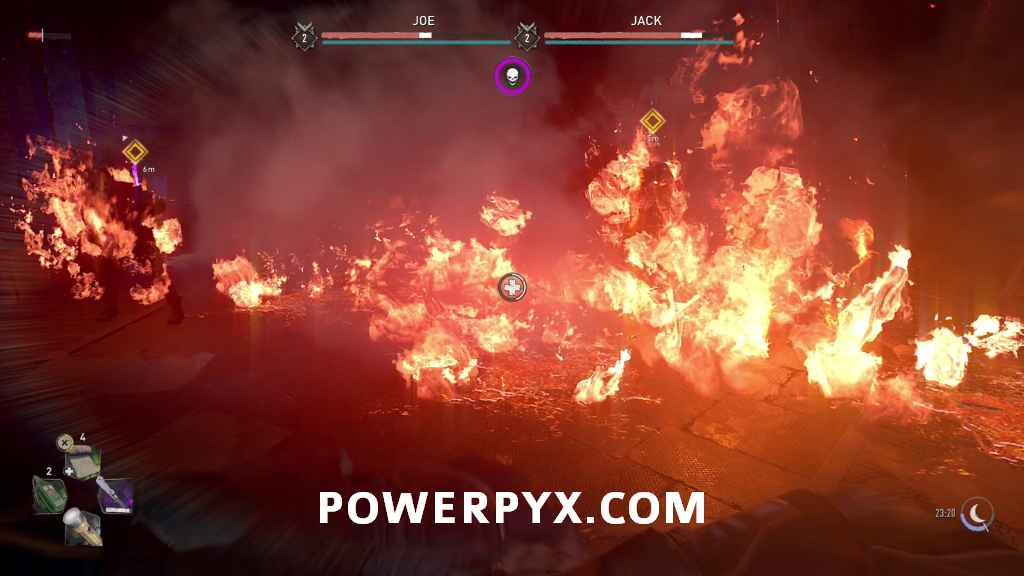
Defeat Jack and Joe (choice dependent)
Jack and Joe both fight you at the same, though they aren’t too bad to deal with.

They are both normal sorts of human enemies, only wielding one-handed weapons so most attacks they do can be parried. They also don’t like fire very much, so you can toss molotovs at them to occupy them momentarily if you need to heal or get some extra damage in.
Get the water flowing again
After Jack and Joe are dealt with, you need to activate the water in the area. First though there is a tape you can grab sitting directly beside the water valve.

You can then interact with the crank, which allows you to select which of the two factions you want to assign the water tower to. THESE CHOICES ARE PERMANENT! Once you make the selection of what faction to assign a facility to you can’t change it later, so make sure you check through the perks this first time and decide which faction you like better and want to stick with, as you need to assign all facilities to the same faction in a playthrough for the trophy/achievement “Boot Licker”.

This choice of who you assign the water tower to also determines which of the next two story quests you play once this one is completed: Revolution if you assign it to the Survivors, or Into the Dark if you assign it to the Peacekeepers. These are both totally unique missions, but once they are done you return to the linear story path for the moment.
Search Barney’s hideout for evidence
After assigning the water tower Hakon will call, and Aiden relays the information to him about Lucas. Hakon suggests you go search Barney’s hideout at the Tango Motel for any clues.

Head back over there and you can enter into the upper floor of the building the same way as before. If you didn’t actually go into the Motel in the prior quest you can still climb up using the scaffolding if you didn’t kick the ladder down before. You will have to pick the lock to get inside though, regardless of whether you were here before.
Go through the marked door to the next area. If you hadn’t been in here before you can grab the inhibitors out of the GRE crate now (or obtain some extra items that will have respawned since the last time you’ve been in there).

Go through the gate into the next room. You can use Survivor’s Sense to spot some items in the room you can investigate, but none of the highlighted items actually matter. You want to go to the back of the room and interact with the large wooden board leaning against the wall.

After moving the wall look to the ground on the right side and use Survivor’s Sense to highlight an item you can pick up.

Defeat Barney
Barney will then appear and attack Aiden, and you need to deal with him.
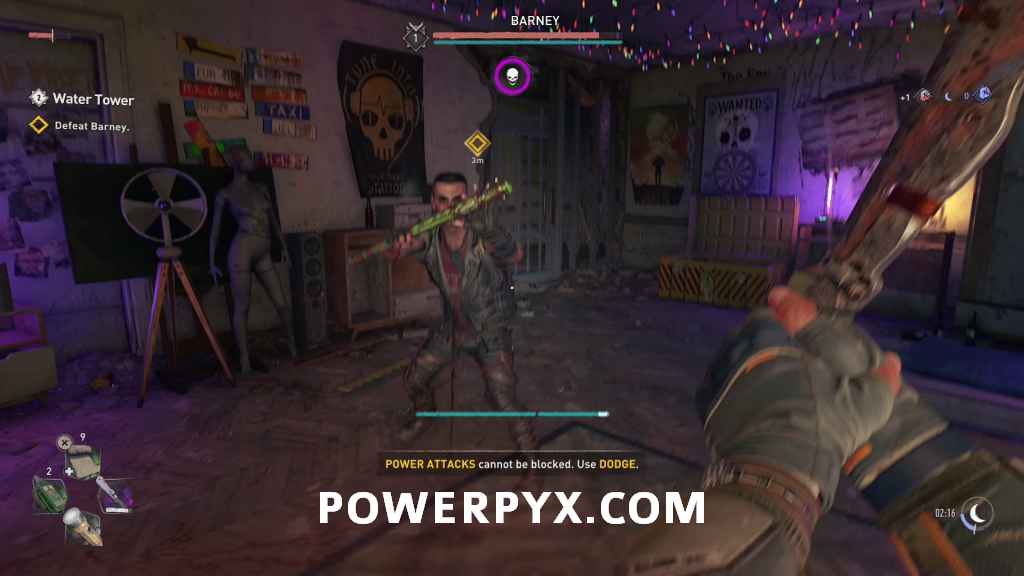
Like Jack and Joe he is just a normal guy wielding a one-handed weapon, so can be parried stunned with fire. Once you get Barney down to about 1/3 remaining health the fight will automatically stop.
What occurs next depends on who you assigned the water tower to.
If you assigned the water tower to the Survivors then Sophie will appear, stopping you from fighting with Barney. Aiden agrees to go along with her plan, then you get the objective “Wait for Sophie’s call”

If you assigned the water tower to the Peacekeepers then Aitor will appear and Barney will be arrested. Aitor then asks you to meet at the Metro Station and you get the objective “Meet Aitor at the PK metro station”.

Wait for Sophie’s call (choice dependent)
If after speaking with Sophie, she says she needs you to wait for her to call you for the next step of the plan. This objective is just time-dependent, you need to wait about 10 – 20 minutes then she will call automatically. You can either wait around or go work on side content in the meantime.
Meet Sophie at the Bazaar
Once Sophie calls you, head back to the Bazaar.

Go to the upper level and interact with the closed door to meet with Sophie and complete the story quest.

Meet Aitor at the PK metro station (choice dependent)
Head back to the metro to meet up with Aitor in his office.
After seeing Aitor interrogate Barney and speaking with him more outside the story quest will be complete.

This finishes Water Tower story quest in Dying Light 2 Stay Human.
For all other Main Quests and Side Quests, check out the complete Dying Light 2 Walkthrough.
Shahin says
Municipal Trophy won’t trigger. I have all 7 facilities opened and assigned. The Horseshoe water tower shows as not completed even though I have a safe zone. Any way around this or is it bugged?
PowerPyx says
What’s worth a try is reinstalling the game and join someone’s co-op game who has all facilities assigned, see if that triggers it.