
In the Jericho Chapter of Detroit Become Human you will have to track down 7 Graffiti Locations to advance the story. This walkthrough will guide you from one Graffiti to the next and explains how to scan them.
Before we start, remember you can check what the next graffiti looks like by holding  and can scan the graffitis with
  (must be close enough to them).
Graffiti #1 – Train Station
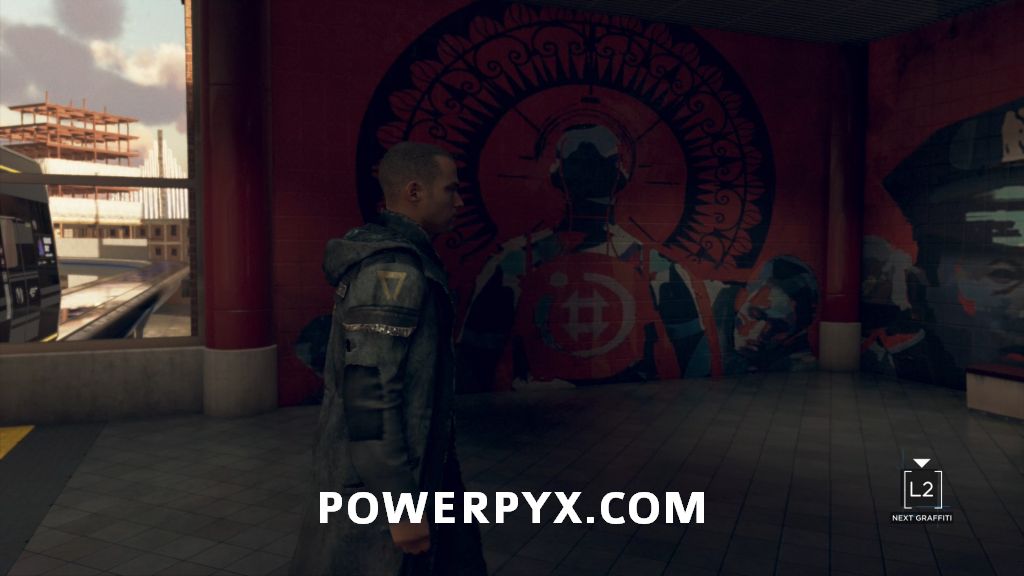
After you get off the train, immediately turn to your left. There on a red wall you must look at the Graffiti (stand in front of it) and press to scan. There are 2 small “X” symbols on it that you must analyze by holding  .
.
Clues on Graffiti:

Graffiti #2 – After Escalators

Leave the train station via the escalators. After the escalators the Graffiti is right in front of you, looks like a picture of a lion and a boxer.
Clues on Graffiti:


Graffiti #3 – Building Across the Street

From the last Graffiti, there are two crosswalks in front of you. Cross the street there and you’ll see a building with a colorful rainbow graffiti on its wall. You need to scan it when you are standing close enough.
Clues on Graffiti:


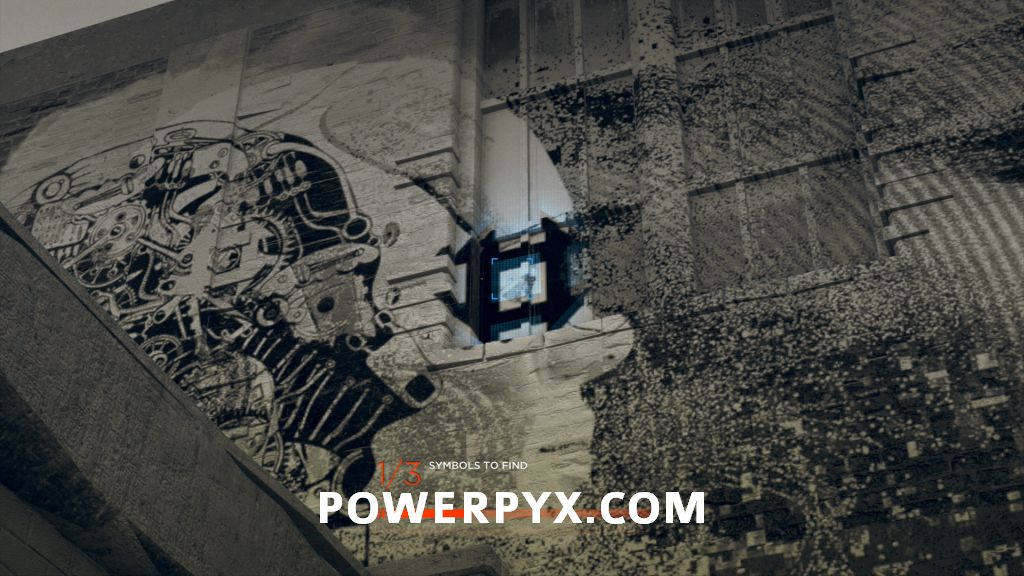
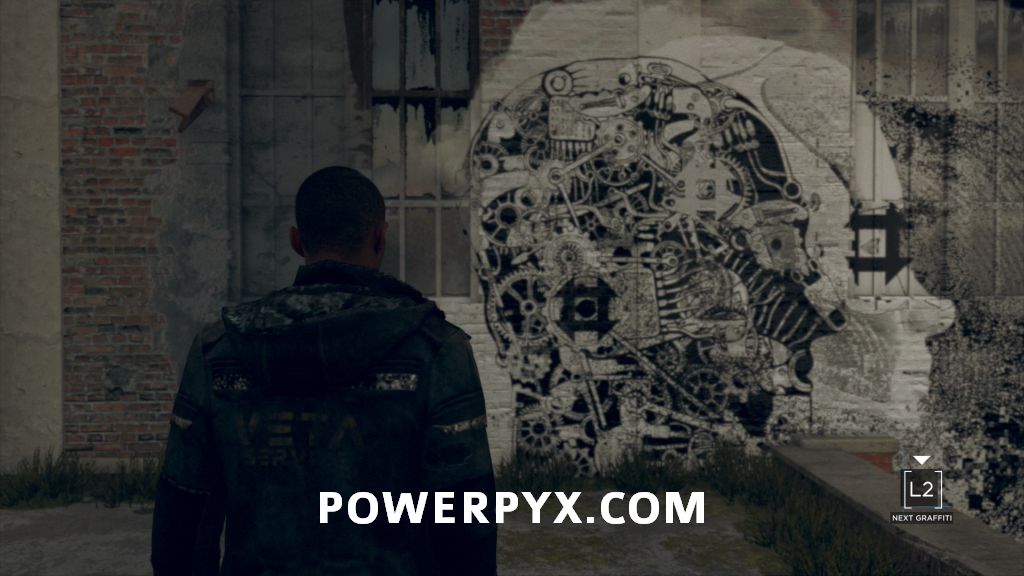
Graffiti #4 – Behind Fence

Go further down the street, stick to the left sidewalk. At the very end of the sidewalk is a fence on the left side. You can look through it to see the graffiti. Two icons can be scanned when standing in front of the fence. However, the third is obscured by a wooden plank leaning against the wall. To remove it you must crawl under the fence (press  near the fence). In order to get the button prompt you should scan the two visible icons on the graffiti first. After you made it through the fence, remove the wooden plank and stand straight in front of the wall. Then the last clue can be analyzed.
Clues on Graffiti:


Graffiti #5 – Junkyard

We’re continuing into the area behind the fence. There’s a junkyard with a big graffiti on the wall to the left. From the ground you can only analyze one clue. Two other clues are out of sight. To reach them you must climb up the roof next to the graffiti. Pull the nearby container to the wall and climb up. Then scan the two icons from the rooftop (note: one is almost invisible because it’s a white “X” on white background (not black color like the other two clues). It’s on the forehead / above the eye of the depicted graffiti person.
Clues on Graffiti:


Graffiti #6 – Across the roof

Continue across the roof and wall-jump over the abyss. Once you drop down on the other side, check the tall building that has a red graffiti on it. It looks more like an advertisement than a graffiti, can be easy to overlook at first.
Clues on Graffiti:


Graffiti #7 – Upstairs in Abandoned House

From the last graffiti you must climb up into the building. To do this, preconstruct the climbing path (you need to stick to the far left and then jump on the ladder). Once you’ve reached the top you must line up a pillar with part of the wall to get an “X” shaped graffiti. Part of the graffiti is on the pillar and part of it on the wall so you need to find the right angle.
Clues on Graffiti:

And that’s all the graffiti you can find in the Jericho chapter of Detroit Become Human. Now you can advance the story to find Jericho, a secret hideout of the androids. Good luck on the rest of your journey and if you need more help, feel free to refer to our Detroit Become Human 100% Completion Walkthrough.
Mark says
This last graffiti is frustrating me to no end. I’ve lined it up 20 different ways and it’s still not scanning. Why do you have to be in the perfect position? As long as you can tell it’s the symbol it should be enough.