
Astro’s Playroom has 142 Collectible Locations (46 Artefacts & 96 Puzzle Pieces). This guide shows you where to find all Collectibles in Astro’s Playroom on PS5. They are needed for several trophies listed below.
None of the Collectibles are missable. You can replay all levels at any time to grab your missing items. There is a built-in progress tracker on PS5 trophies so you can easily keep track how many you found already.
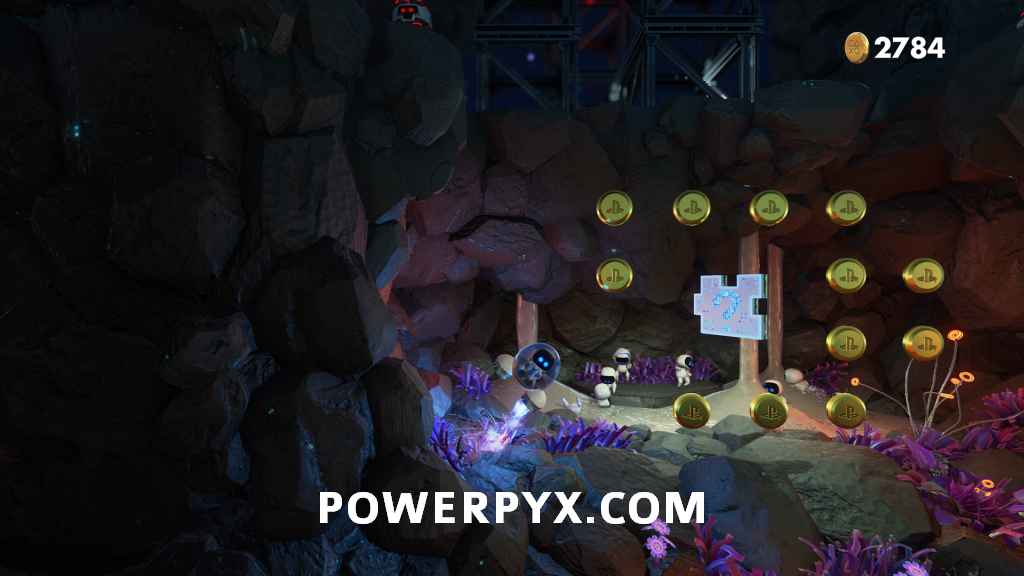
The way the game is structured is that there’s 4 Main World, each containing 4 Levels. Each World has 9 Artefacts (4×9 = 36) and the remaining 10 come from the Gatcha Machine in PS Labo. That’s your “trophy room”, a sort of hub world. To use the machine you need to put in the coins you find throughout the game. There are also 16 puzzle pieces per world (4×16 =64 pieces), another 4 pieces in CPU Plaza (hub world) and another 28 from the Gatcha Machine at PS Labo. What this means for you is that only 104 Collectibles are actually ‘found’ in the world and 38 come as rewards from the Gatcha Machine.
Trophies unlocked from Collectibles:
- In Mint Condition

- Such a Big Fan!

- Charted!
- Welcome to the Third Place
- … And Conquered Worlds
- Dude Raider

- One Down, Lots More to Go!
- Cool Hoarder
- The Found Legacy
- Omega Booster!
- Ico-nic
- A Grand Tour!


This Astro’s Playroom Collectible Guide lists everything in chronological order (all Artefacts and Puzzle Pieces in one playthrough).
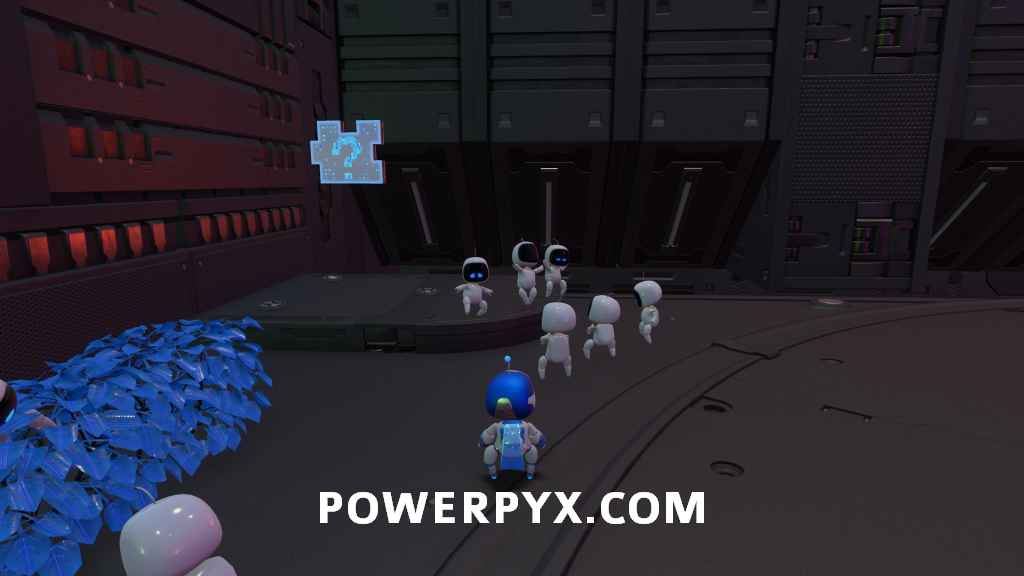
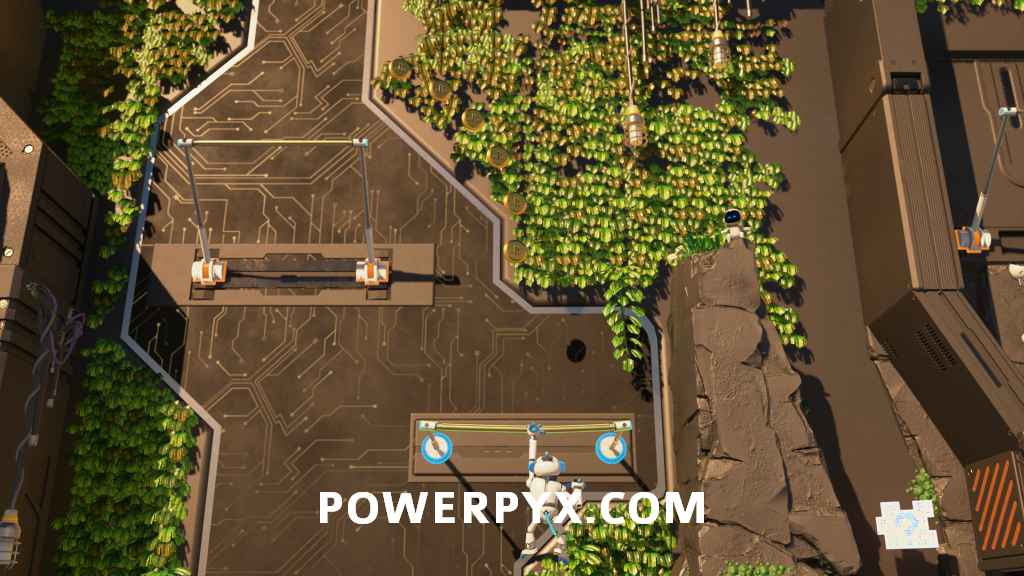
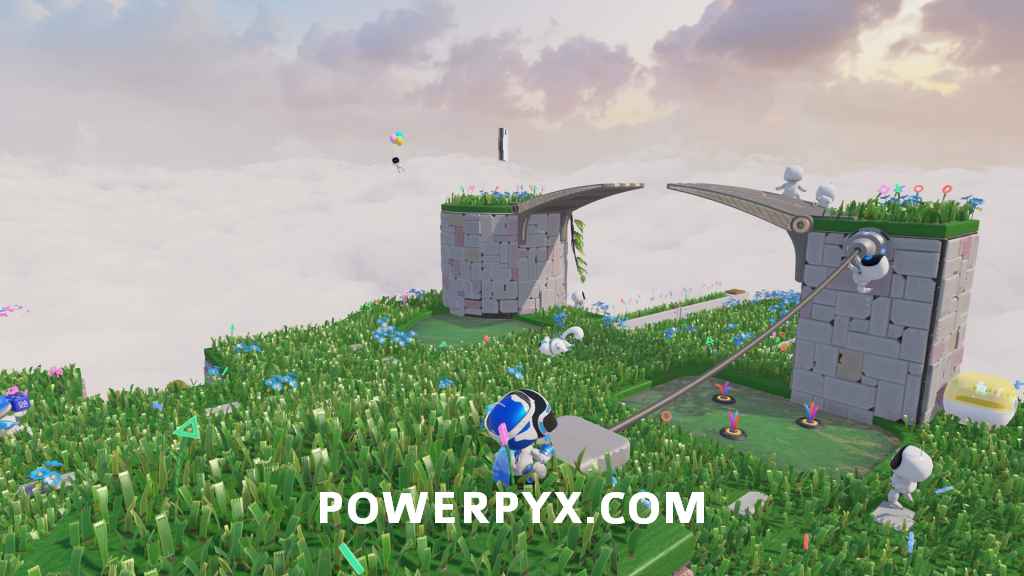
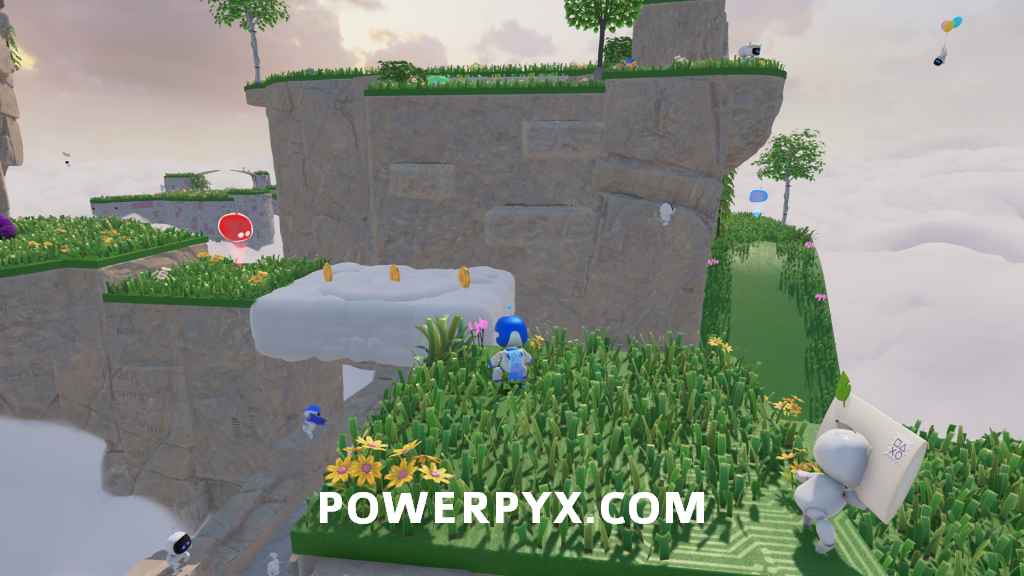
CPU Plaza
4 Puzzle Pieces
Puzzle Piece 1/4 – On the lower floor of CPU Plaza, pull the three wires on the platform in the corner by the ramp down to reveal this puzzle piece.
The remaining three puzzle pieces are all up the platforming path created when you pull the wire that’s up the ramp between the Memory Meadow and Cooling Springs entrances.
Puzzle Piece 2/4 – After reaching the first wire pull while going up the wall, jump up off the left side of the tilting platform to reach this puzzle piece.
Puzzle Piece 3/4 – After sliding down the long cable, pull the next wire and go up the two platforms moving up and down. At the top go to the left to find this puzzle piece.
Puzzle Piece 4/4 – Keep climbing and after going off two bounce pads you’ll be at the very top of the plaza, where you can find this puzzle piece.
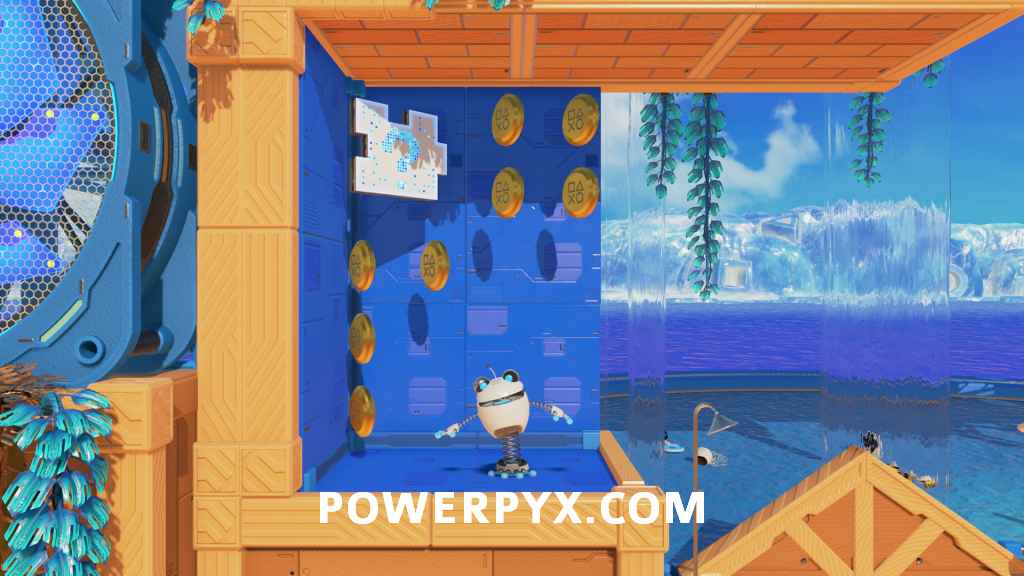
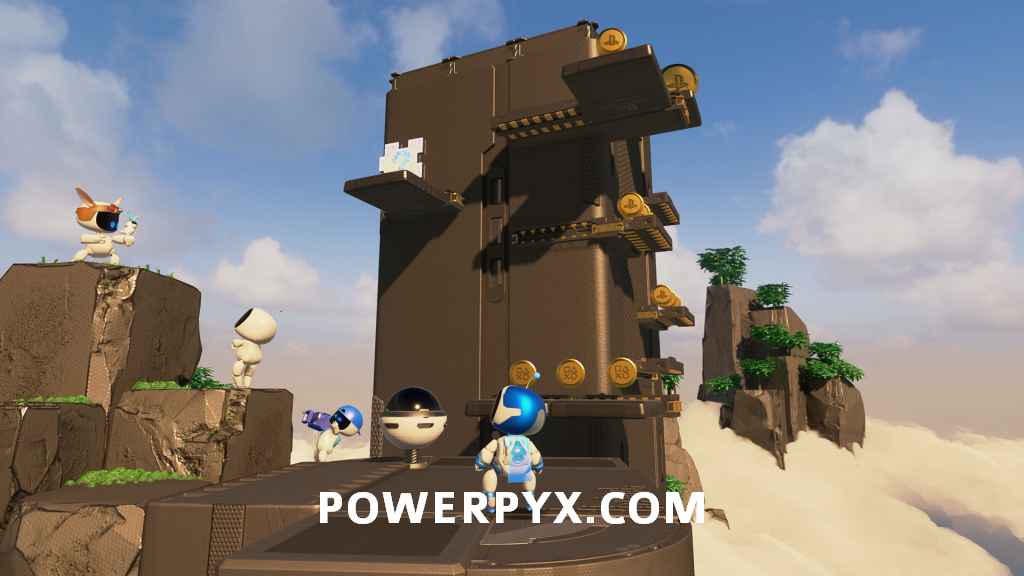
PlayStation Labo
10 Artifacts, 28 Puzzle Pieces
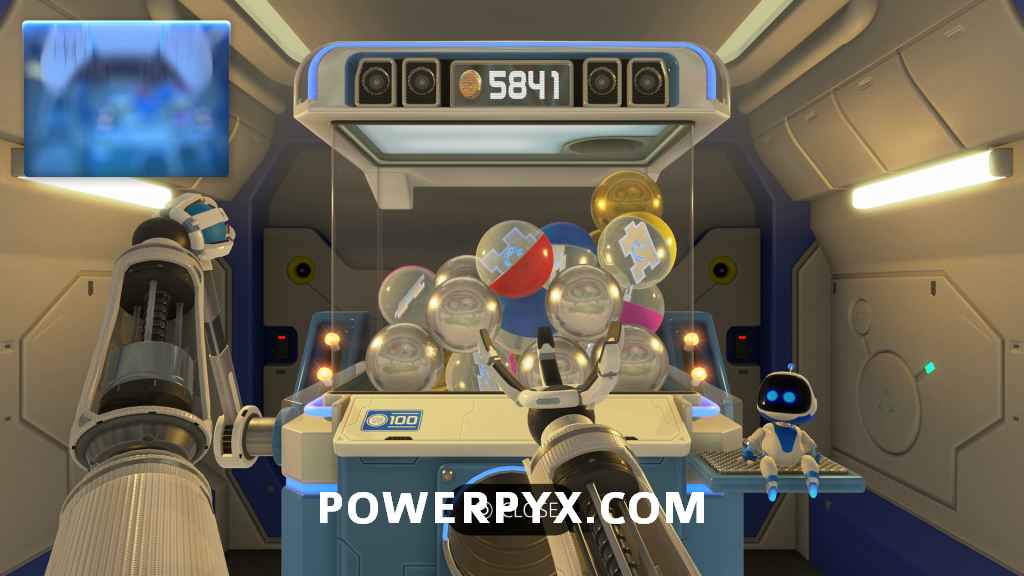
The items in the Playstation Labo area are obtained by using the Gatcha Machine at the back of the area, where you spend 100 coins at a time to get a random item from the machine, which includes some specific Gatcha prizes as well as these Artifacts and Puzzle Pieces. There isn’t a specific way to get these items only, you just have to keep rolling until you get them. If you want an idea of what each Gatcha ball gives, puzzle pieces are obvious, silver balls are the Gatcha Prizes, and the gold balls are the Artifacts. If you need more coins you can go replay levels you’ve already completed, grabbing the Puzzle Pieces and Artifacts again because those give a large number of coins when you obtained them again.
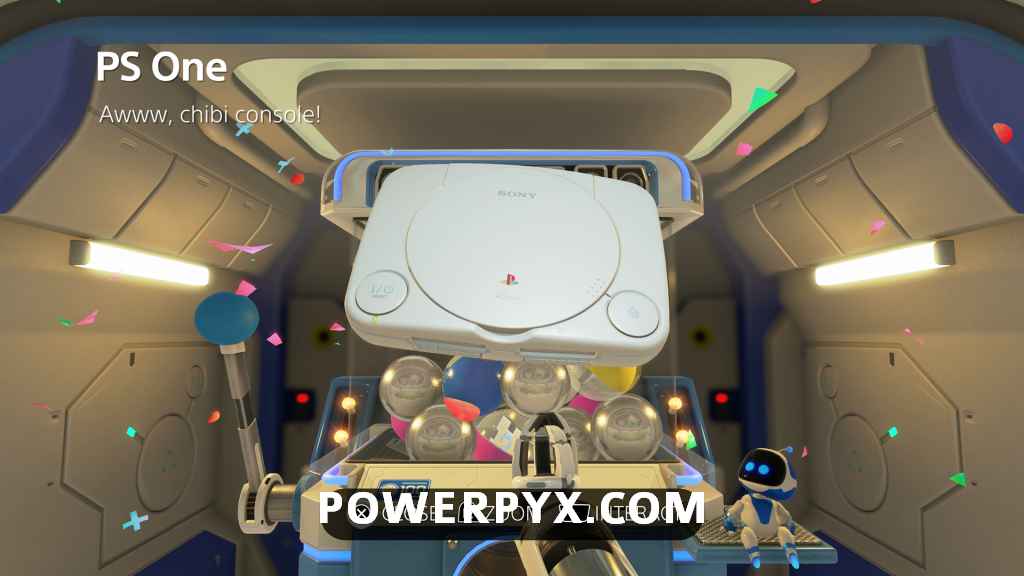
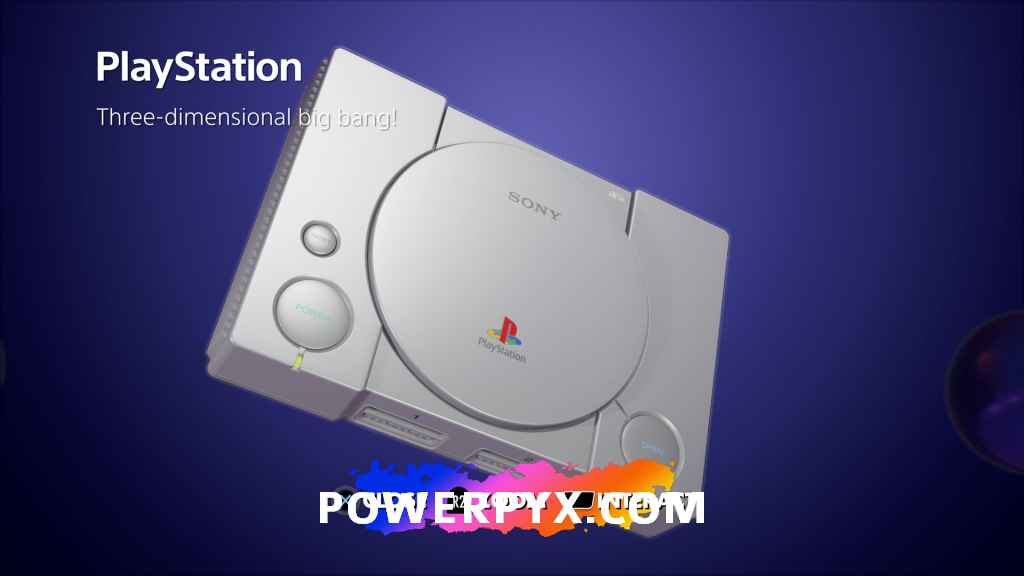
Artifact 1/10 “PS One”
Artifact 2/10 “PS2 Network Adapter”

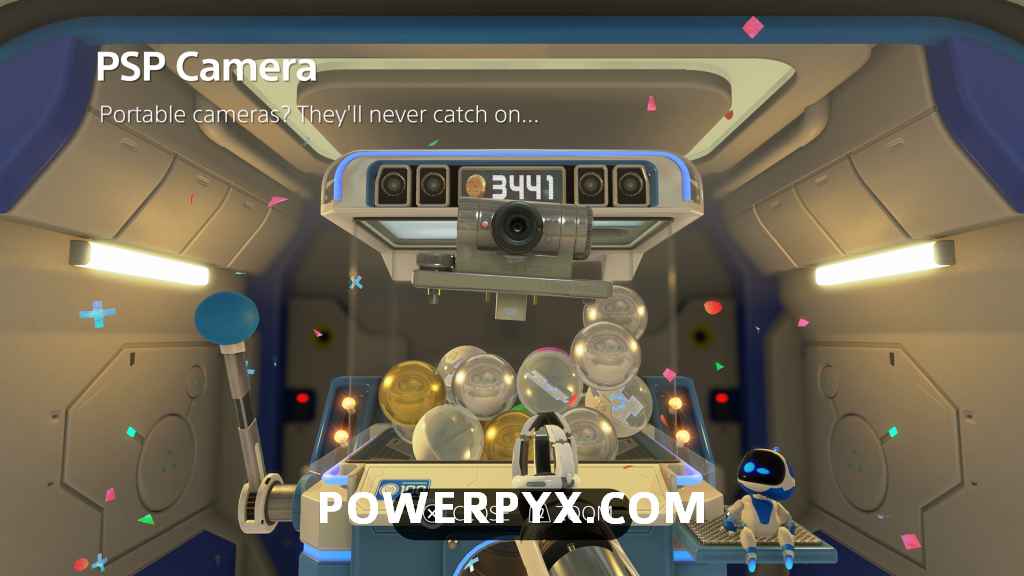
Artifact 3/10 “PSP Camera”
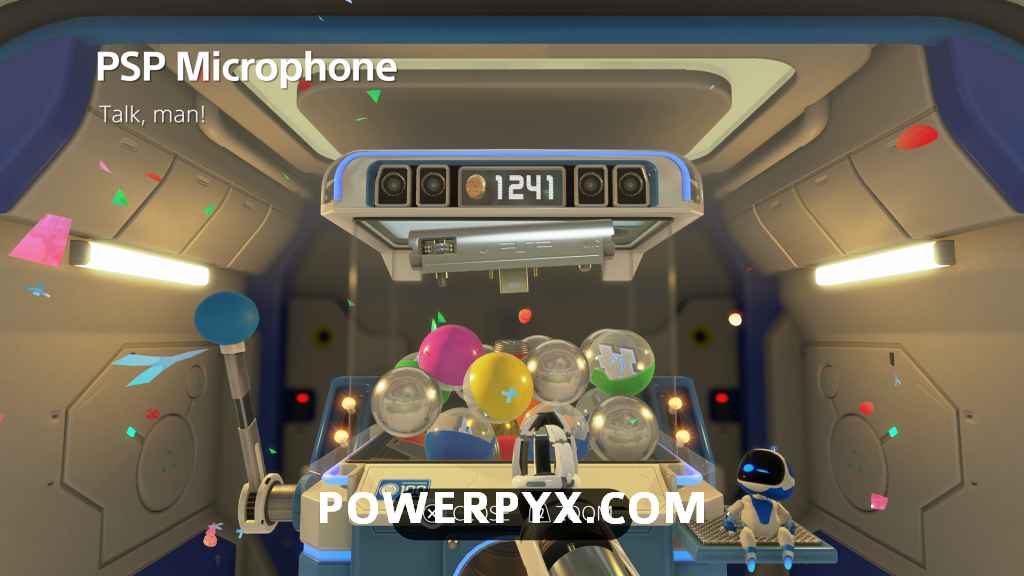
Artifact 4/10 “PSP Microphone”
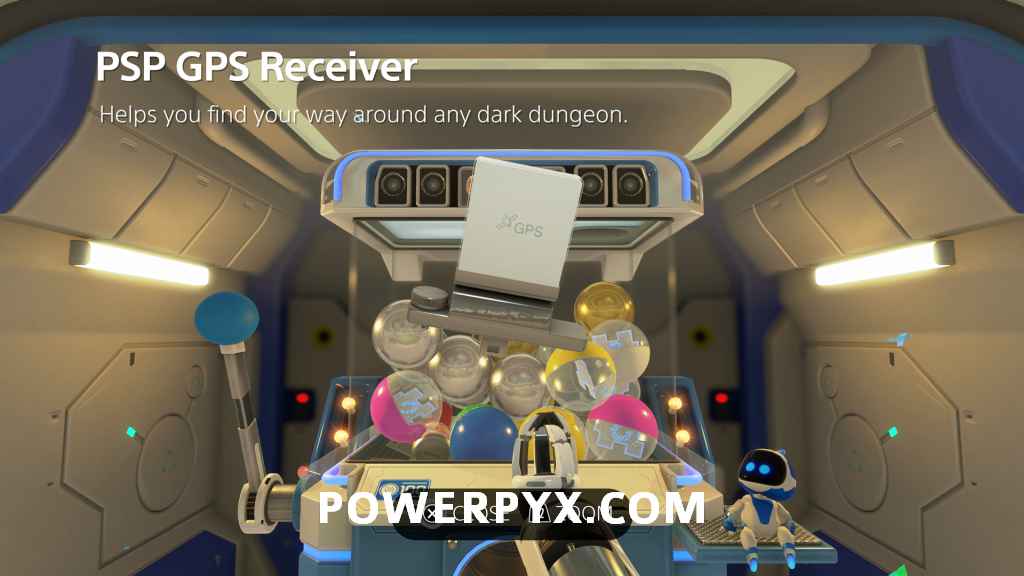
Artifact 5/10 “PSP GPS Receiver”
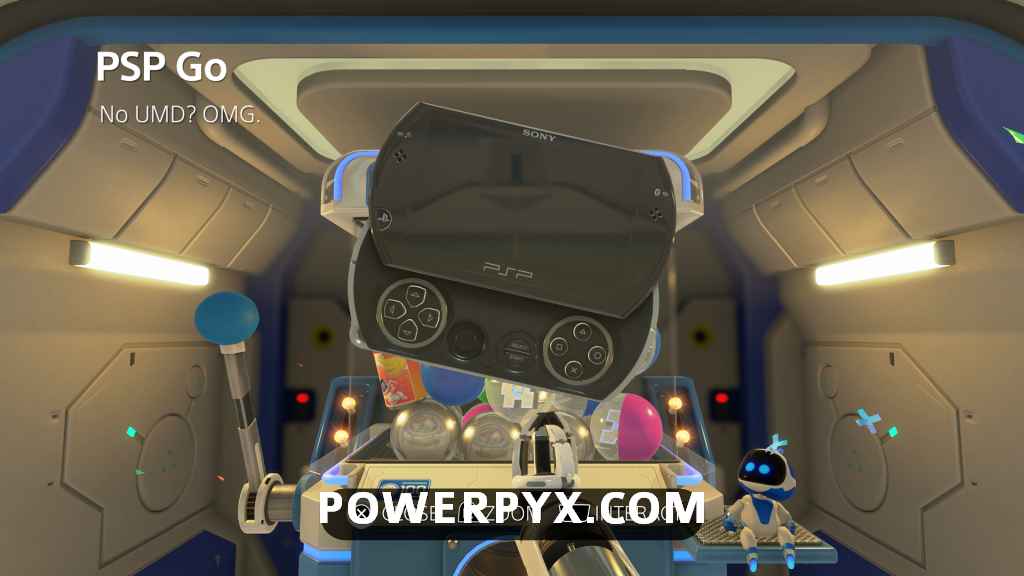
Artifact 6/10 “PSP Go”
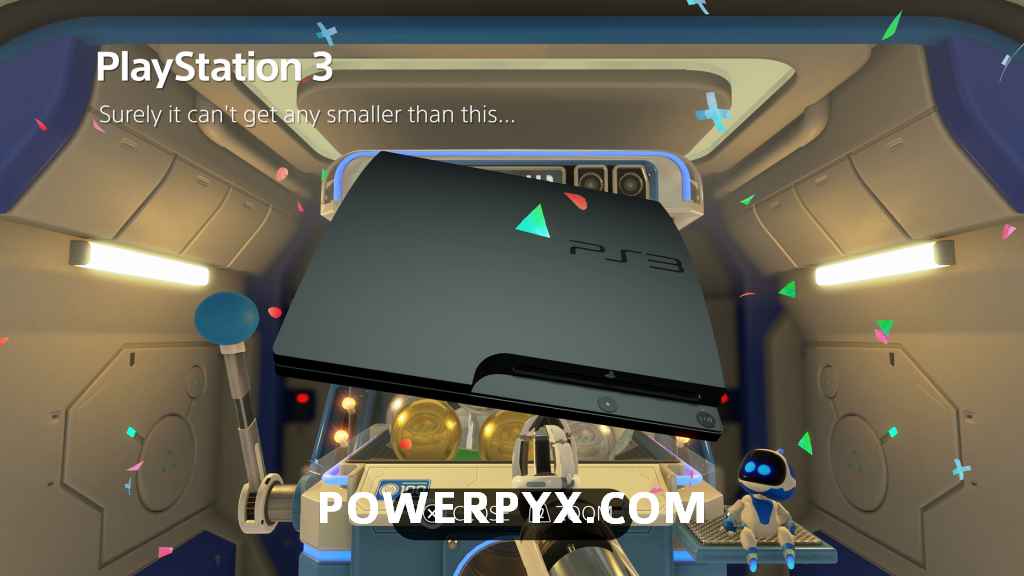
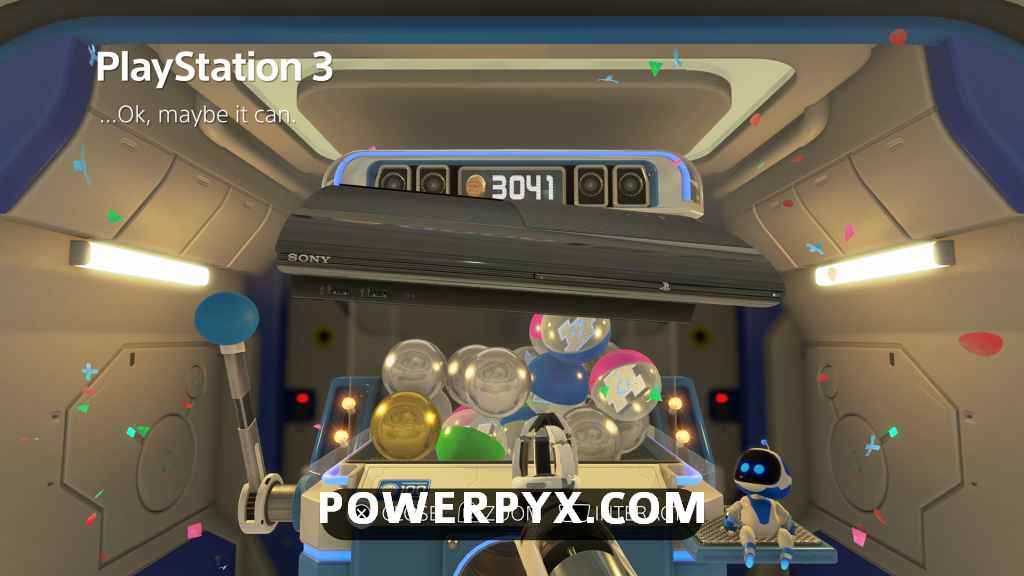
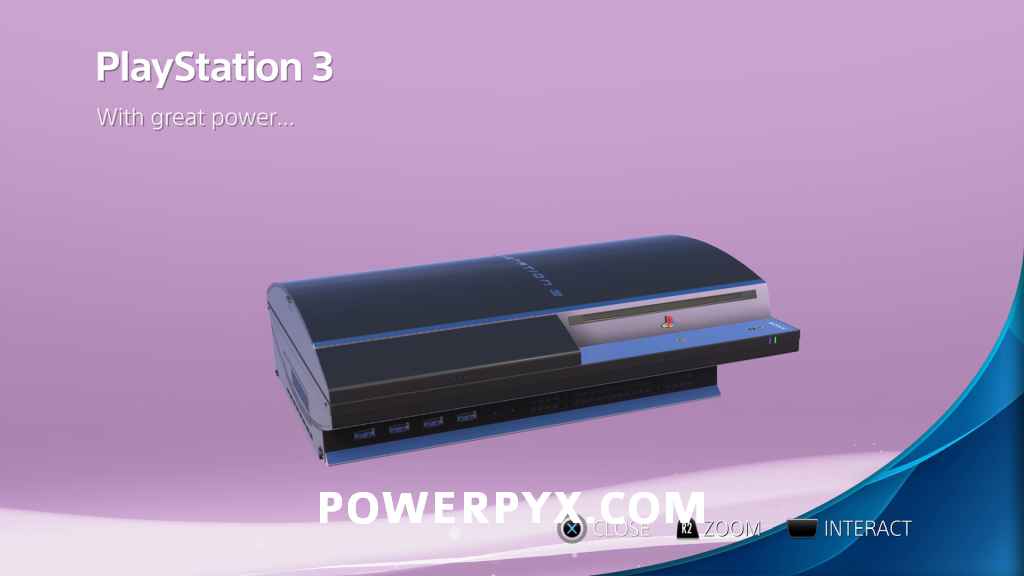
Artifact 7/10 “PlayStation 3 (Slim)”
Artifact 8/10 “PlayStation 3 (Super Slim)”
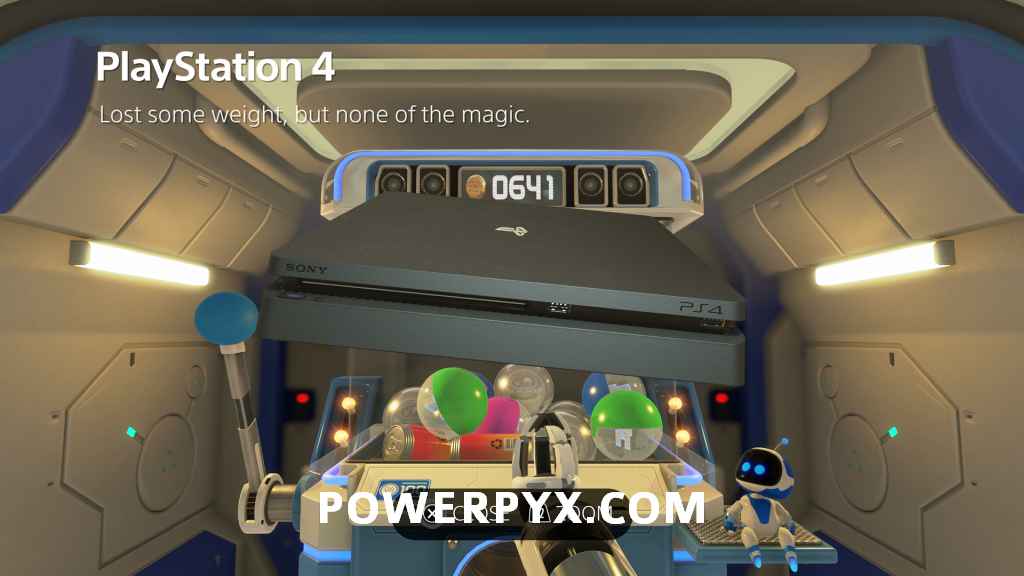
Artifact 9/10 “PlayStation 4 (Slim)”
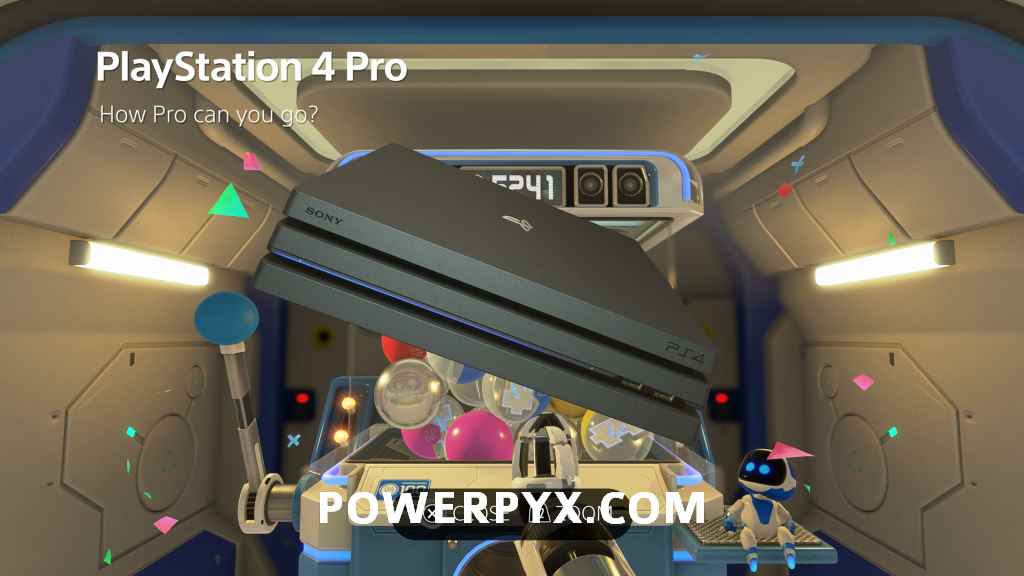
Artifact 10/10 “PlayStation 4 Pro”
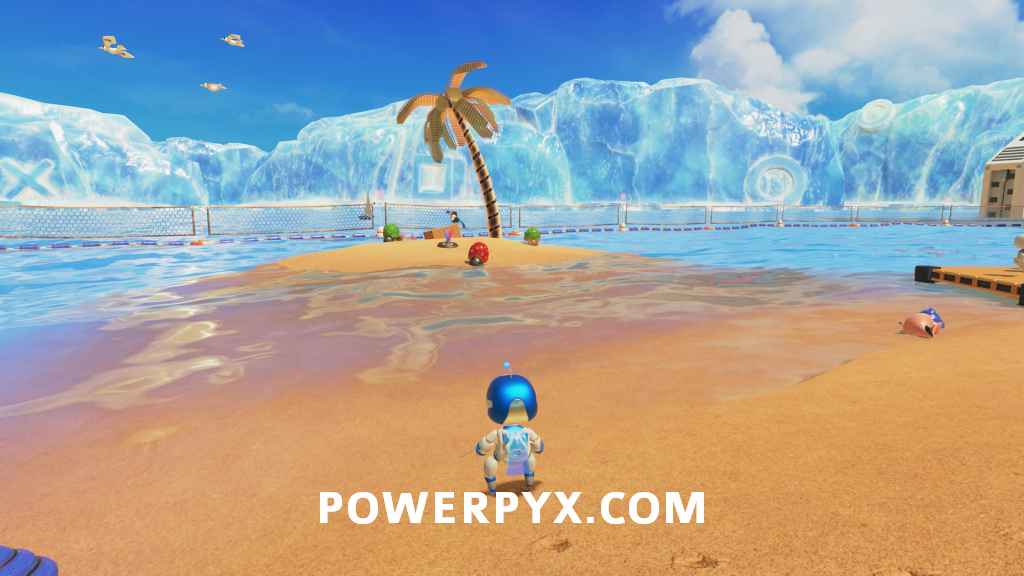
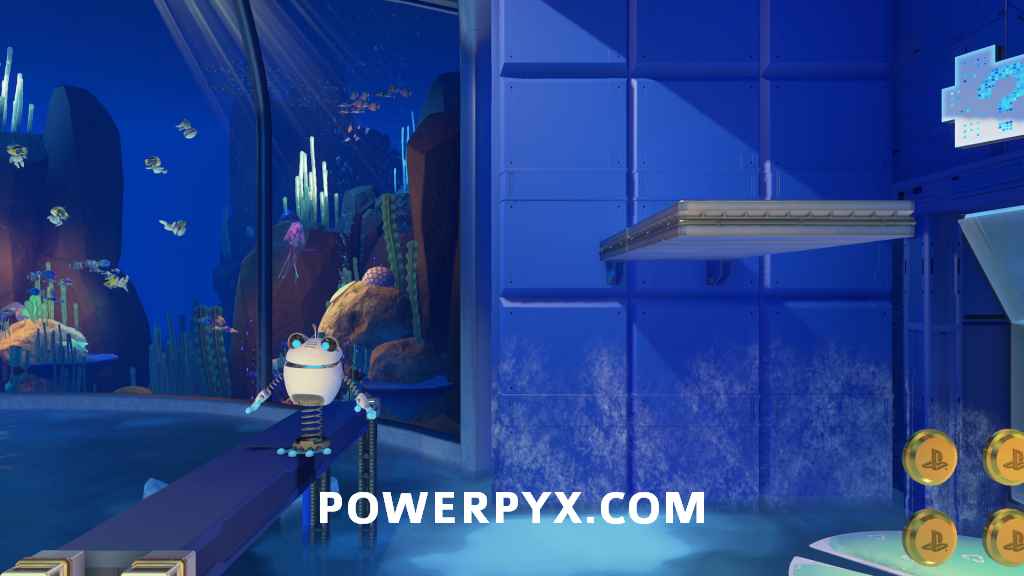
Cooling Springs
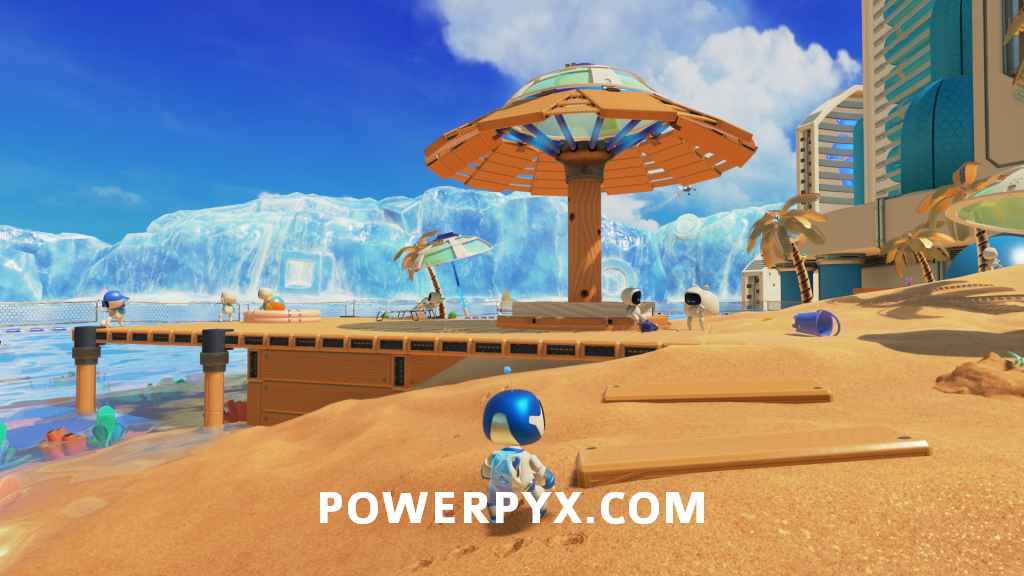
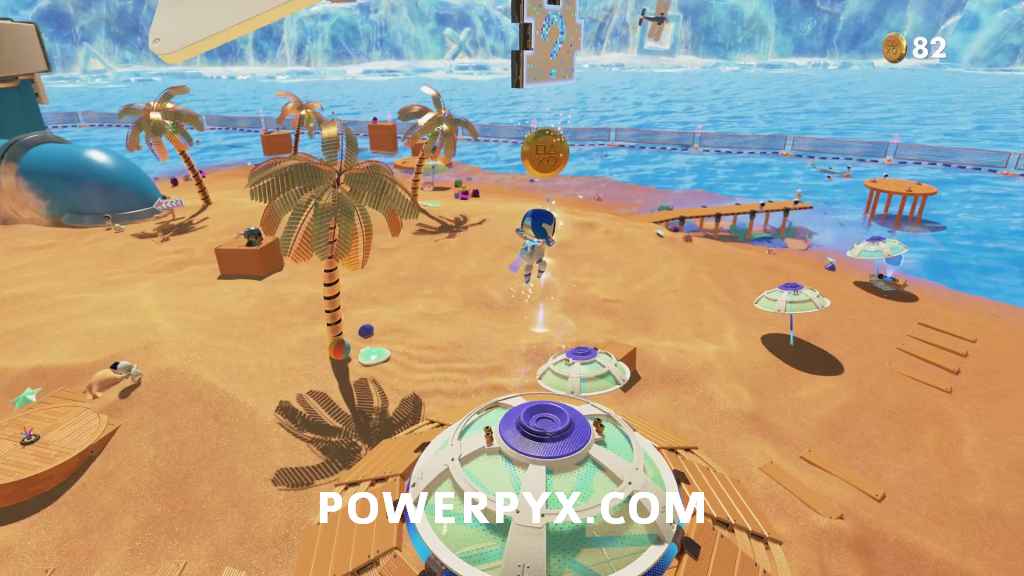
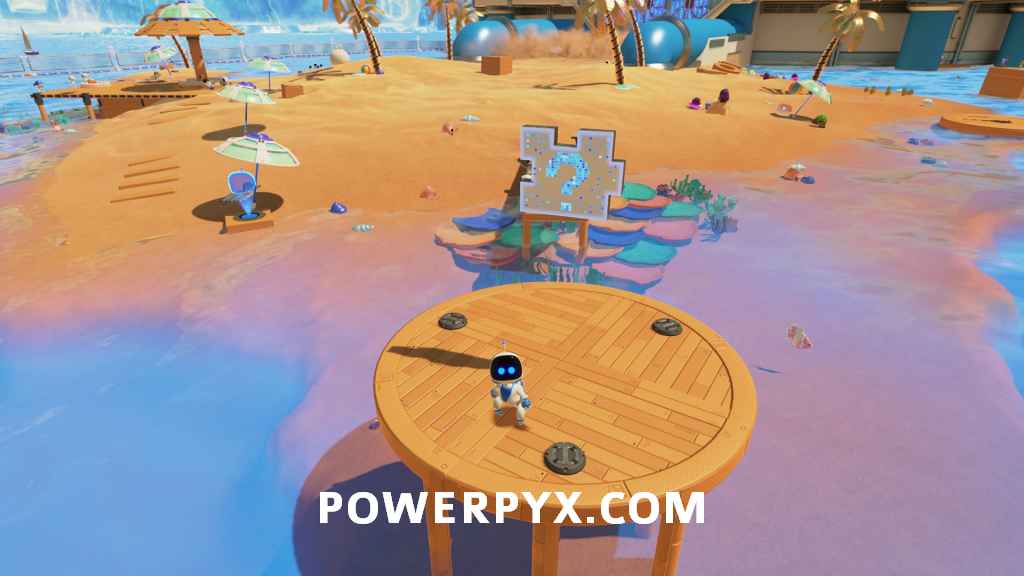
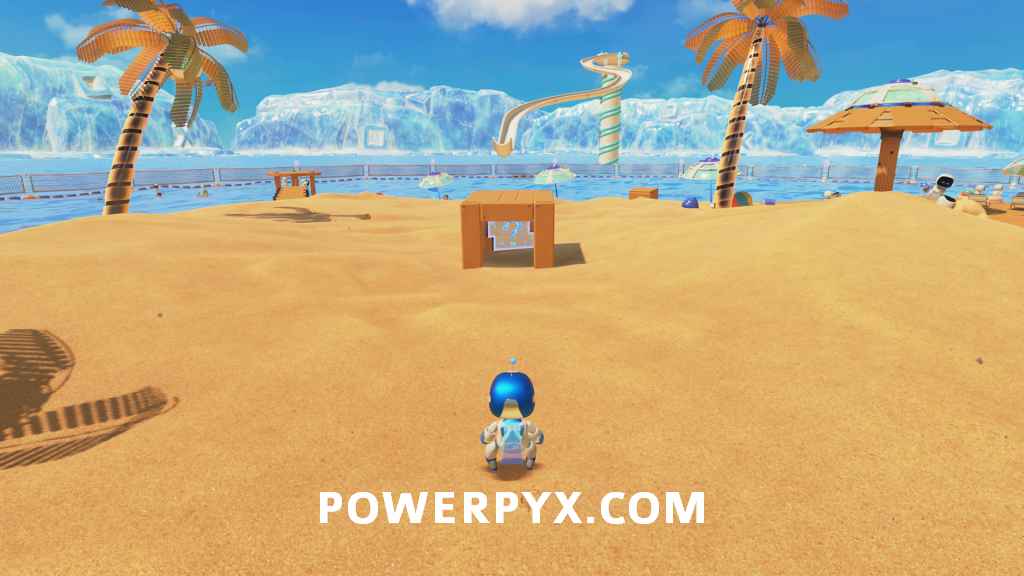
Bot Beach
2 Artifacts, 4 Puzzle Pieces
Puzzle Piece 1/4 – From the very start go to the large umbrella on the dock area on the left. Jump up from the smaller umbrella to the larger one, then directly in the middle over the line of coins.
 |
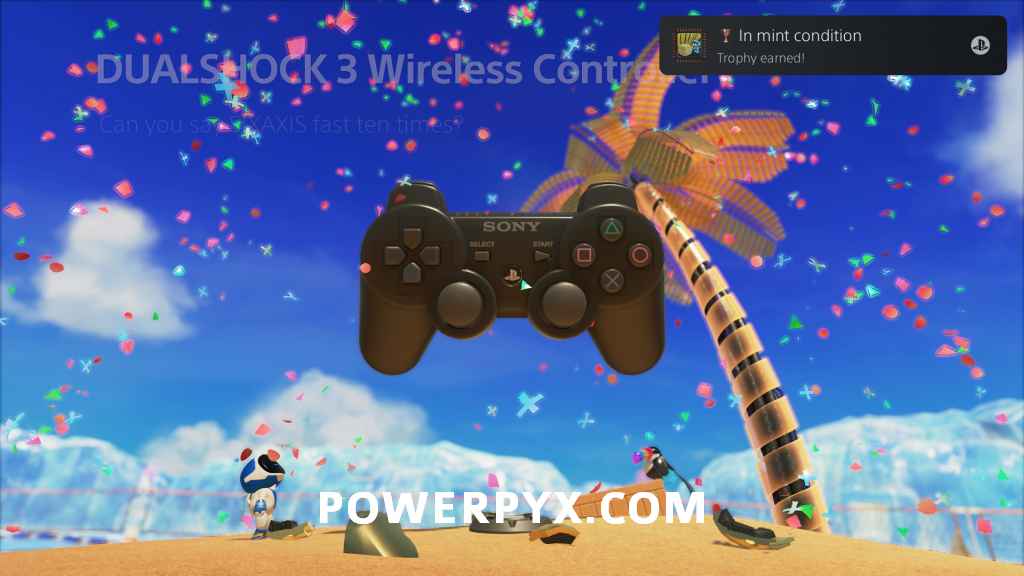
 |
Artifact 1/2 “DUALSHOCK 3 Wireless Controller” – Continue left out onto the small island, defeat the three enemies then pull up the wires to find this artifact.
 |
 |
Puzzle Piece 2/4 – At the far left, behind the large blue pillar.
Puzzle Piece 3/4 – From the start on the right side of the area, jump to the wooden platform and pull out the three wires to spawn this puzzle piece.
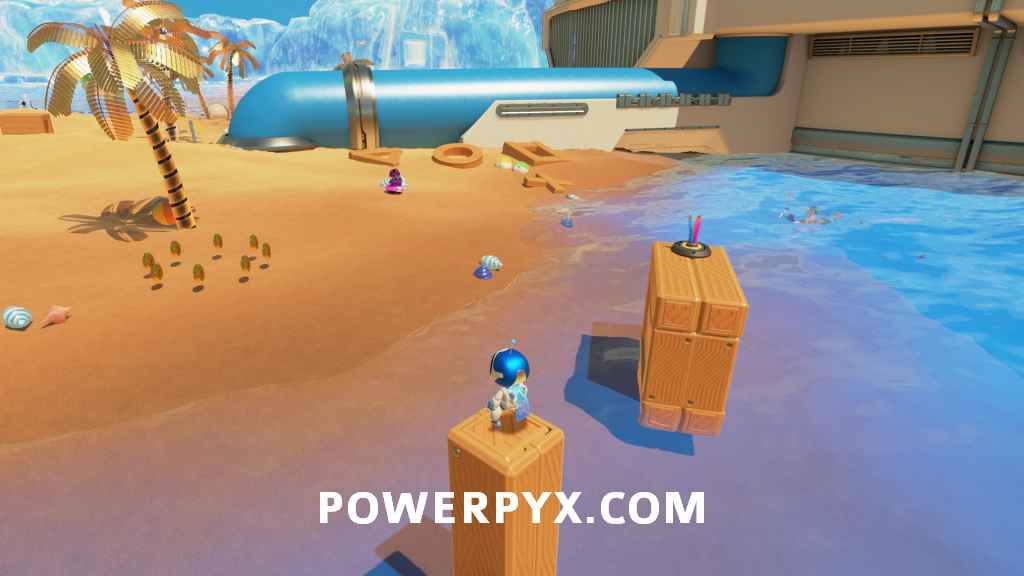
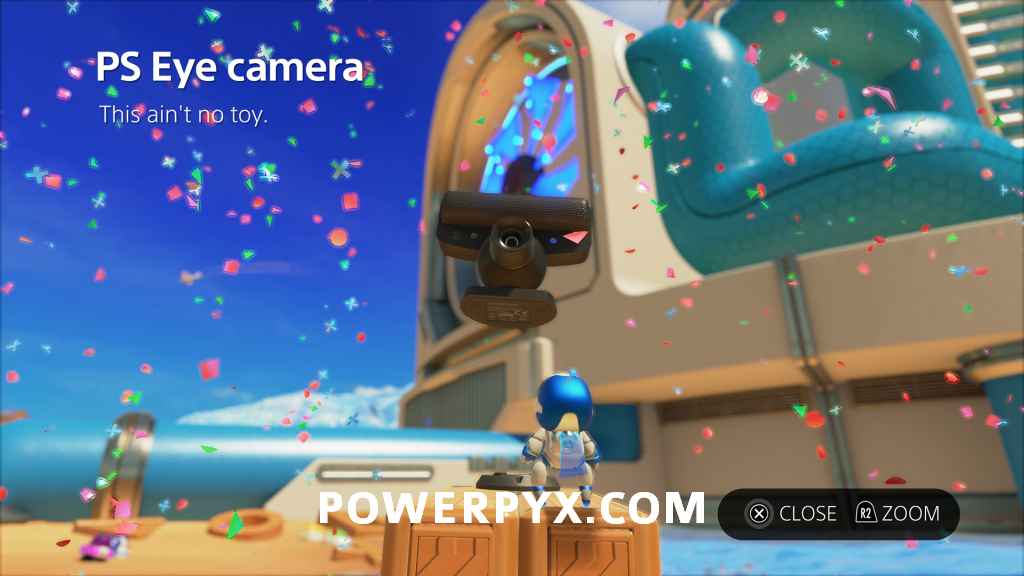
Artifact 2/2 “PS Eye Toy Camera” – On the right side of the area, defeat the enemies and jump across the small platforms to the one with the two coins and the wire pull on it, which contains this artifact.
 |
 |
Puzzle Piece 4/4 – Go to where the blowing sand starts and turn around, this piece is inside the small wooden box in front of you.
Springy Spa
2 Artifacts, 4 Puzzle Pieces
Puzzle Piece 1/4 – Right after getting into the spring suit, charge a jump to the left to break through the glass to find this puzzle piece.
Puzzle Piece 2/4 – After the second red button where you then jump up the two metal sloped platforms, this puzzle piece is in the top left corner of the area before hitting the third red button. You’ll have to jump back to the left to it from the wooden platform on the right.
Puzzle Piece 3/4 – Just after the next section where you jump over freezing water and are then raised up on a lily pad, jump to the right through the glass to find this piece.
Puzzle Piece 4/4 – Directly after the above, this puzzle piece is basically in your way.
Artifact 1/2 “PS Move Sharpshooter”– After jumping up through the two slanted glass panels, jump to the left to an area with a wooden box with a diamond on it. Jump inside to get this artifact.
 |
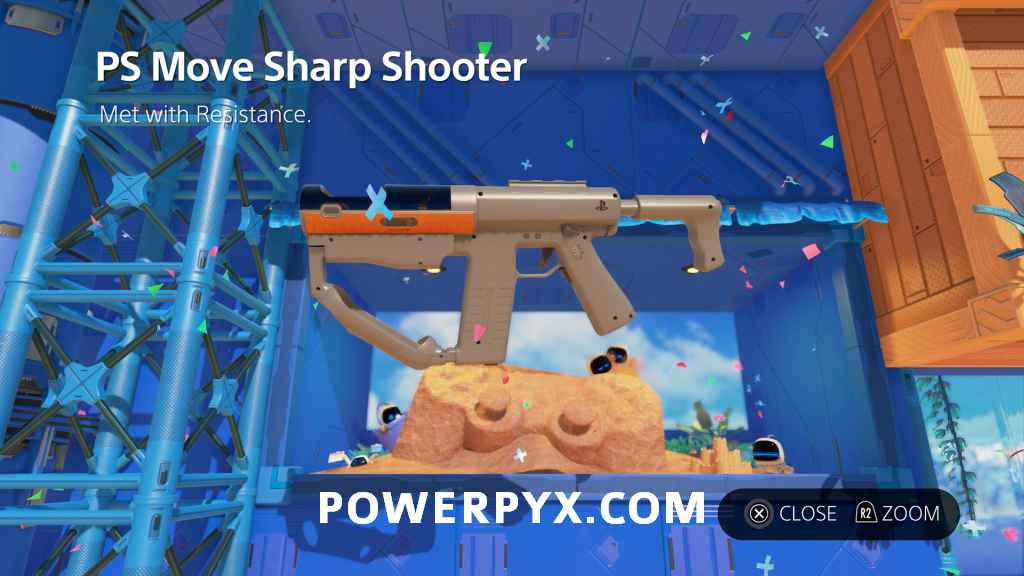 |
Artifact 2/2 “PS Move Shooting Attachment” – In the next area with the two sets of platforms moving on rectangular tracks, from the right one jump up to another platform on the right moving up and down, then jump up from there to reach this artifact.
 |
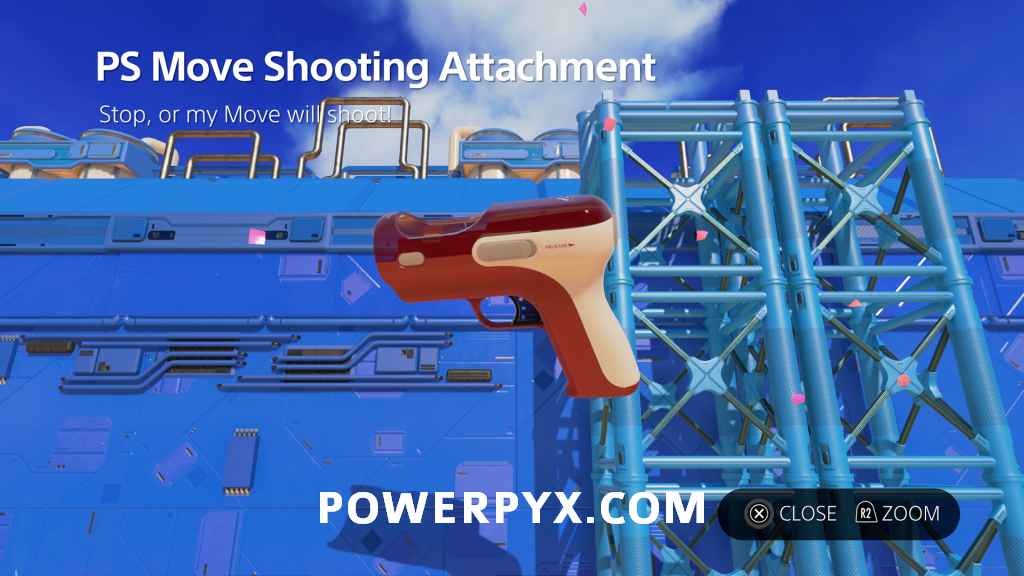 |
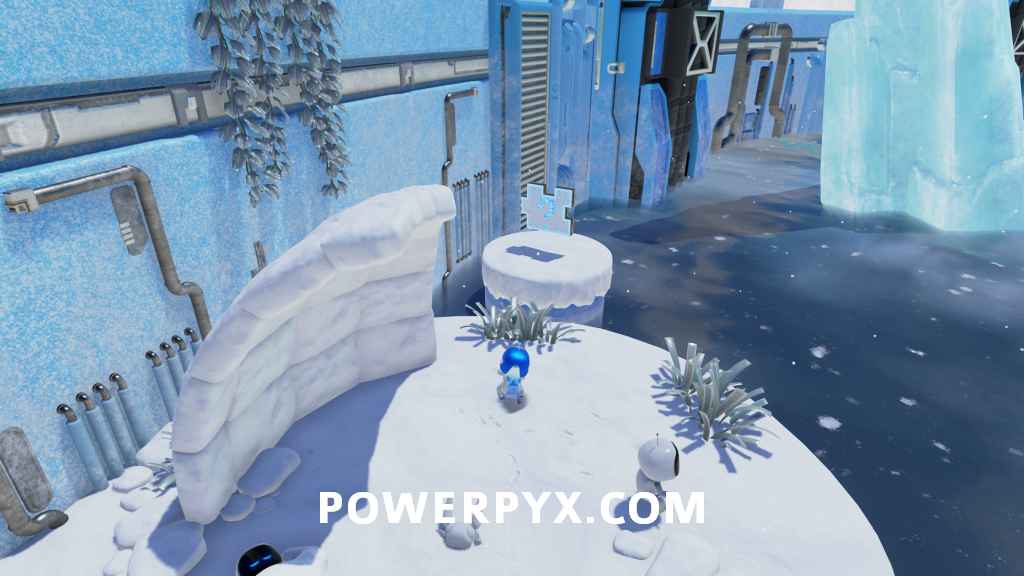
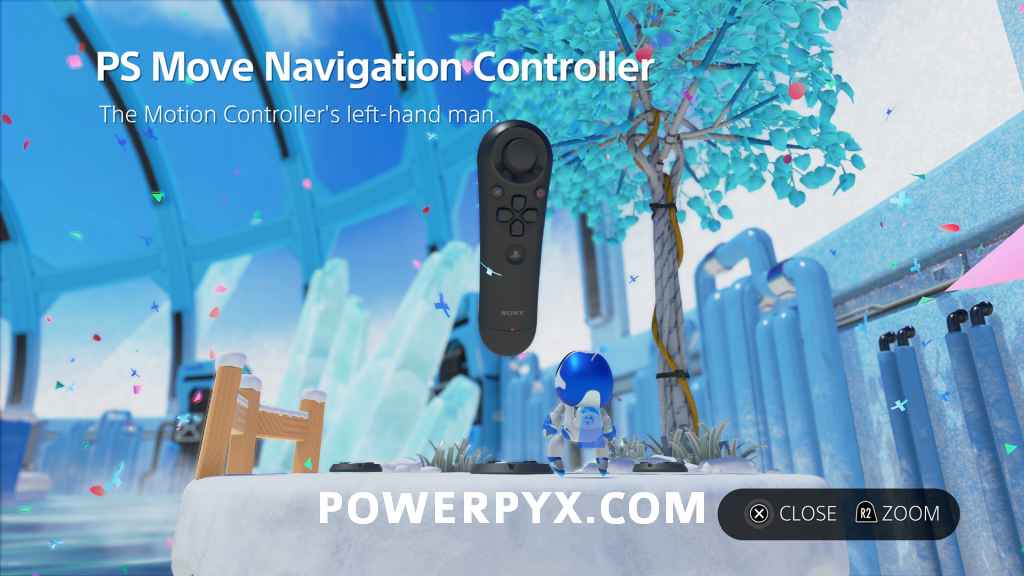
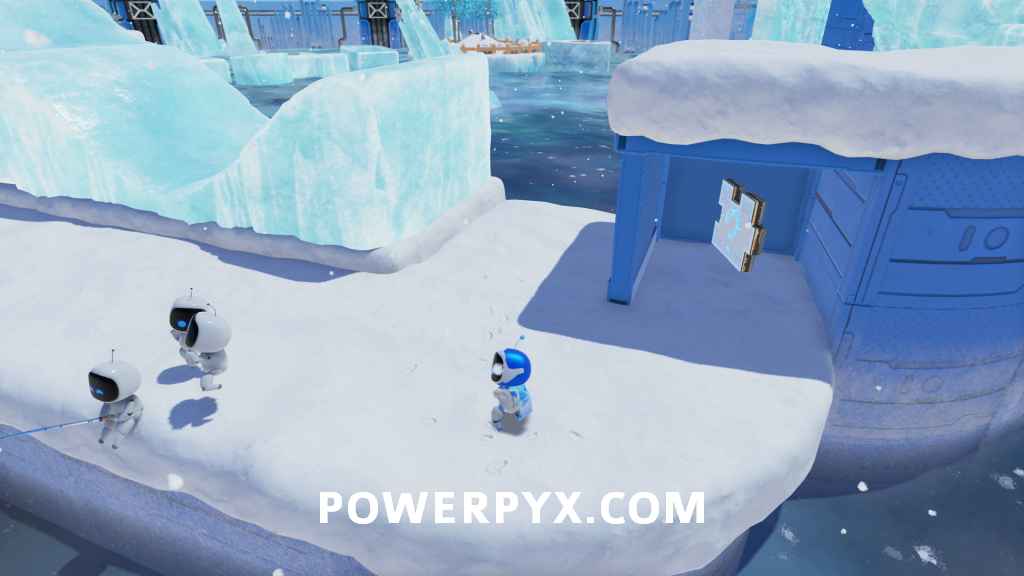
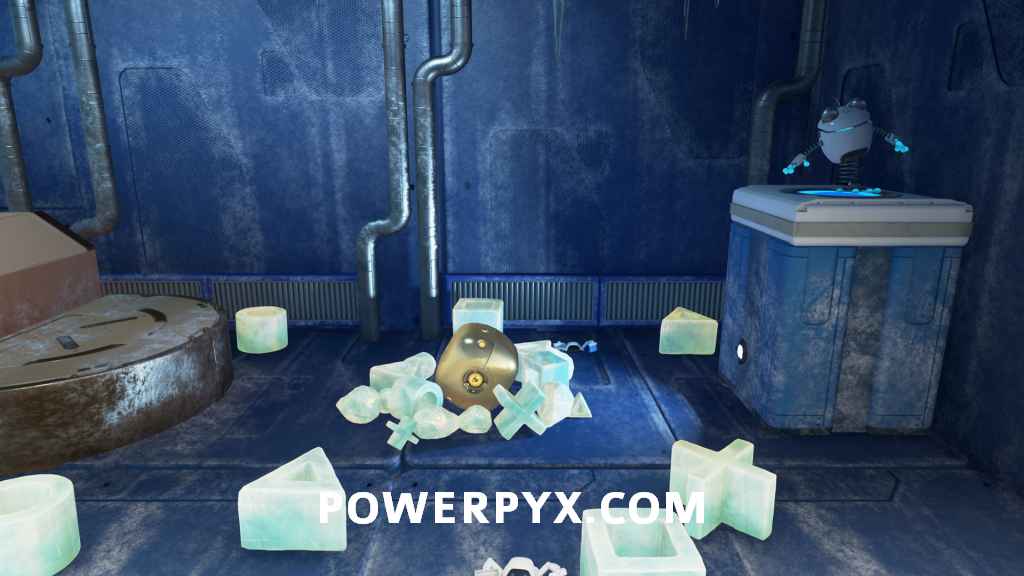
Frigid Floes
2 Artifacts, 4 Puzzle Pieces
Puzzle Piece 1/4 – From the start of the area, go to the left and go through or around the igloo to find this puzzle piece.
Artifact 1/2 “PS Move Navigation Controller” – From the start of the area pull up the wires on the right to grab a throwable item, then throw it at the platform to drop it into the water. Jump across and pull the three small wires, followed by the revealed large middle wire to get this artifact.
 |
 |
Artifact 2/2 “PS3 Game Disc” – From the central large ice area go to the left across the controller symbol ice blocks. Pull up the two small wires, followed by the revealed large wire in the middle to get this artifact.
 |
 |
Puzzle Piece 2/4 – Once you reach the ice ramp, instead of proceeding forward jump down to the right where you can find this puzzle piece under the platform you’re meant to jump to.
Puzzle Piece 3/4 – After the next checkpoint where you have another large ramp to slide down, this puzzle piece is up to the left across two breakable platforms.
Puzzle Piece 4/4– While on the floating ice platforms, this puzzle piece is in the air while you are on the second one.
Hotel Hopalot
3 Artifacts, 4 Puzzle Pieces
Puzzle Piece 1/4 – Right after getting into the spring suit, jump to the left and land on the button to raise some platforms, then jump up to the left again to find this puzzle piece.
Puzzle Piece 2/4 – In the next section when riding the lily pad, you’ll need to jump over a series of obstacles to move forward. Jump onto the last one with the large coin above it, then jump up again to the right to reach this puzzle piece.
Puzzle Piece 3/4 – After jumping up through a stack of glass blocks, this puzzle piece is just to the left at the top.
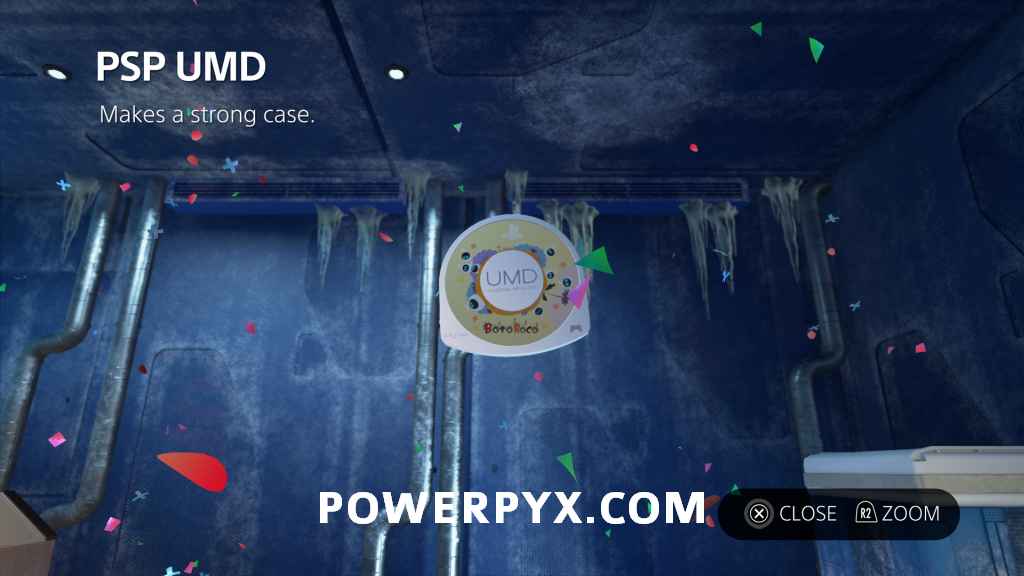
Artifact 1/3 “PSP UMD” – After riding the lilypad up, instead of jumping left onto the moving platform go to the right into a freezer area. Jump through the ice and hit the button to lower the water, then you can grab this artifact.
 |
 |
Artifact 2/3 “Playstation Portable” – After riding the rotating platform, there is a switch on the other side which creates a lily pad platform back to the right. You need to jump to the left to reach a room with another rotating platform. Ride this one across, then you can grab this artifact.
 |
 |
Puzzle Piece 4/4 – After going up the above lily pad to continue, go to the left to find this puzzle piece.
Artifact 3/3 “PlayStation 3” – Awarded for completing the level.
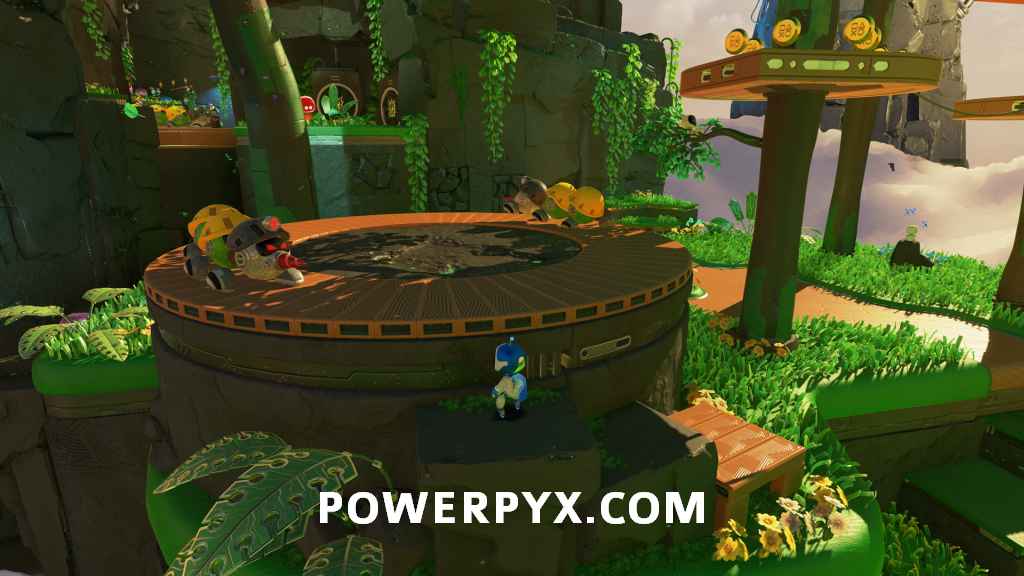
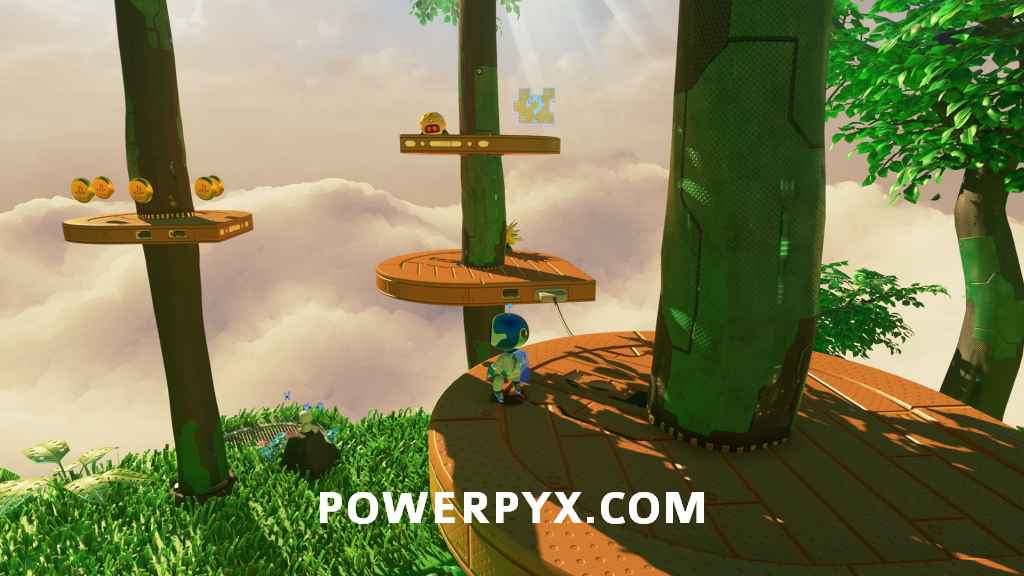
GPU Jungle
Render Forest
2 Artifacts, 4 Puzzle Pieces
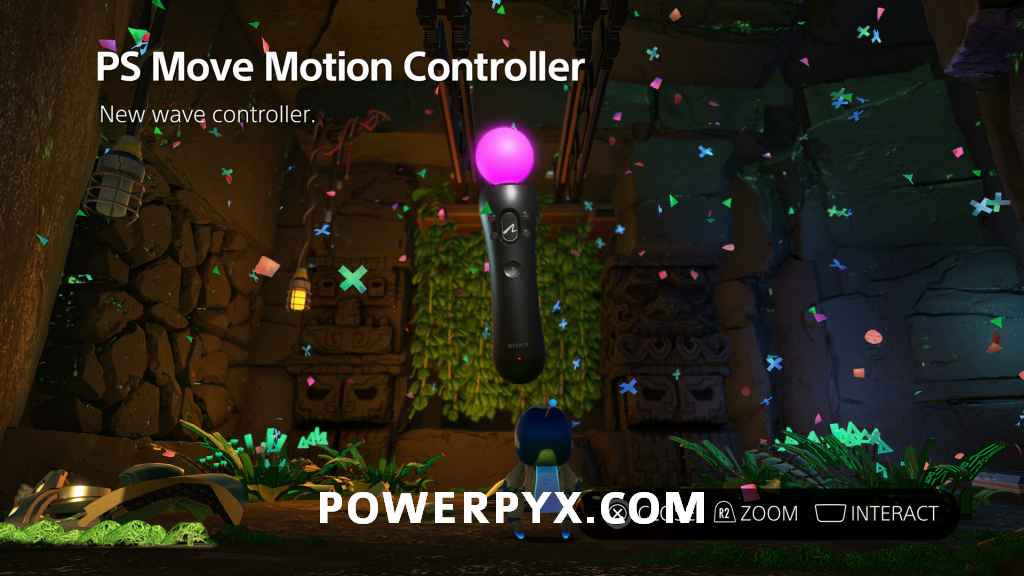
Artifact 1/2 “PS Move Motion Controller” – From the start of the area, go to the right and drop down to a lower area. In the back corner, there will be a curtain of plants you need to blow out of the way with the microphone. Behind these, pull a wire on the ground to get this artifact.
 |
 |
Puzzle Piece 1/4 – In the next section there are two groups of enemies walking in circles around a patch of dirt. Defeat both groups to reveal a plant that spawns some platforms when attacked, then jump over onto the tree platforms to find this puzzles piece.
 |
 |
Puzzle Piece 2/4 – After reaching the next group of enemies circling a platform, go to the left where you can pull a wire and reach a tightrope. Get to the left side of the tightrope to find this puzzle piece.
 |
 |
Puzzle Piece 3/4 – To proceed you are supposed to use the throwable item across the gap towards the next checkpoint. Instead, throw it at both of the moving areas to the right to reveal this puzzle piece. You can jump over to it from the cave by the checkpoint.
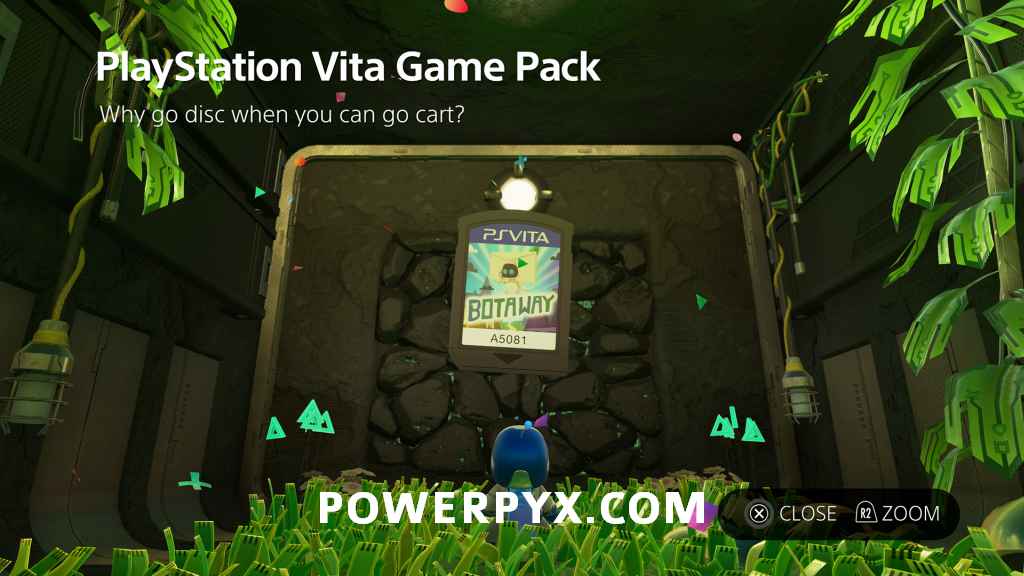
Artifact 2/2 “Playstation Vita Game Pack” – After avoiding the large yellow barrel, go up the slope then directly left. You can jump down to the wooden platforms, then into a cave where you can pull a wire for this artifact.
 |
 |
Puzzle Piece 4/4 – After crossing the bridge, instead of jumping up towards the end of the level, go down to the left to find this puzzle piece.
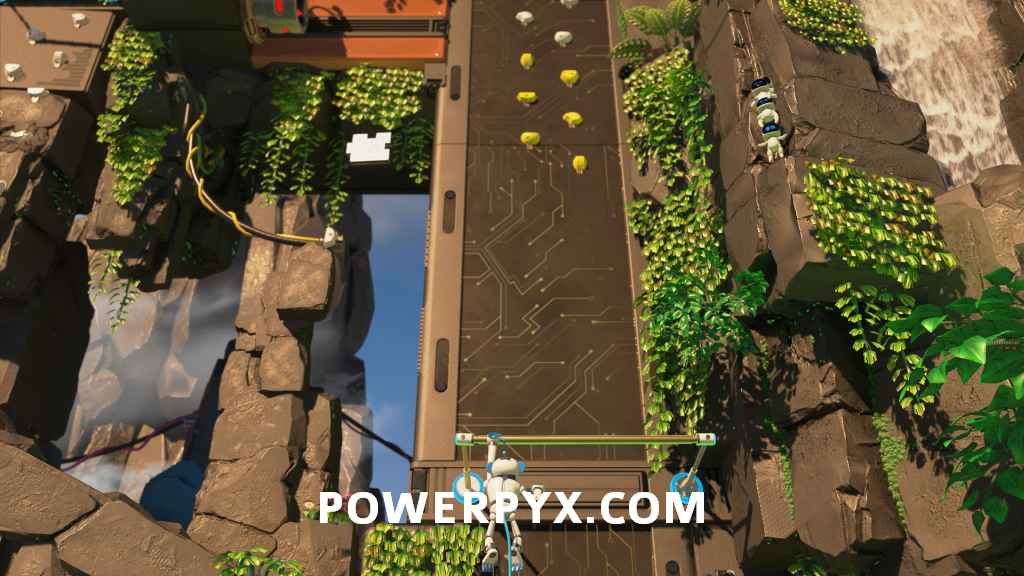
Teraflop Treetops
2 Artifacts, 4 Puzzle Pieces
Puzzle Piece 1/4 – When climbing in the monkey suit, when you go up the first moving handhold there will be a yellow handhold on the left you can grab, which reveals a new area. Follow this path to the end to reach a puzzle piece.
 |
 |
Puzzle Piece 2/4 – When you reach the area with the monkey bars, you can reach this puzzle piece to the left side of the second one.
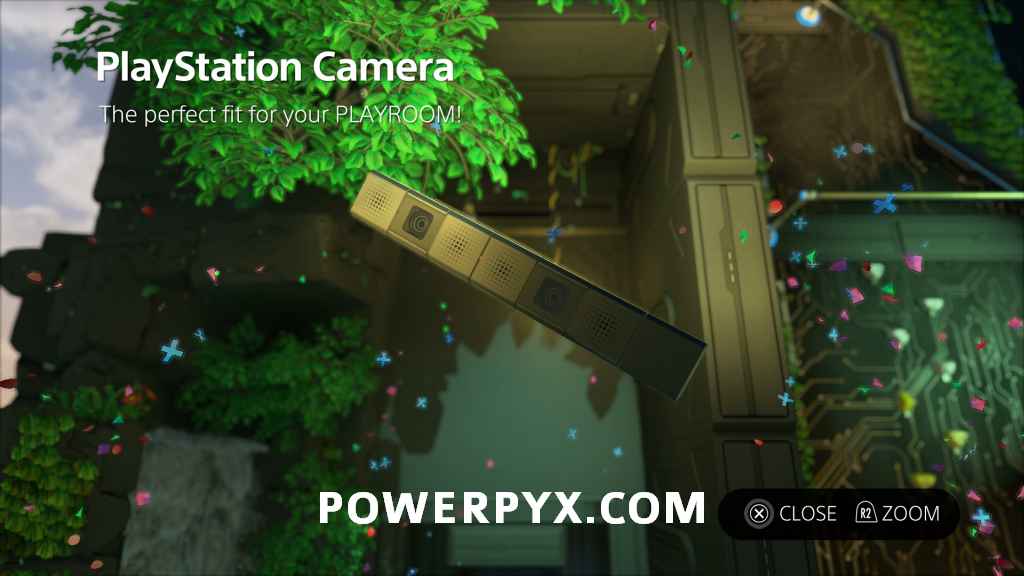
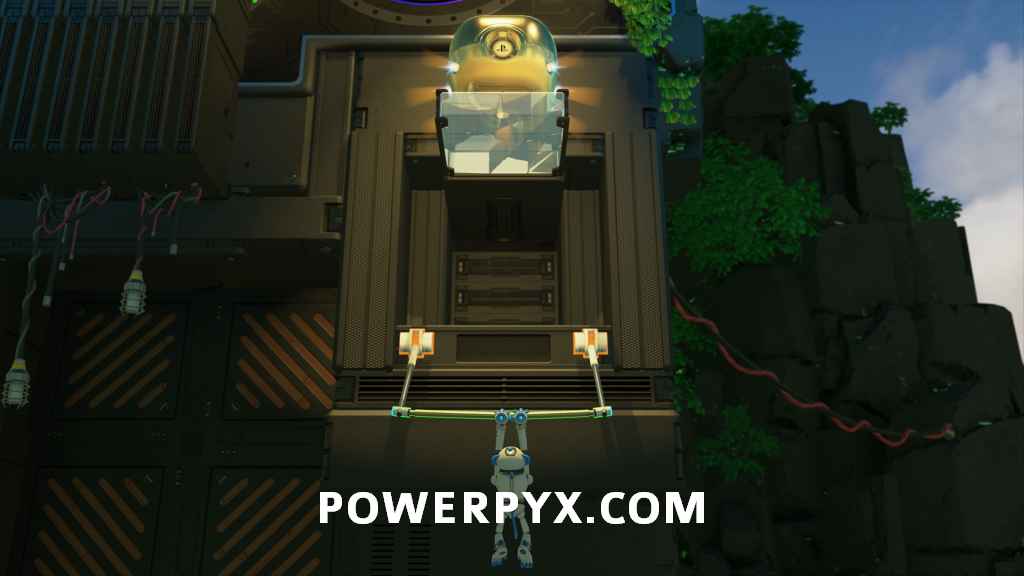
Artifact 1/2 “Playstation Camera” – From the location of puzzle piece 2, you need to jump up to a set of handholds on the left side. Climb up this section to find this artifact.
 |
 |
Puzzle Piece 3/4 – Directly after the artifact, the piece is directly in the path you are supposed to take to progress.
Puzzle Piece 4/4 – Now instead of progressing upward from that puzzle piece, go to the right side of that monkey bar to reach another handhold up to the right, which drops the wall to the right. In this area, there are some spinning shapes on the walls and a puzzle piece directly in the middle of the right one you can grab.
 |
 |
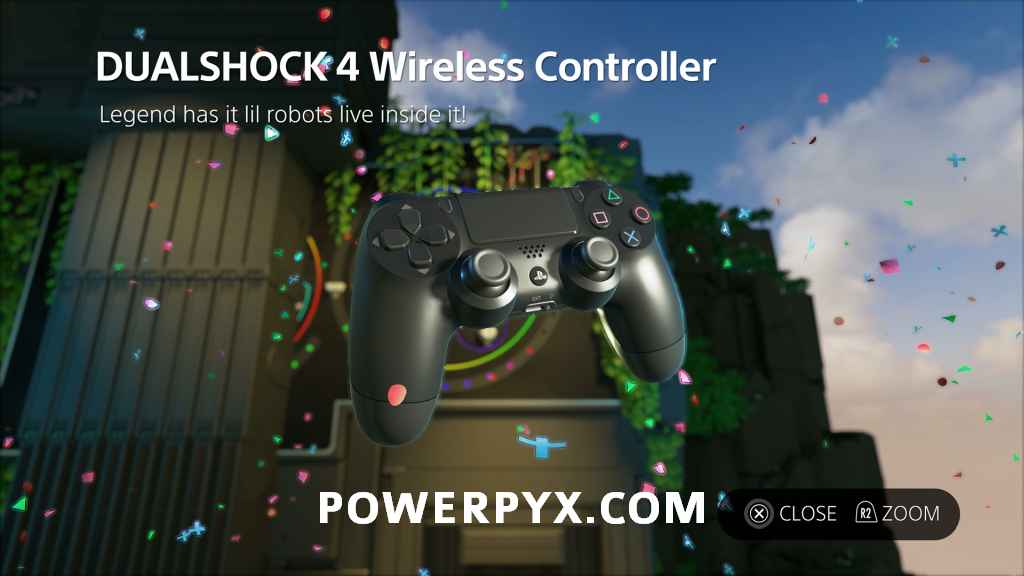
Artifact 2/2 “DUALSHOCK 4 Wireless Controller” – From the location of puzzle piece 4, drop down to the right where you can see the line of coins and grab another monkey bar. This reveals this artifact which you can swing up to grab.
 |
 |
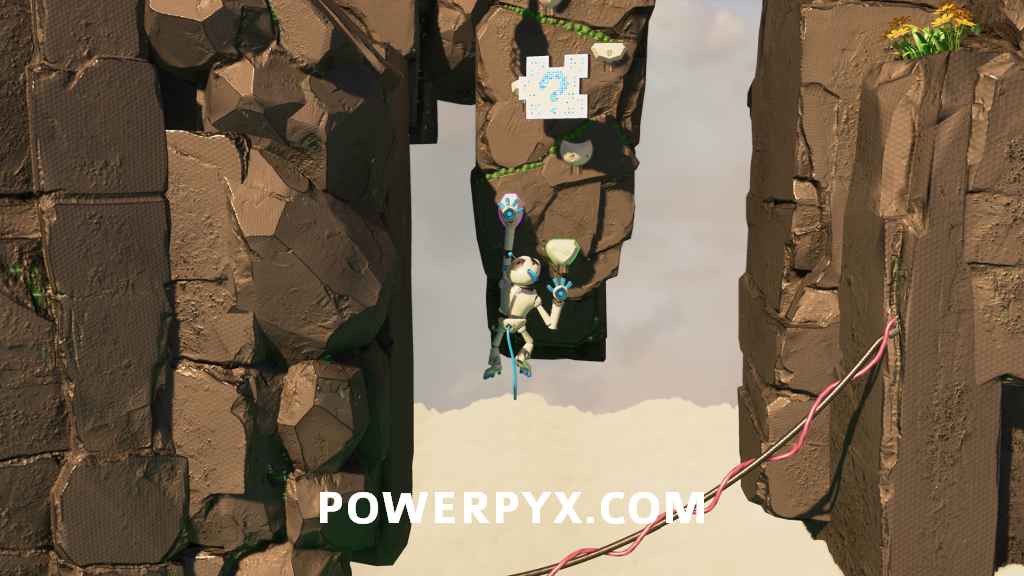
Raytrace Ruins
2 Artifacts, 4 Puzzle Pieces
Puzzle Piece 1/4 – Right at the start of the area, pull the wire on the right side to reveal this puzzle piece.
Puzzle Piece 2/4 – From the next checkpoint, go to the left to find a cave area with this puzzle piece.
Artifact 1/2 “PSVR Processor Unit” – After jumping to the top of the wall, go to the right and pull the wire to reveal this artifact.
 |
 |
Puzzle Piece 3/4 – When crossing the tightrope while being blown to the side, jump over to the platform with the flower. Hit the flower to cause another tower to appear, which has this puzzle piece on it.
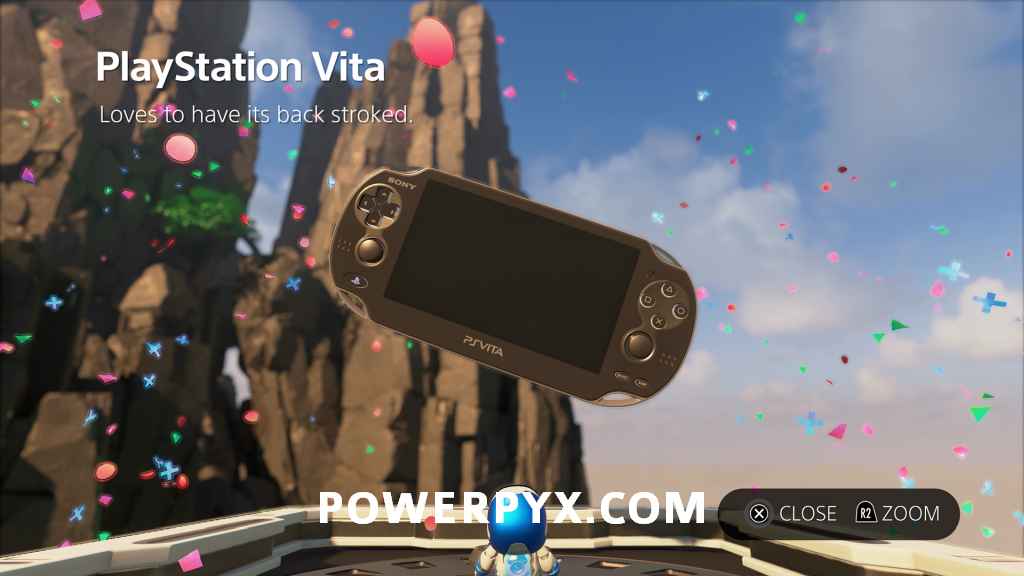
Artifact 2/2 “Playstation Vita”– At the top of the above tower, jump and hold  break the glass on top, then pull the revealed wire to get this artifact.
 |
 |
Puzzle Piece 4/4 – After defeating the boss, go halfway across the newly revealed tightrope and look to the right. In a hole in the wall, you can see a spot to shoot, and when you do it reveals a new platform that has this puzzle piece at the end.
 |
 |
Mt. Motherboard
3 Artifacts, 4 Puzzle Pieces
Puzzle Piece 1/4 – After jumping past the first cannon, this puzzle piece is to the left of the handholds above.
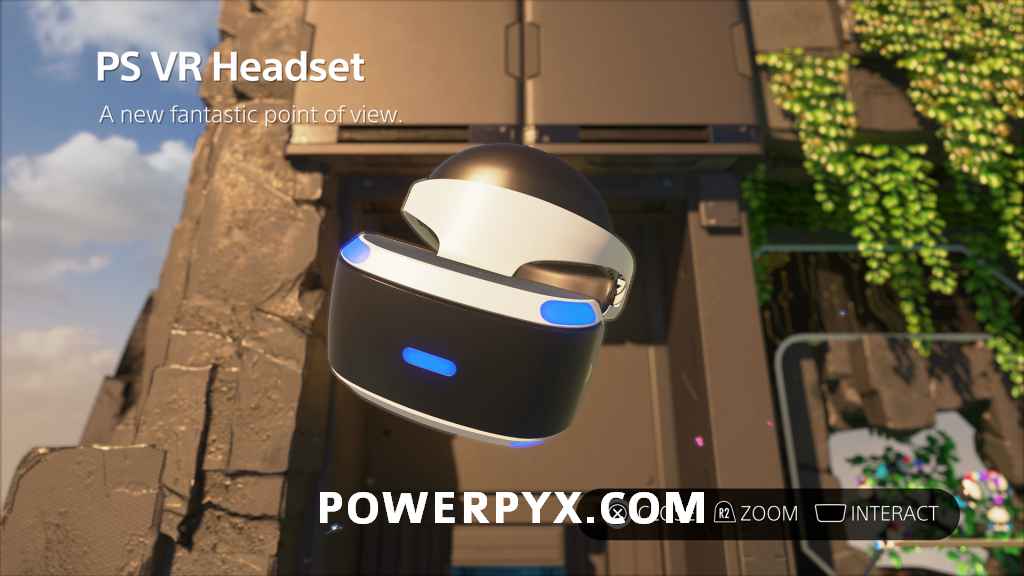
Artifact 1/3 “PSVR Headset”– While jumping to the above puzzle piece, then is a swinging handhold you can grab after. From there climb up the path to the left to find this artifact.
 |
 |
Puzzle Piece 2/4 – Directly after, you need to grab this one to actually progress.
Puzzle Piece 3/4 – In the section after the falling circular wall pieces, you need to use the bar to jump up and over the wall to the right to reach this puzzle piece.
Puzzle Piece 4/4– In the area you end up in after falling to grab puzzle piece 3, you need to grab the lowest yellow handhold on the wall to make this puzzle piece appear.
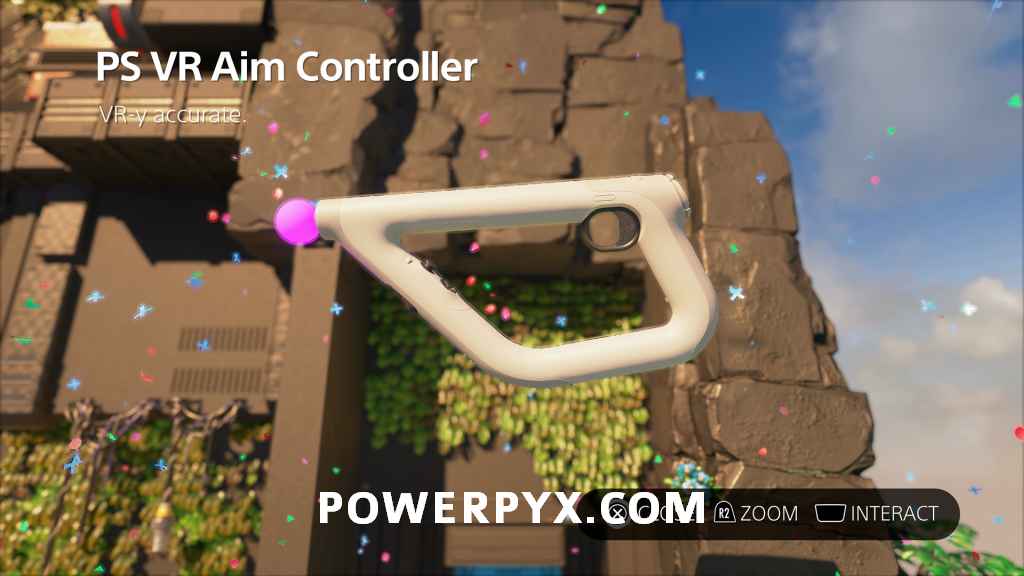
Artifact 2/3 “PS VR Aim Controller”– Climb up from puzzle piece 4, and at the top, you obtain this artifact.
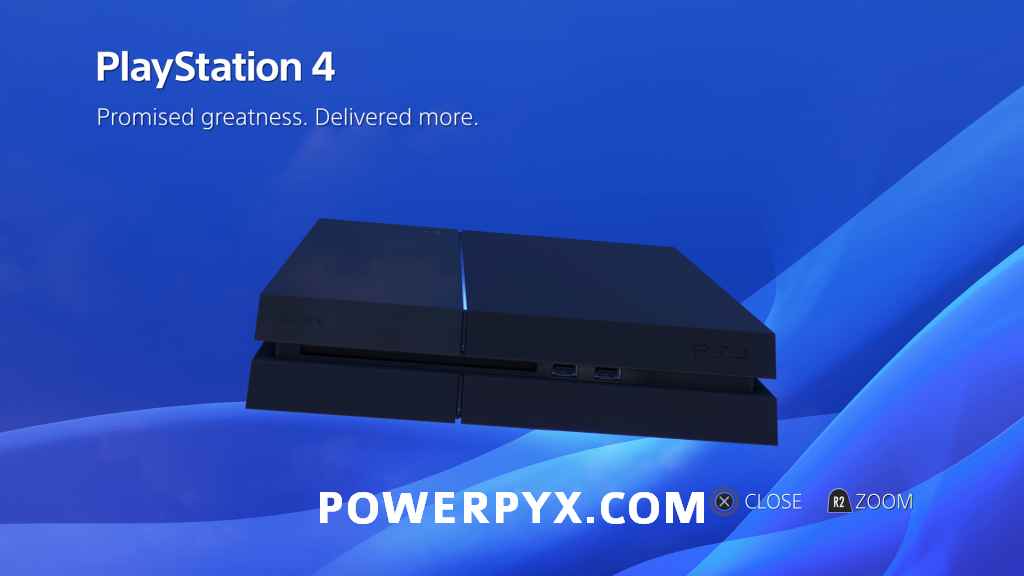
Artifact 3/3 “PlayStation 4” – Awarded for completing the level.
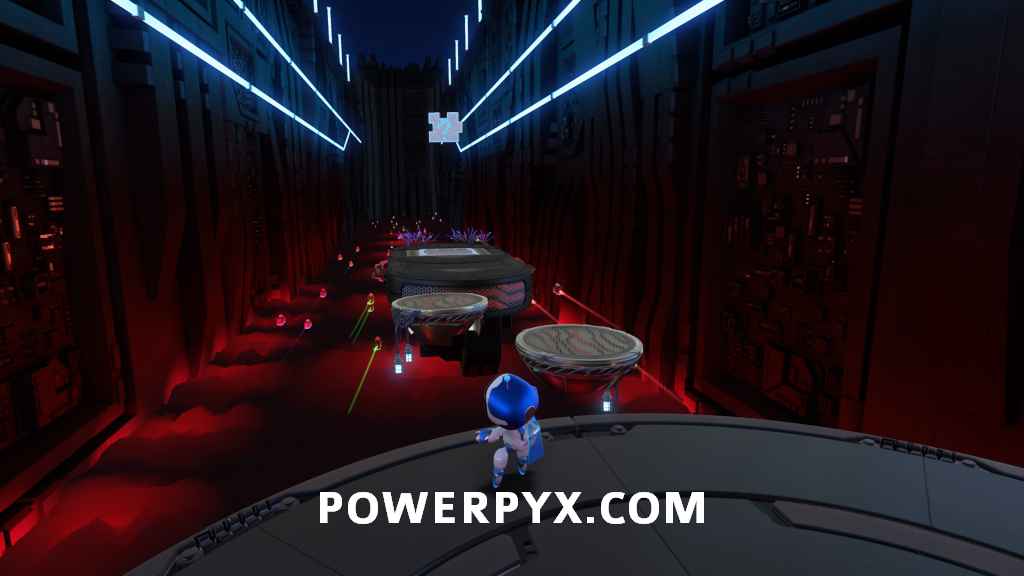
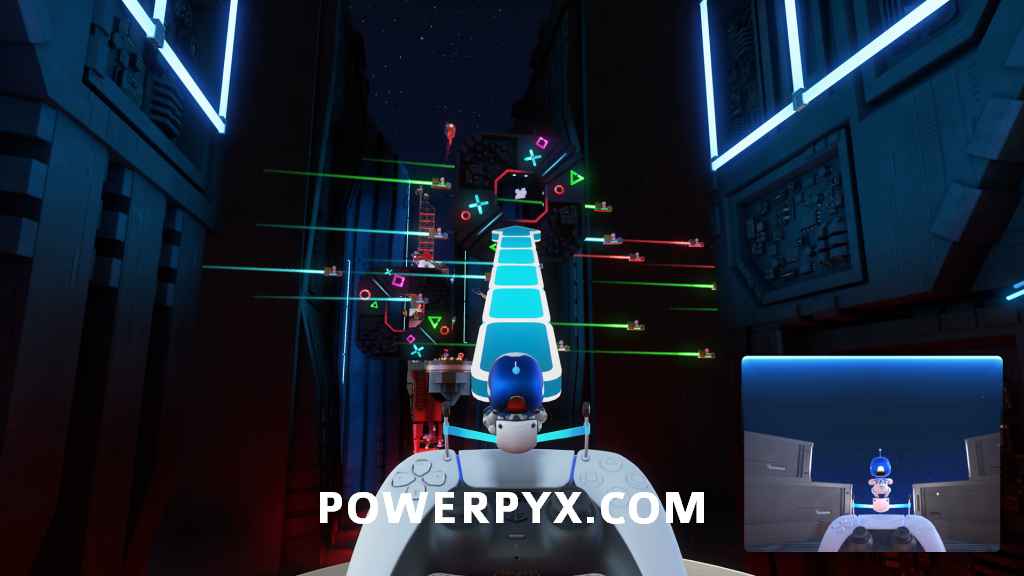
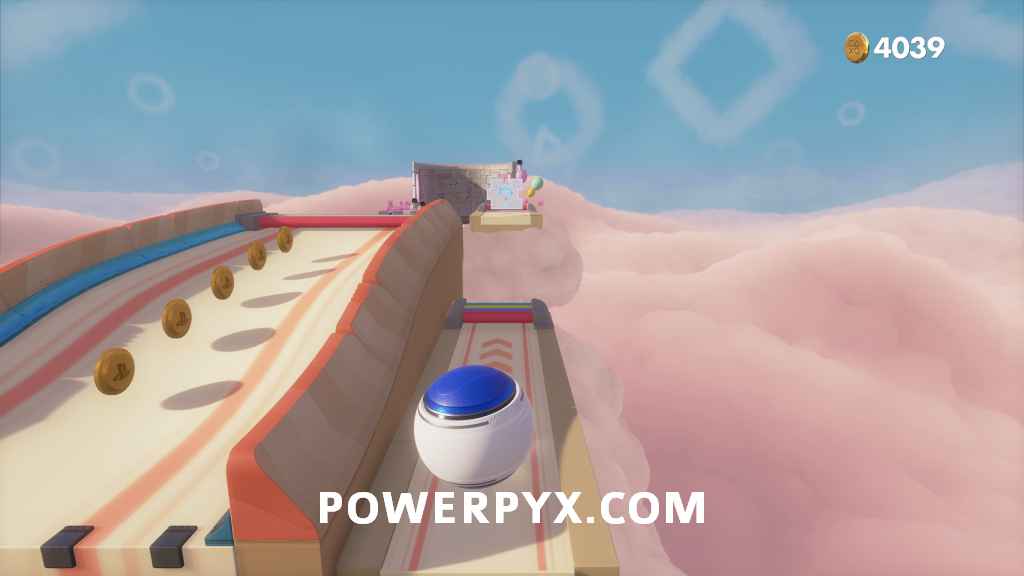
SSD Speedway
Turbo Trail
2 Artifacts, 4 Puzzle Pieces
Puzzle Piece 1/4 – As soon as the level starts, turn around and head back across the platforms to find this puzzle piece.
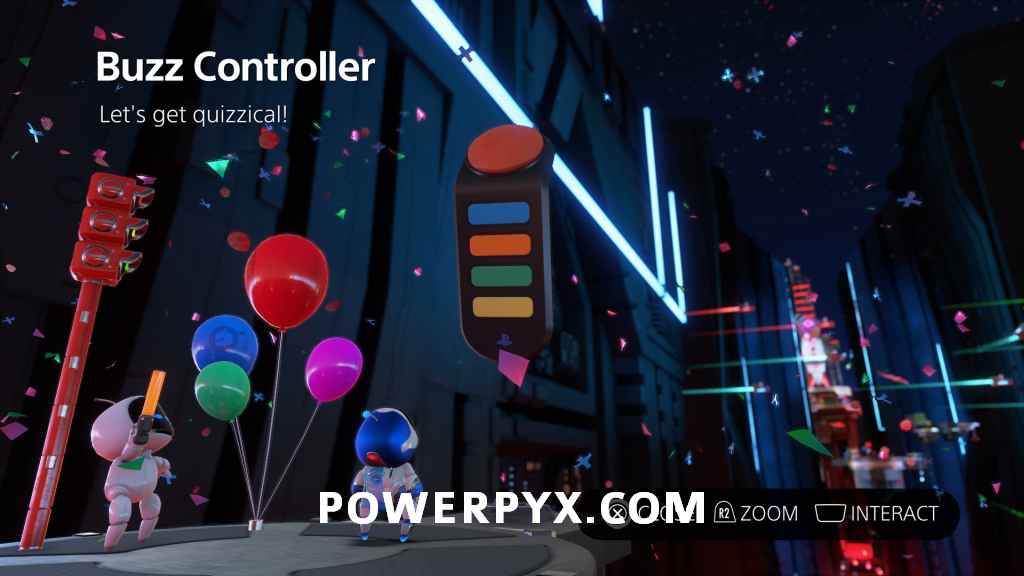
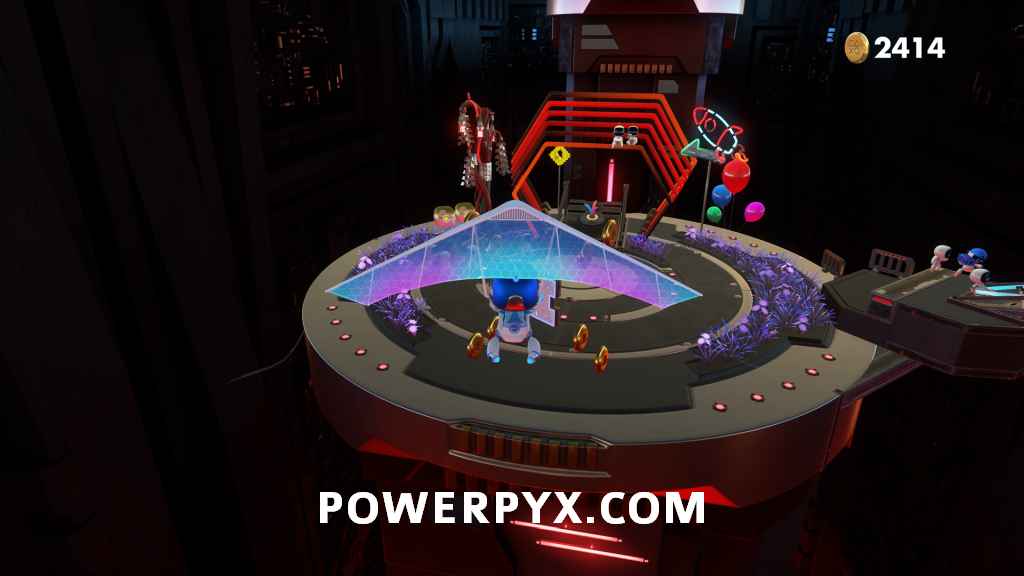
Artifact 1/2 “Buzz Controller”– At the first hang glider section, you need to try and reach the upper platform to the left of the platform you’re aiming for. On top of it, there is a wire pull that reveals this artifact. If you miss and trigger the checkpoint on the lower platform you’ll need to restart the level to try again, if you don’t trigger it you can just jump off the side. To fly as far as possible you should hold the controller tilted back the whole way, then jump when you want to drop.
 |
 |
Puzzle Piece 2/4 – At the second hang glider section some rings will appear. You need to launch yourself through the ring on the right to grab this puzzle piece.
Puzzle Piece 3/4 – In the third hang glider section you will need to avoid a number of mines that appear in the air. Just before reaching the platform at the end, a puzzle piece will appear directly in the middle of the area that you need to grab before landing.
Puzzle Piece 4/4 – After landing from the above hang glider section, go to the back left of the platform and drop down to find a lower area with this puzzle piece.
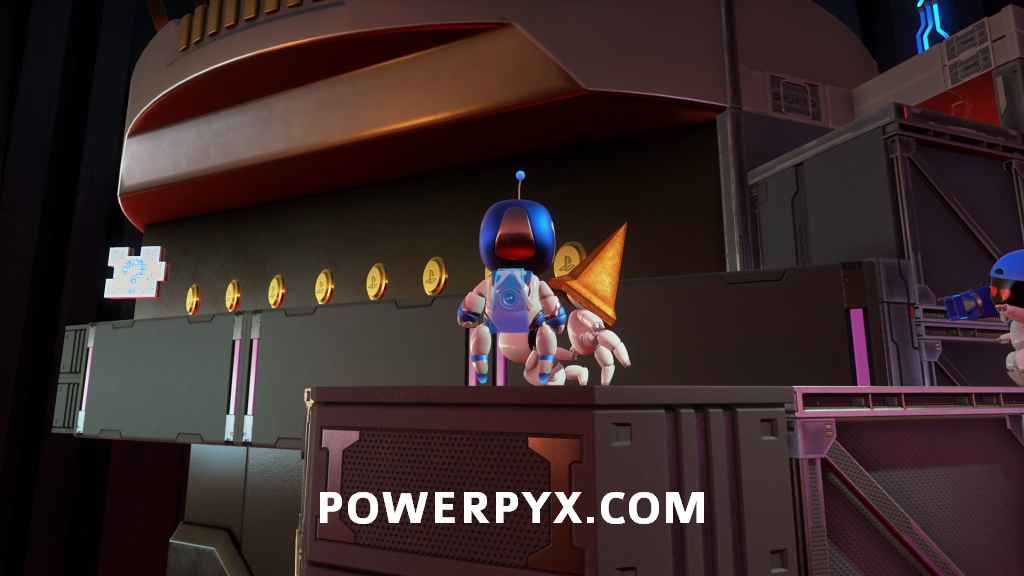
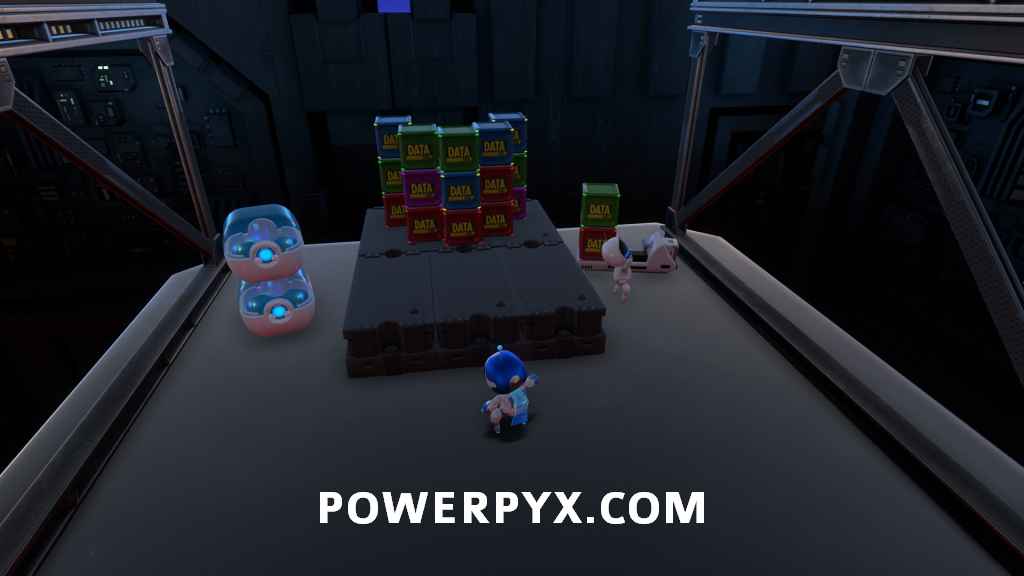
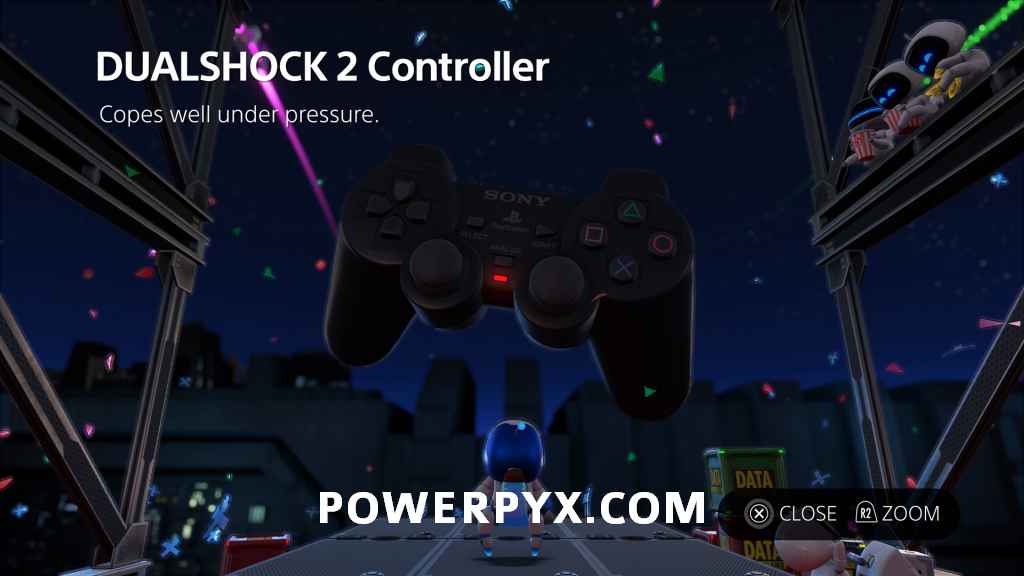
Artifact 2/2 “DUALSHOCK 2 Controller” – When you reach the rocket ship, stay on the ground level and run to the back of the platform. Knock the pile of colored crates out of the way to find a wire pull, which reveals this artifact.
 |
 |
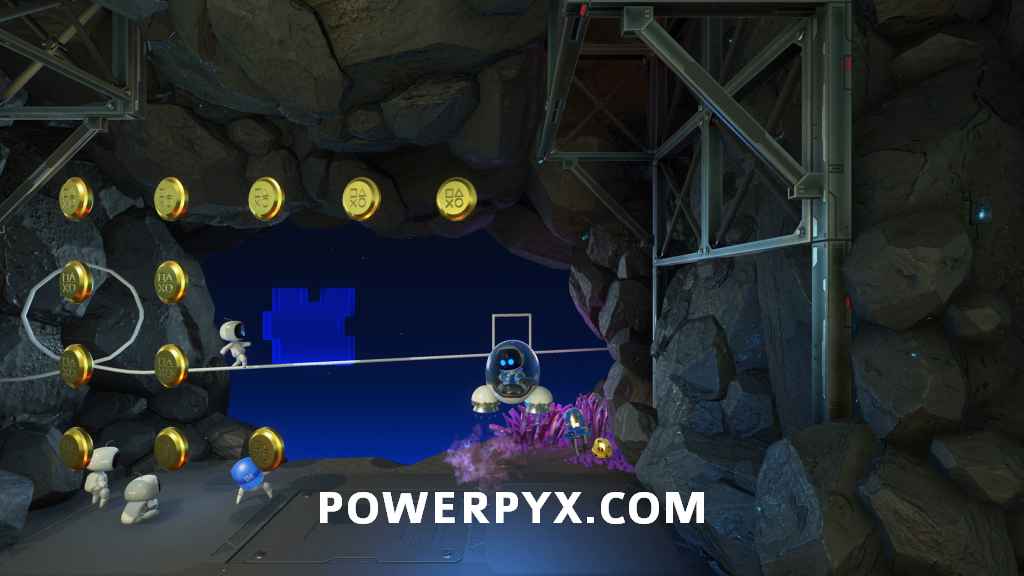
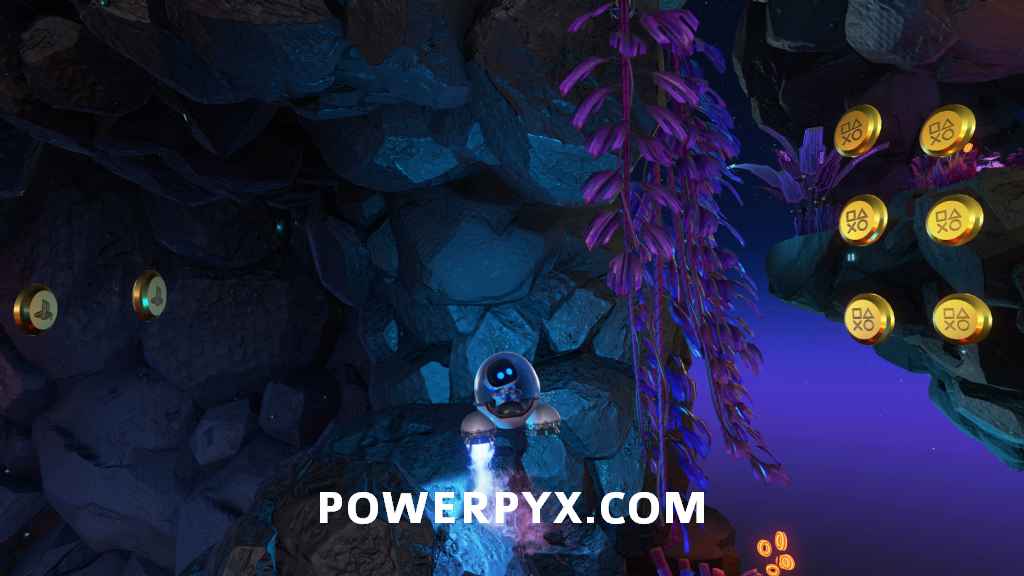
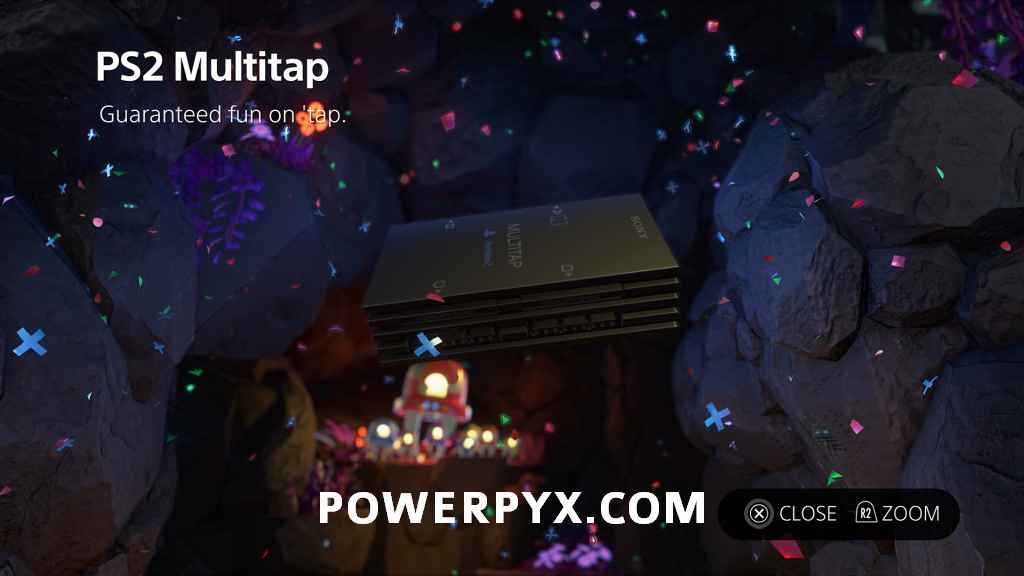
Caching Caves
2 Artifacts, 4 Puzzle Pieces
Puzzle Piece 1/4 – Directly to the left of the first checkpoint there is a hole you can drop down with a bunch of coins and this puzzle piece in the middle.
Artifact 1/2 “PS2 Multitap” – Shortly after that puzzle piece there will be an area you can go into on the left behind some purple vines. Light the fuse at the bottom with your ship thrusters to reveal this artifact.
 |
 |
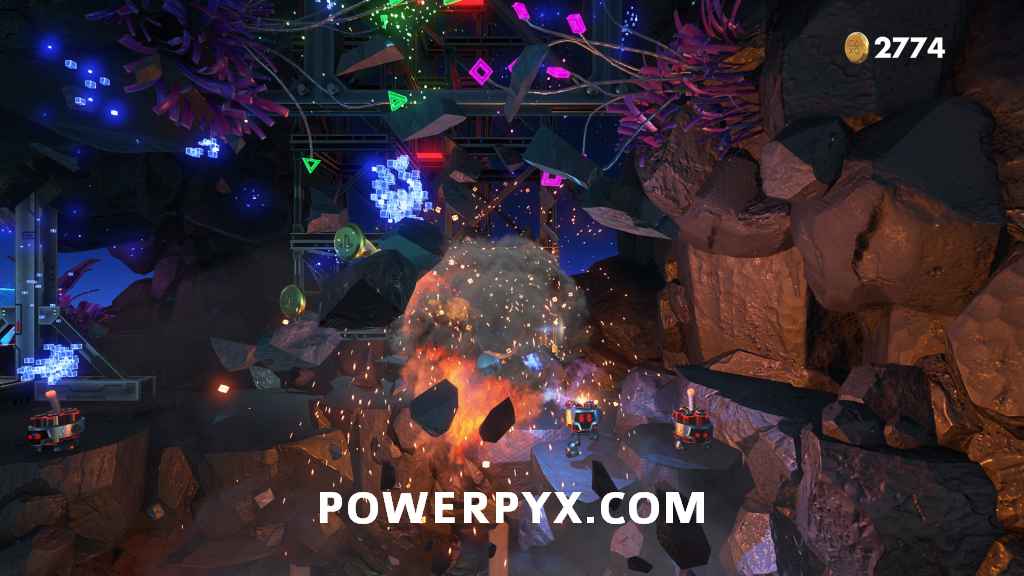
Puzzle Piece 2/4 – Just after the next checkpoint, there are a bunch of explosive enemies on the ground you can light using your ship thrusters. When they explode they destroy the ground, revealing an area with this puzzle piece.
 |
 |
Puzzle Piece 3/4 – When you see the electrical hazards, continue to the right where you see the purple webs instead of continuing up. Above a hazard on the right, you can see this puzzle piece.

Artifact 2/2 “PS2 Memory Card” – Hold both triggers down fullying to puh yourself through the two purple spiderwebs to find this artifact on the other side.
 |
 |
Puzzle Piece 4/4 – When you exit the caves and are out of the ship, drop down to the lower floor to find this puzzle piece underneath some glass.
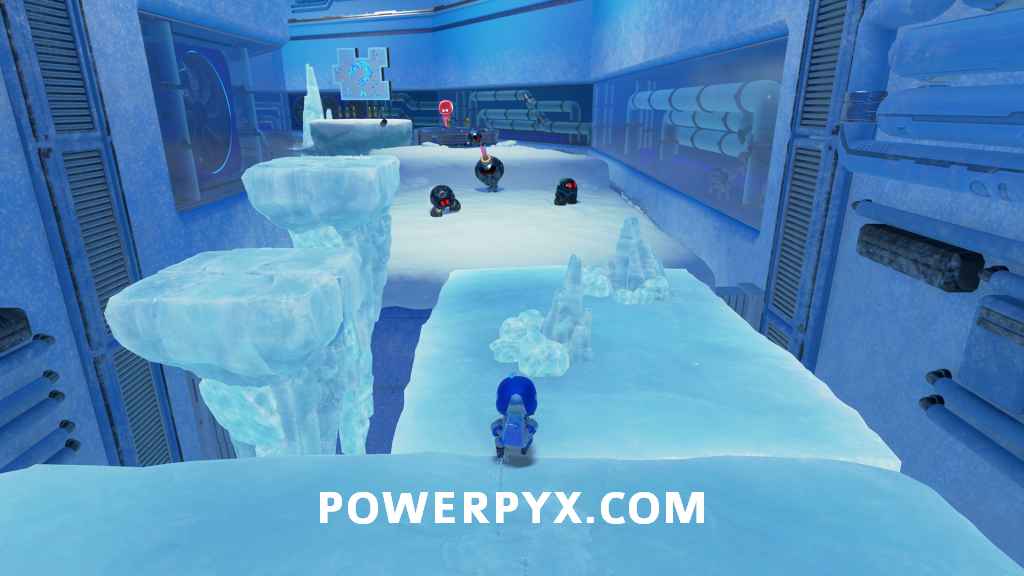
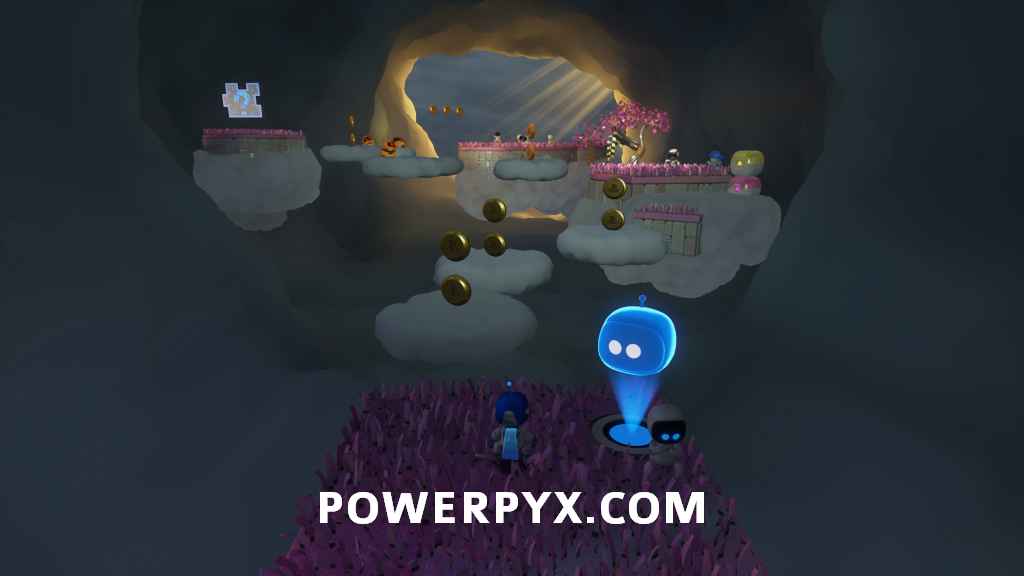
Deep Dataspace
2 Artifacts, 4 Puzzle Pieces
Puzzle Piece 1/4 – Right at the start of the level, look down and to the left to see a group of three of the spinnable flowers. Spin all three to raise the platform they are on, revealing this puzzle piece.
 |
 |
Puzzle Piece 2/4 – In this same starting area, go around the back of the rock pillar in the middle of the purple plants to find this puzzle piece.
Puzzle Piece 3/4– At the next checkpoint there are some spots you can bounce on to climb up the platforms. Instead of going up, bounce to the opposite side to find this puzzle piece underneath the platform.
Artifact 1/2 “PS2 Game Disc” – After climbing up and reaching the next checkpoint, there is a spot you can blow into the mic which launches a satellite platform. Climb across to the next area and a large rock will crash into the platform. Pull the wire on it to reveal this artifact.
 |
 |
Puzzle Piece 4/4 – On the main path just after the checkpoint there will be an explosive enemy standing in the middle of the area. Jump and hold over top of it to ignite it, and when it explodes it reveals this puzzle piece underneath.
 |
 |
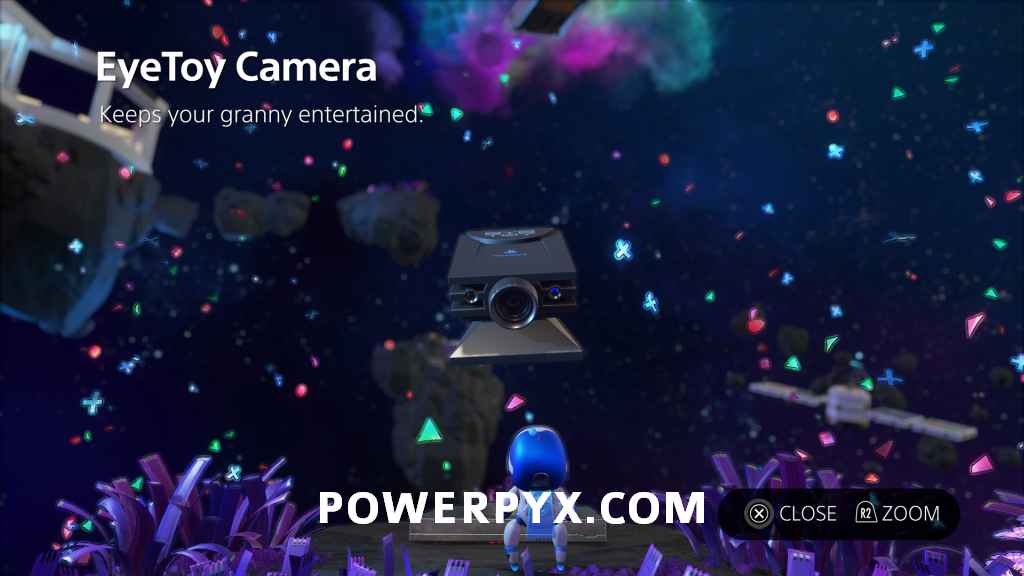
Artifact 2/2 “EyeToy Camera” – At the next checkpoint you can obtain the machine gun, which allows you to shoot through glass walls. Take the machine gun back to where puzzle piece 3 was, where you might have noticed a box with a wire pull in it. Shoot this box to break it, then pull the wire to reveal this artifact.
 |
 |
Orbital Obstacles
3 Artifacts, 4 Puzzle Pieces
Puzzle Piece 1/4 – Shortly after the start of the level you go through an asteroid that is full of water. On the left side of it, you can find this puzzle piece.
Puzzle Piece 2/4 – You will progress through a path of electrified mines to a checkpoint. From the checkpoint instead of continuing upwards, follow the path of coins down to the right to enter another asteroid with this puzzle piece inside.

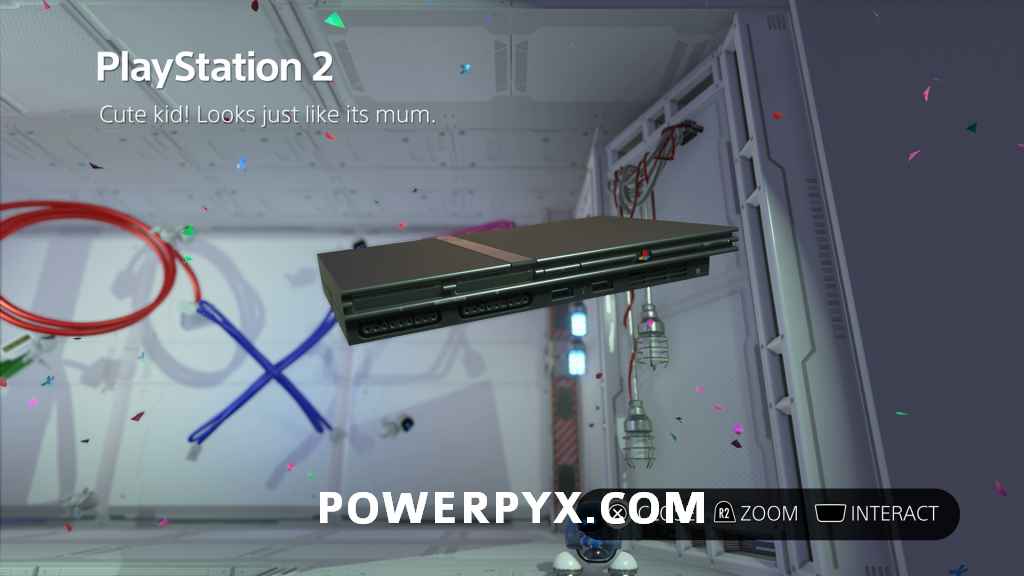
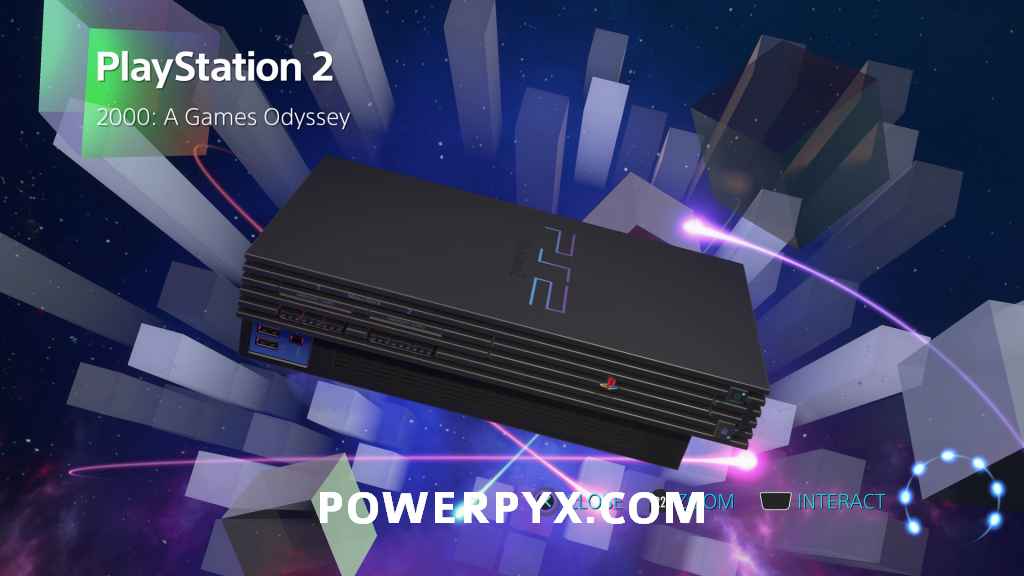
Artifact 1/3 “Playstation 2” – As you progress upwards you will go by two cannons with an electrified mine moving back and forth just above them. To the right of the mine is a hole in the wall you can go into, then progress through the obstacles to find this artifact at the end.
 |
 |
Puzzle Piece 3/4 – After another couple of checkpoints, you’ll reach a series of second colored rooms. In the red room with the spinning mines, you can find this puzzle piece rotating along between two of them.

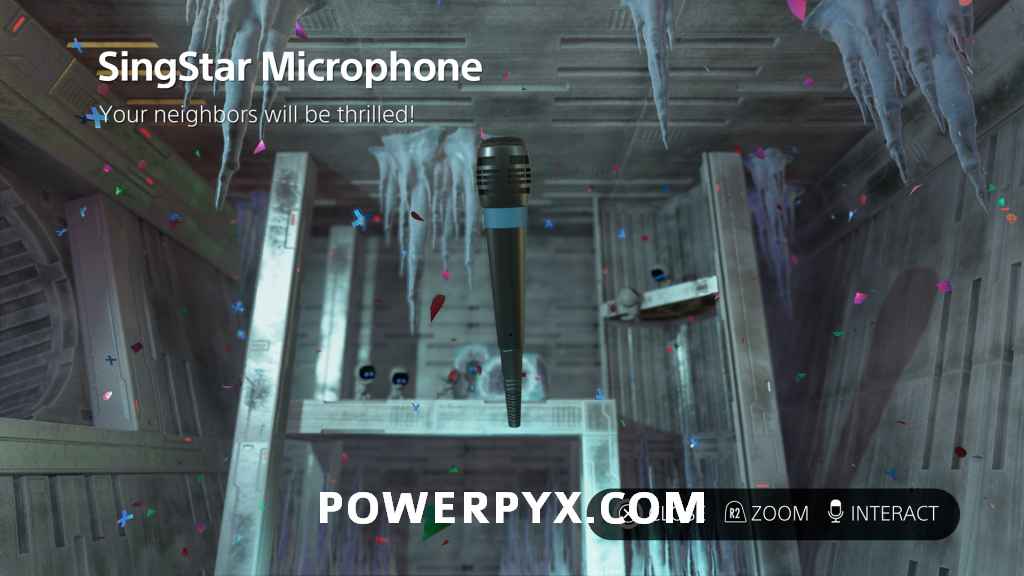
Artifact 2/3 “SingStar Microphone” – From the same red room as puzzle piece 3, drop through the hole in the bottom of the room to find a frozen area. Break through the ice and light the explosive enemy to reveal this artifact.
 |
 |
Puzzle Piece 4/4 – When you reach the room with the fans blowing downward toward electrical hazards on the floor, this puzzle piece is between an electrified mine and these hazards.
Artifact 3/3 “PlayStation 2” – Awarded for completing the level.
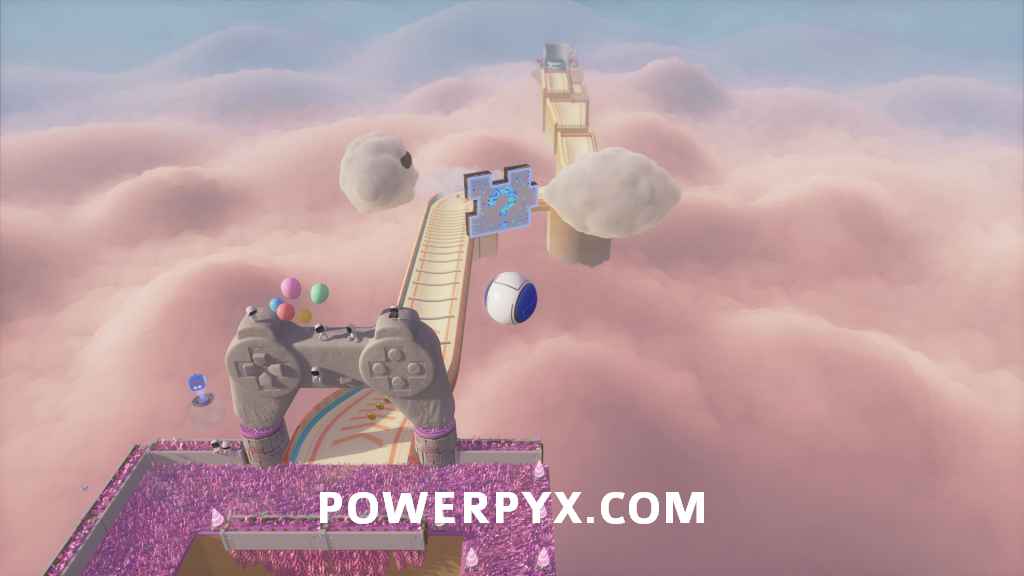
Memory Meadow
Gusty Gateway
2 Artifacts, 4 Puzzle Pieces
Puzzle Piece 1/4 – Right at the start of the level, cross the tightrope and jump across to reach this puzzle piece.
Puzzle Piece 2/4– In the area with the first blowing cloud, run against the wind to grab this puzzle piece.

Artifact 1/2 “PlayStation Controller”– At the next checkpoint where you spin the flower to spawn the platform that is blown in circles by the cloud, jump to the ledges behind the cloud to reach a wire pull that reveals this artifact.
 |
 |
Puzzle Piece 3/4 – After the checkpoint where you slide down a slope, this puzzle piece is to the right across the grey quicksand.
Artifact 2/2 “PlayStation Mouse” – In the section where you are meant to jump across the clouds, instead of going towards the checkpoint you should jump onto the cliff ledges which lead higher up. From there you can climb up to the top section on the right to find this artifact.
 |
 |
Puzzle Piece 4/4 – Once you reach the section of the level where it is raining, before going up the dark wall, jump to the platform on the right to reach this puzzle piece.
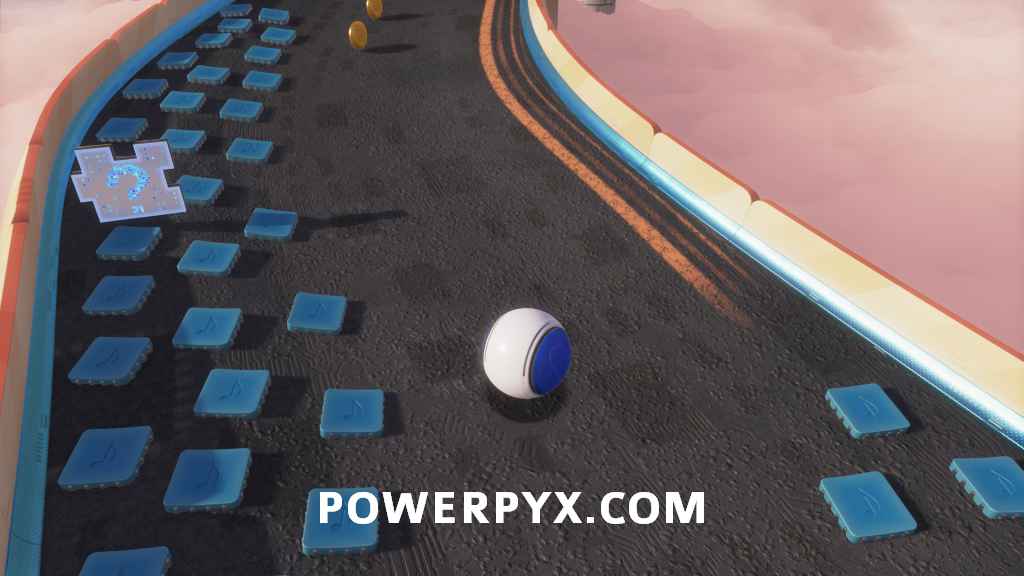
Fastlane Fields
2 Artifacts, 4 Puzzle Pieces
Puzzle Piece 1/4 – Once in the main area where you are rolling around as a ball, this puzzle piece is underneath a bridge to the left.
Puzzle Piece 2/4 – After going underneath the large controller statue and entering the road area, this puzzle piece is on the left on the section of music chips.
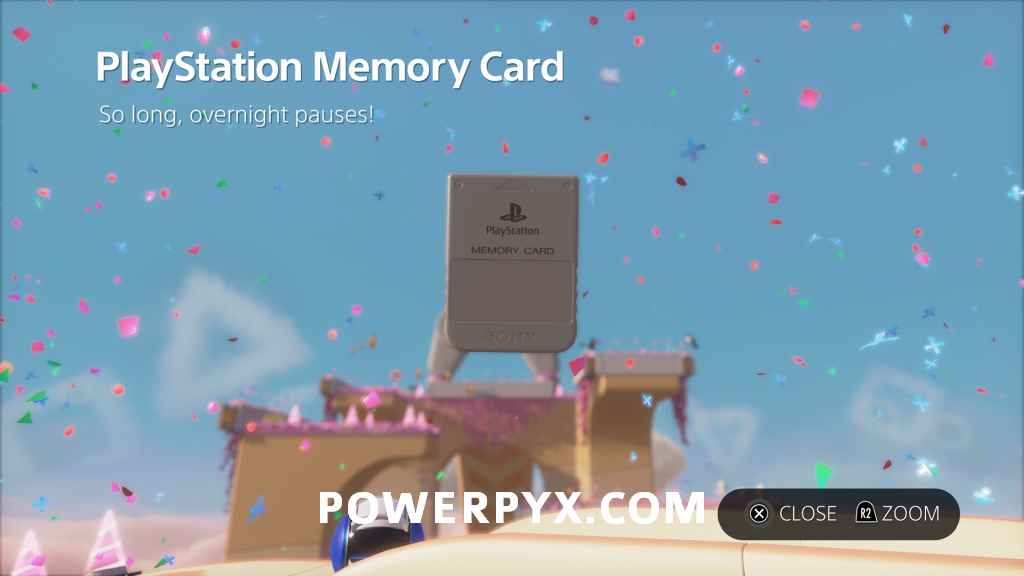
Artifact 1/2 “PlayStation Memory Card” – Just ahead there will be a split in the road with a path on the left with a danger sign. Follow this path tho the end to find this artifact.
 |
 |
Artifact 2/2 “PlayStation Game Disc” – After jumping the gap with the bowling pin in front, go to the right across the pair of moving platforms to find this artifact.
 |
 |
Puzzle Piece 3/4 – When you reach the next checkpoint, before going down the ramp, follow the path back to the right where you can hit a small jump which propels you into the air to grab this puzzle piece.
Puzzle Piece 4/4 – When going down the section where you are blown by two clouds, make sure to stick to the right after the second cloud to get bounced to this puzzle piece.
Electrocloud
2 Artifacts, 4 Puzzle Pieces
Puzzle Piece 1/4 – At the second checkpoint instead of going forward, go to the left and up to a platform where you can find a spot to blow into the mic. In this area, you can see the puzzle piece on the left.
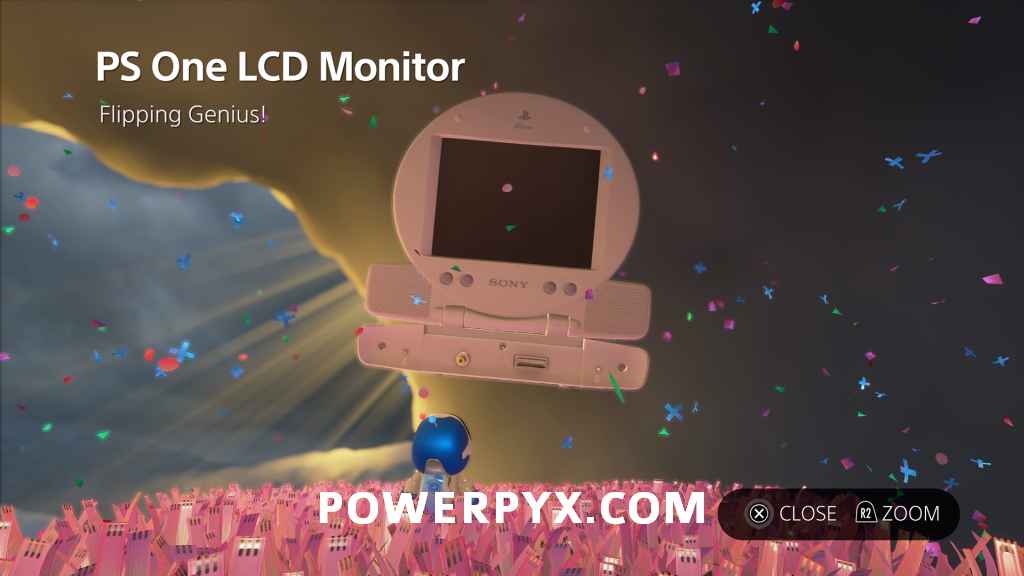
Artifact 1/2 “PS One LCD Monitor” – Continue along that path to the end where the group of bots are and pull the wires on the ground to reveal this artifact.
 |
 |
Puzzle Piece 2/4 – Back on the main path, you then ride a circuit board through an area with electric rail obstacles. Midway through you can find this puzzle piece, basically right in your way.
Puzzle Piece 3/4 – Further on you will go through a number of electrified floor tiles. This puzzle piece is floating in the air above a group of 4.

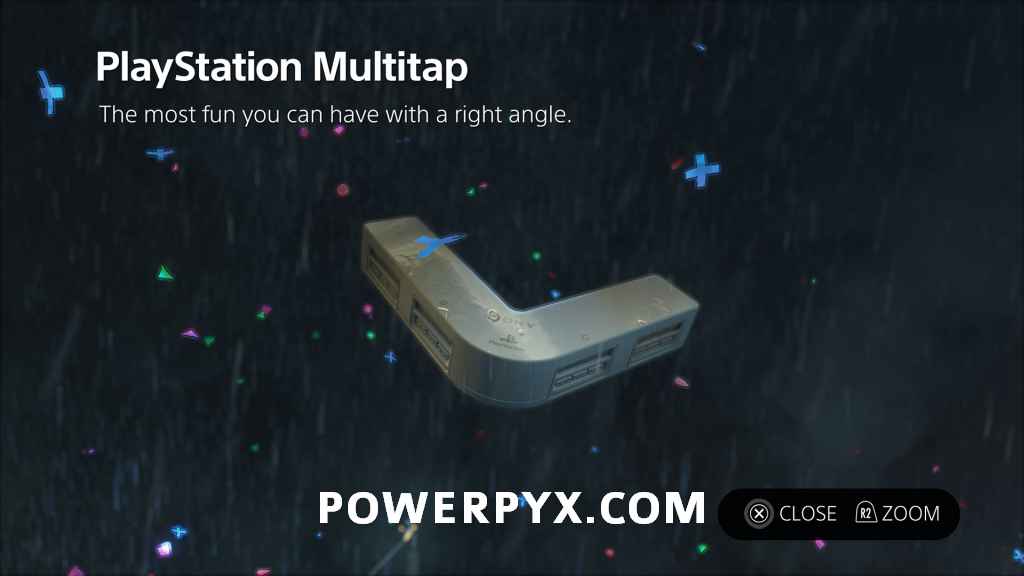
Artifact 2/2 “PlayStation Multitap” – At the checkpoint take the left path. At the end, you can find a wire pull which reveals this artifact.
 |
 |
Puzzle Pieces 4/4 – In the area with the stomping television, use the two clouds by the checkpoint to jump on top of it when it’s on the ground, then jump to the puzzle piece when it’s in the air.
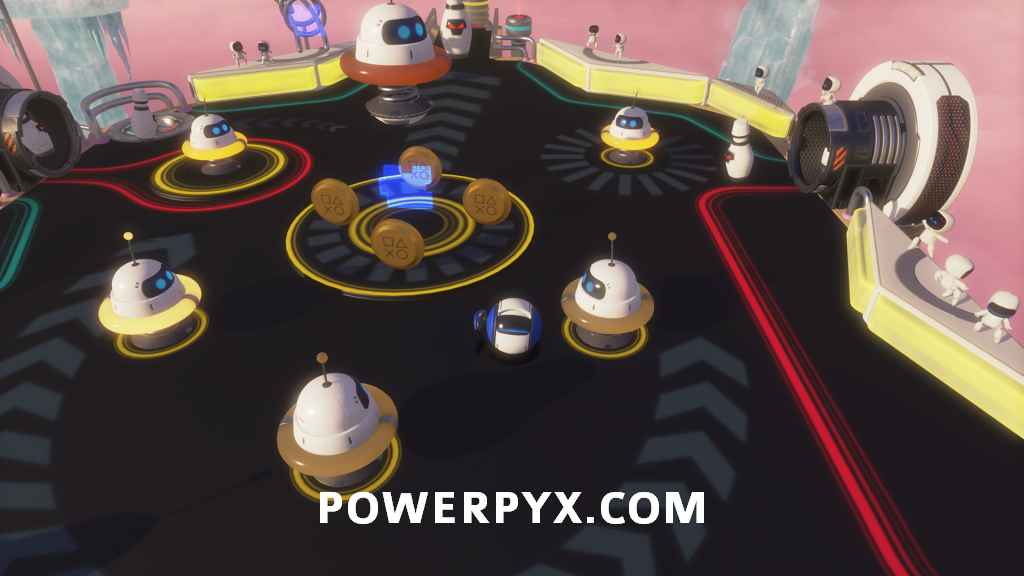
Bumper Boardway
3 Artifacts, 4 Puzzle Pieces
Puzzle Piece 1/4 – In the first pinball area, roll into the spot on the back left to get boosted to a rail with this puzzle piece at the end.
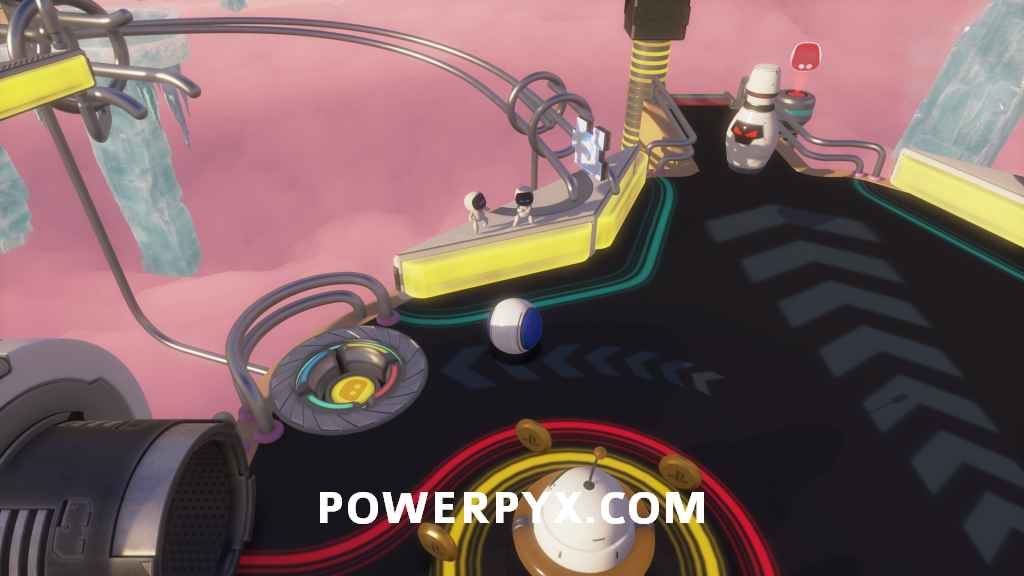
Puzzle Piece 2/4 – In this same pinball area, knock out the 6 bowling pin enemies around the center bumper to make this puzzle piece appear.
Puzzle Piece 3/4 – Just after the pinball area you will slide across some ice blocks. This puzzle piece is just after one of the ledges you drop down on the blocks. You can hold the touchpad button down to bring yourself to a stop on the ice.
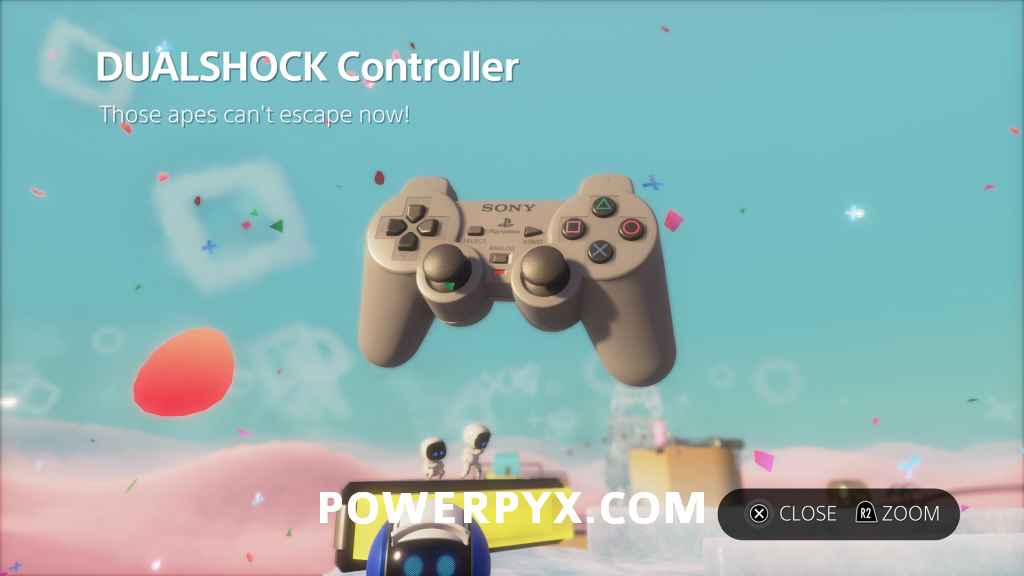
Artifact 1/3 “DualShock Controller” – Before going off the ice there is a dangerous path on the left. At the end, you can find this artifact.
 |
 |
Puzzle Piece 4/4 – Directly to the right of the large middle bumper, basically in your way.
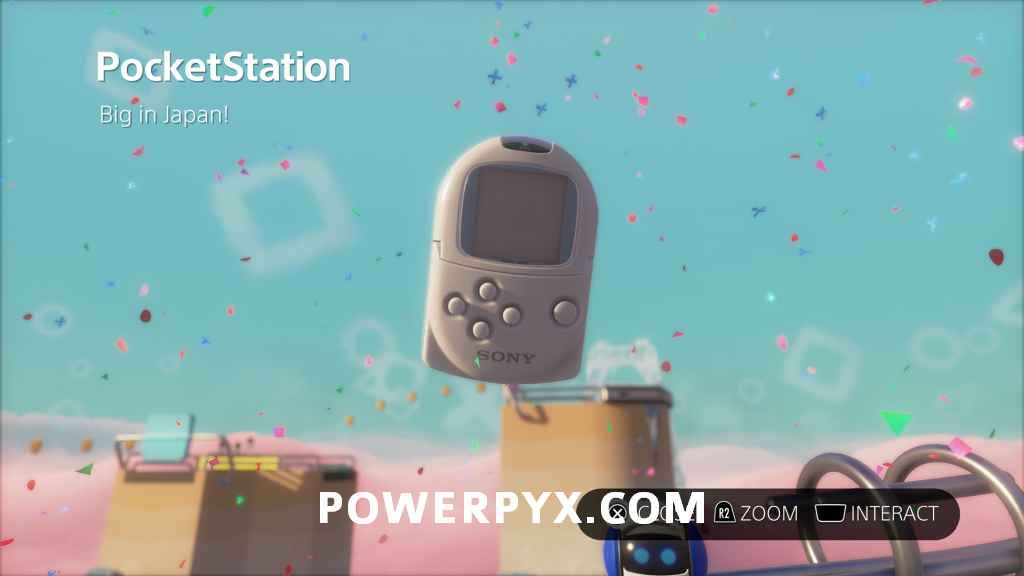
Artifact 2/3 “PocketStation” – To the left of that middle bumper is one more dangerous path, with this artifact at the end.
 |
 |
Artifact 3/3 “PlayStation” – Awarded for completing the level.
One More Thing…
All of these artifacts are obtained after you defeat the T-Rex bosses and see the game credits. They don’t count towards Dude Raider  for the platinum, but beating the bosses and picking up all 4 of these awards the DLC trophy Play Has No Limits! .
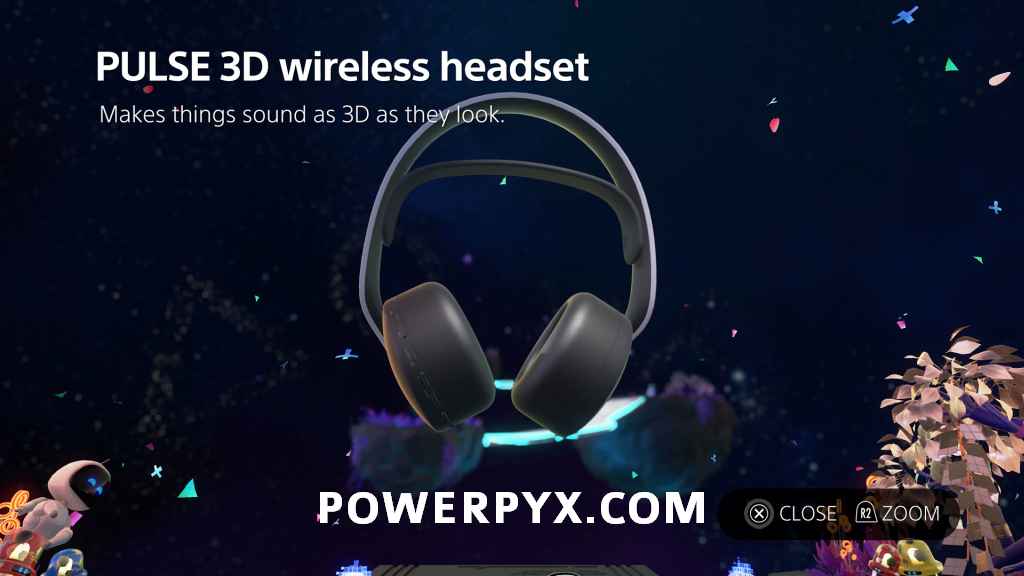
Artifact 1/4 “PULSE 3D Wireless Headset”
Artifact 2/4 “HD Camera”

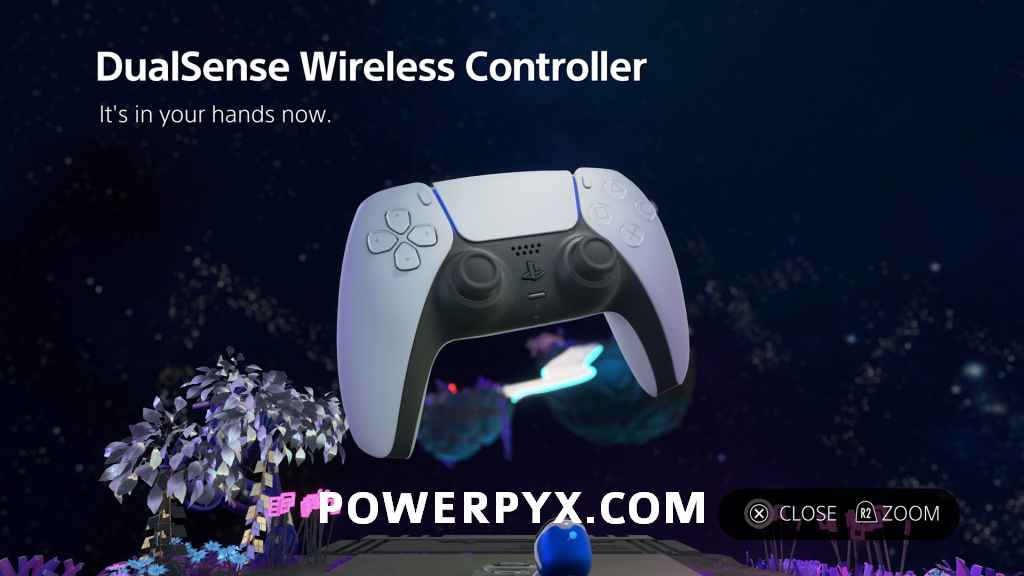
Artifact 3/4 “DualSense Wireless Controller”
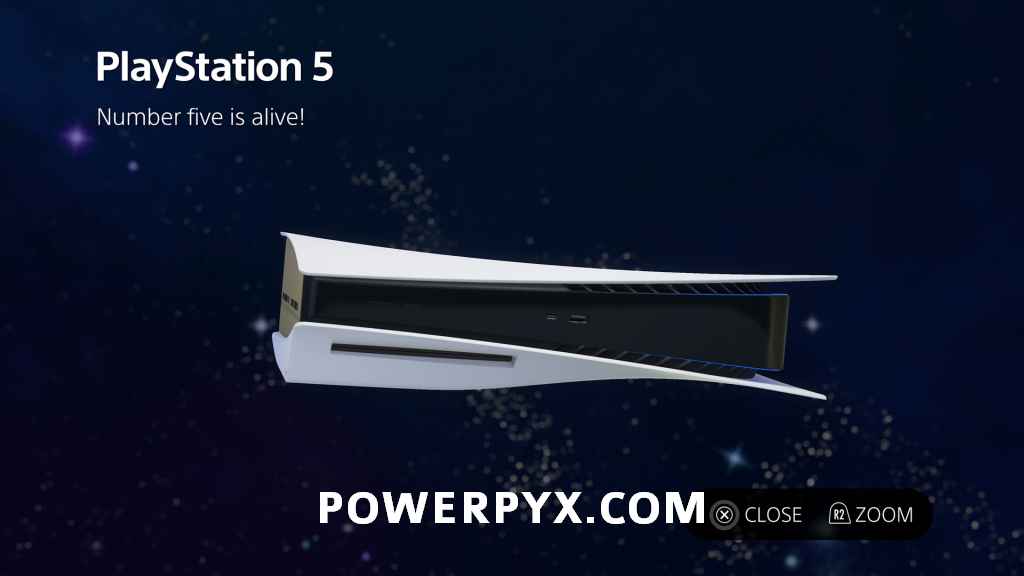
Artifact 4/4 “PlayStation 5”
That’s all of the Artefact Locations & Puzzle Piece Locations in Astro’s Playroom on PS5. As a reward you will earn the Dude Raider! & A Grand Tour! trophies. Congratulations!
Sean Humphries says
Quick tip for the second Artifact on Bumper Broadway. If like me you’re terrible at controlling the ball, hold the touchpad to brake and swipe while holding. It’s alot slower but you can move the ball while it’s stopped to make it trivial
DeathX says
How do I get past the the spider web it keeps pushing me out