
Hagios Patir – Upper Level is the twelfth area of the game. This area includes the ends of the questlines for Shirley, Vikas, and Feylia. It is also where you will determine which ending you can potentially earn, so be careful with progression once you reach the end of the area. See AI Limit Endings & NPC Questlines Guide You will also be able to collect the remaining Firebearers’ Codex items as you progress through the area, then sell them for a nice bonus.
Hagios Patir – Upper Level
Faultage Corridor
NPCs: Sklarm – In the back left corner past the Branch, exhaust his dialogue. Sklarm questline #2
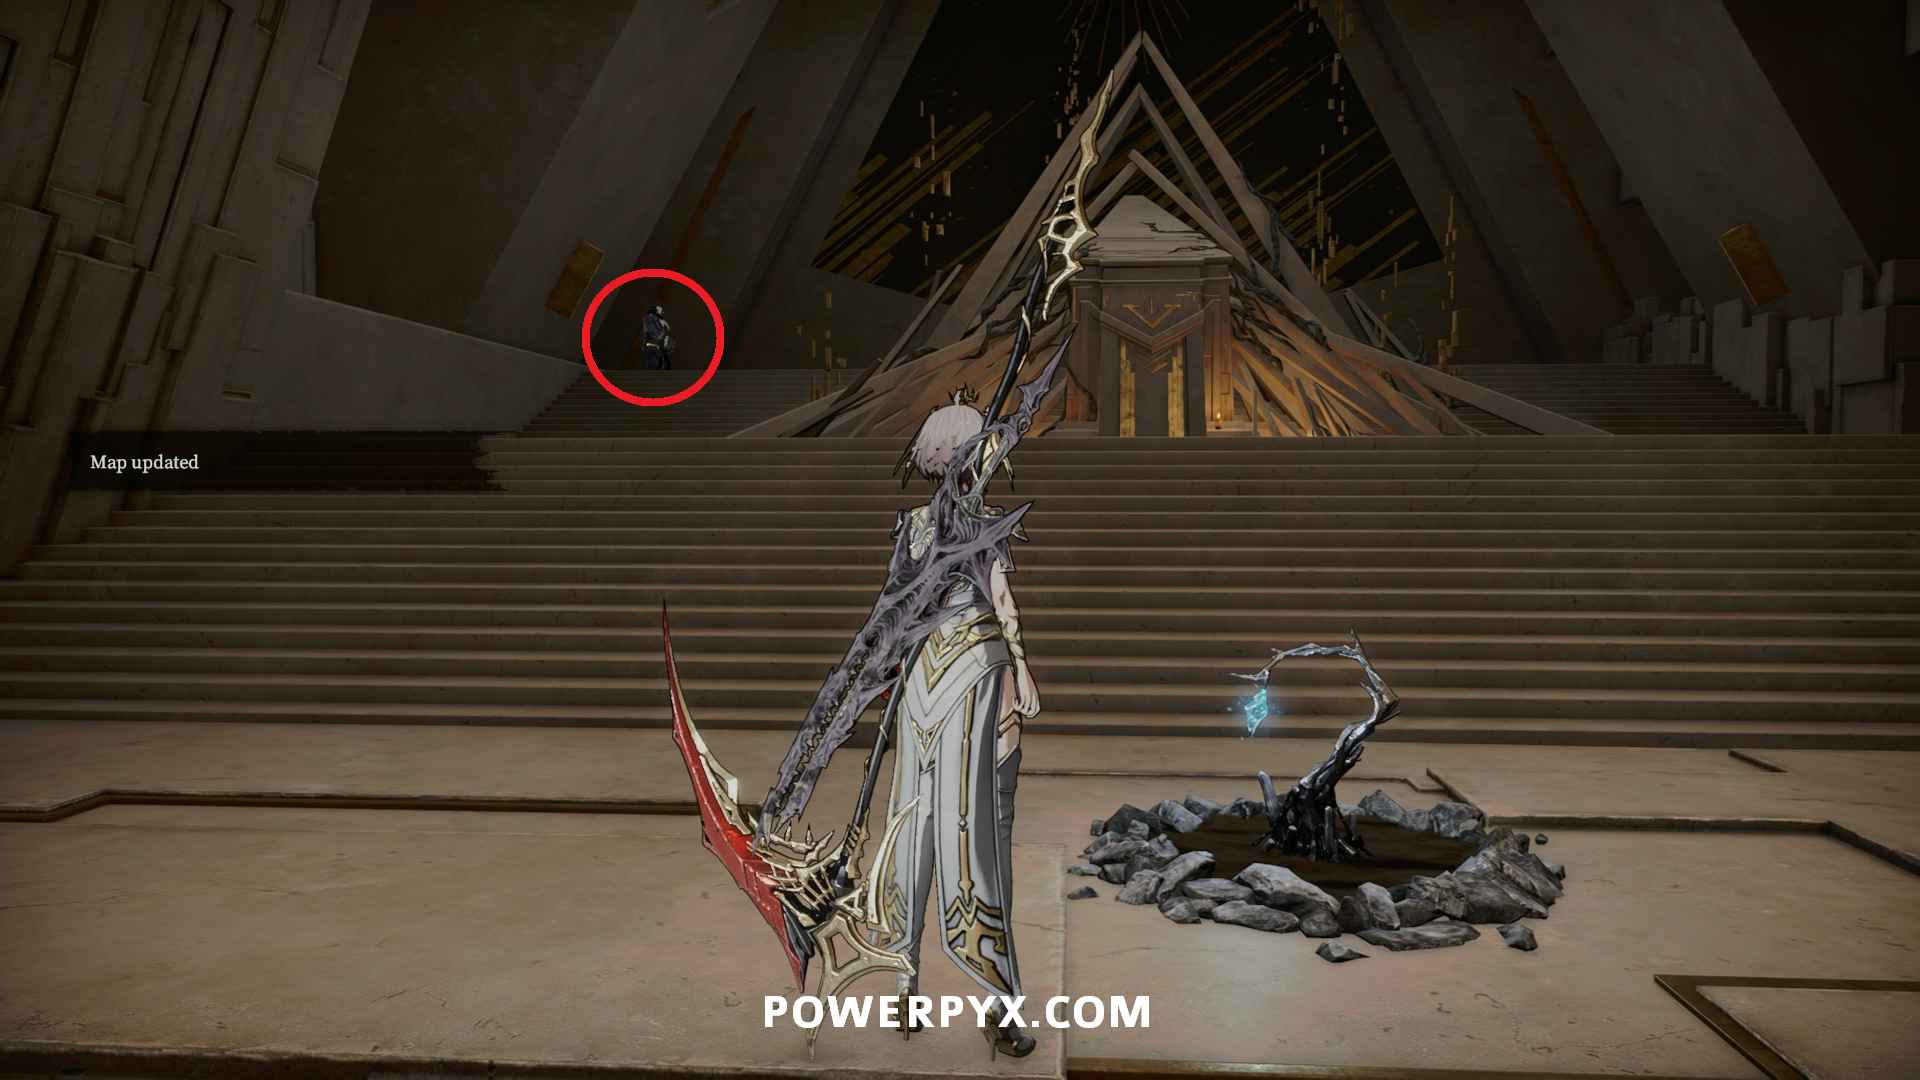
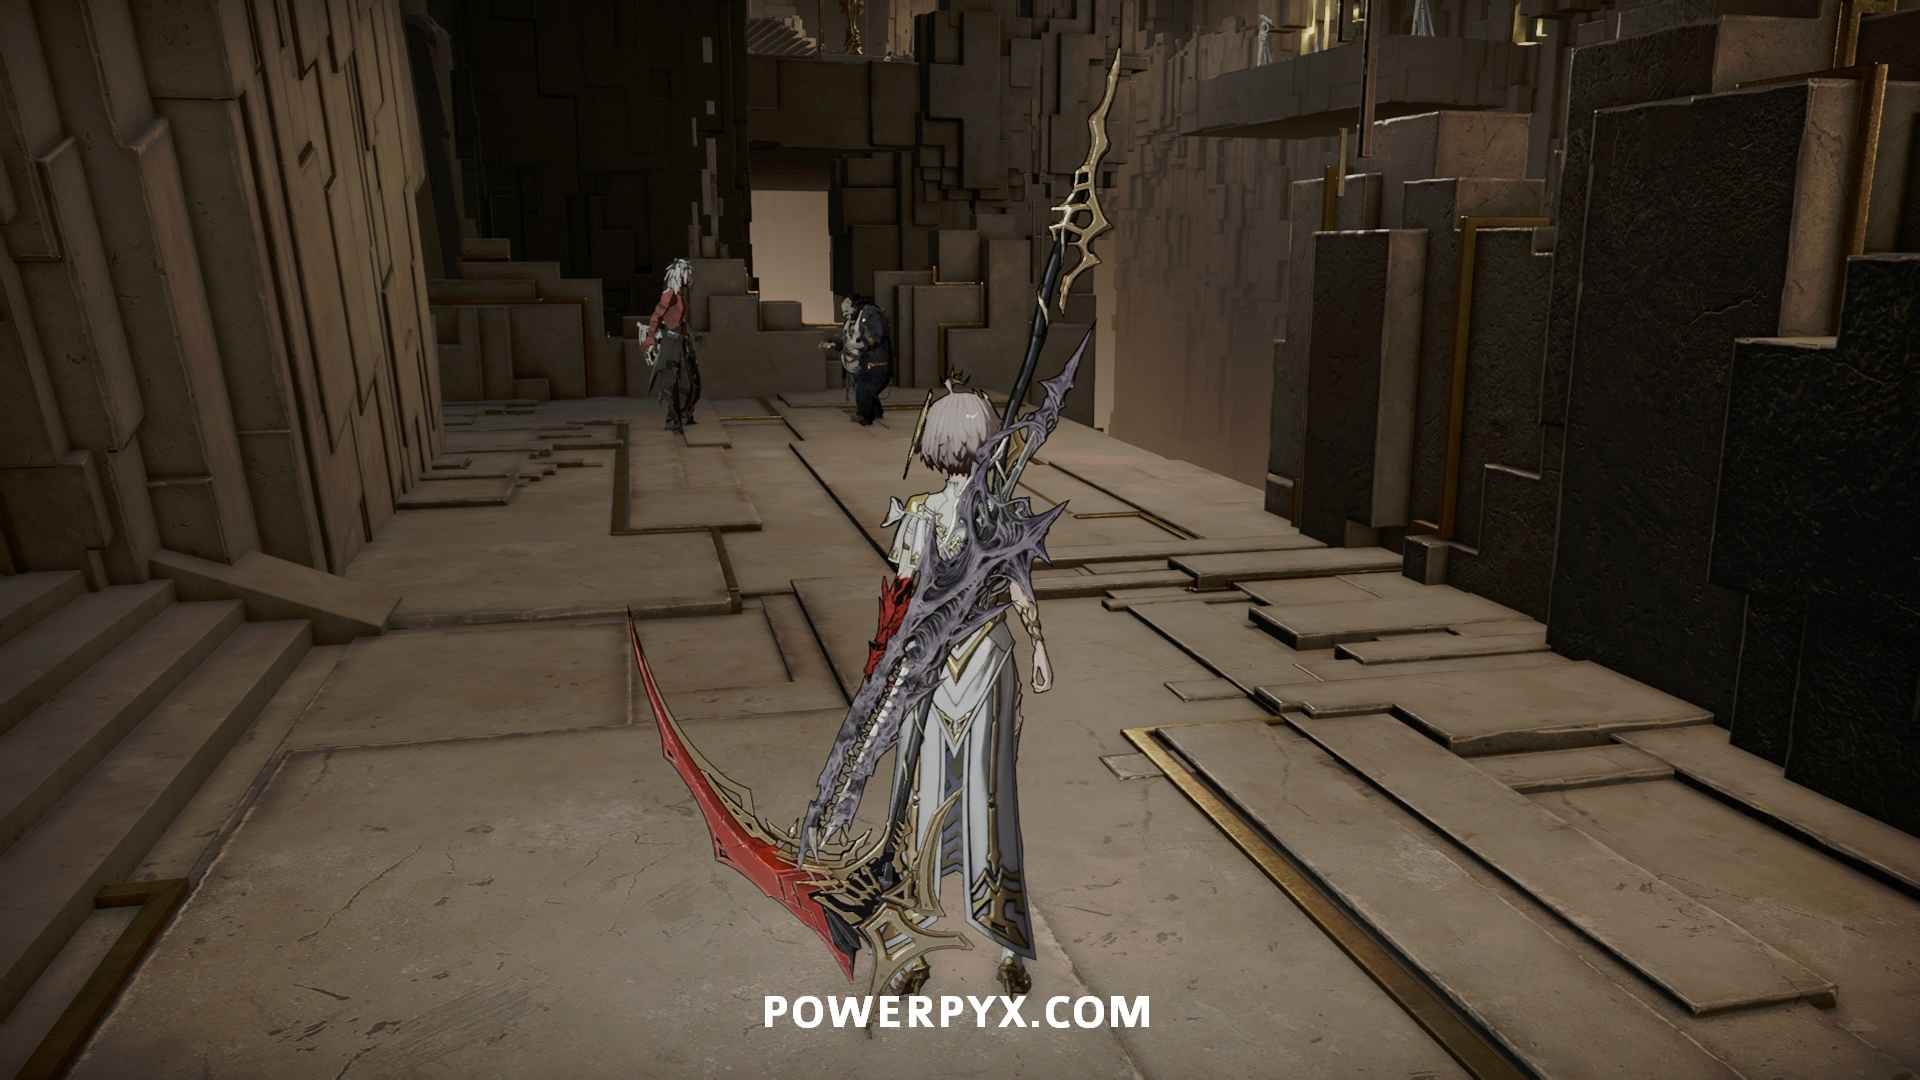
NPCs: Sklarm/Vikas – Rest at the Branch, then Sklarm and Vikas will now be nearby. Speak to them and exhaust their dialogue. If they don’t appear here after resting try coming back after activating the Evolving Palace Branch or the shortcut elevator before the Seraphim Absolver boss. Sklarm questline #3/Vikas questline #5
Main Seal: Seal of Clergies – From the Branch continue on the main path and go past the room with the red hammer enemy and then left into a side hallway at the top of the stairs. Follow this around to the upper floor where the two ranged enemies are. Go around the back of the pillar in the middle and open the box to obtain this seal. If you obtained all prior Main Seals and Normal seals you will earn  Tattooist when picking this up.

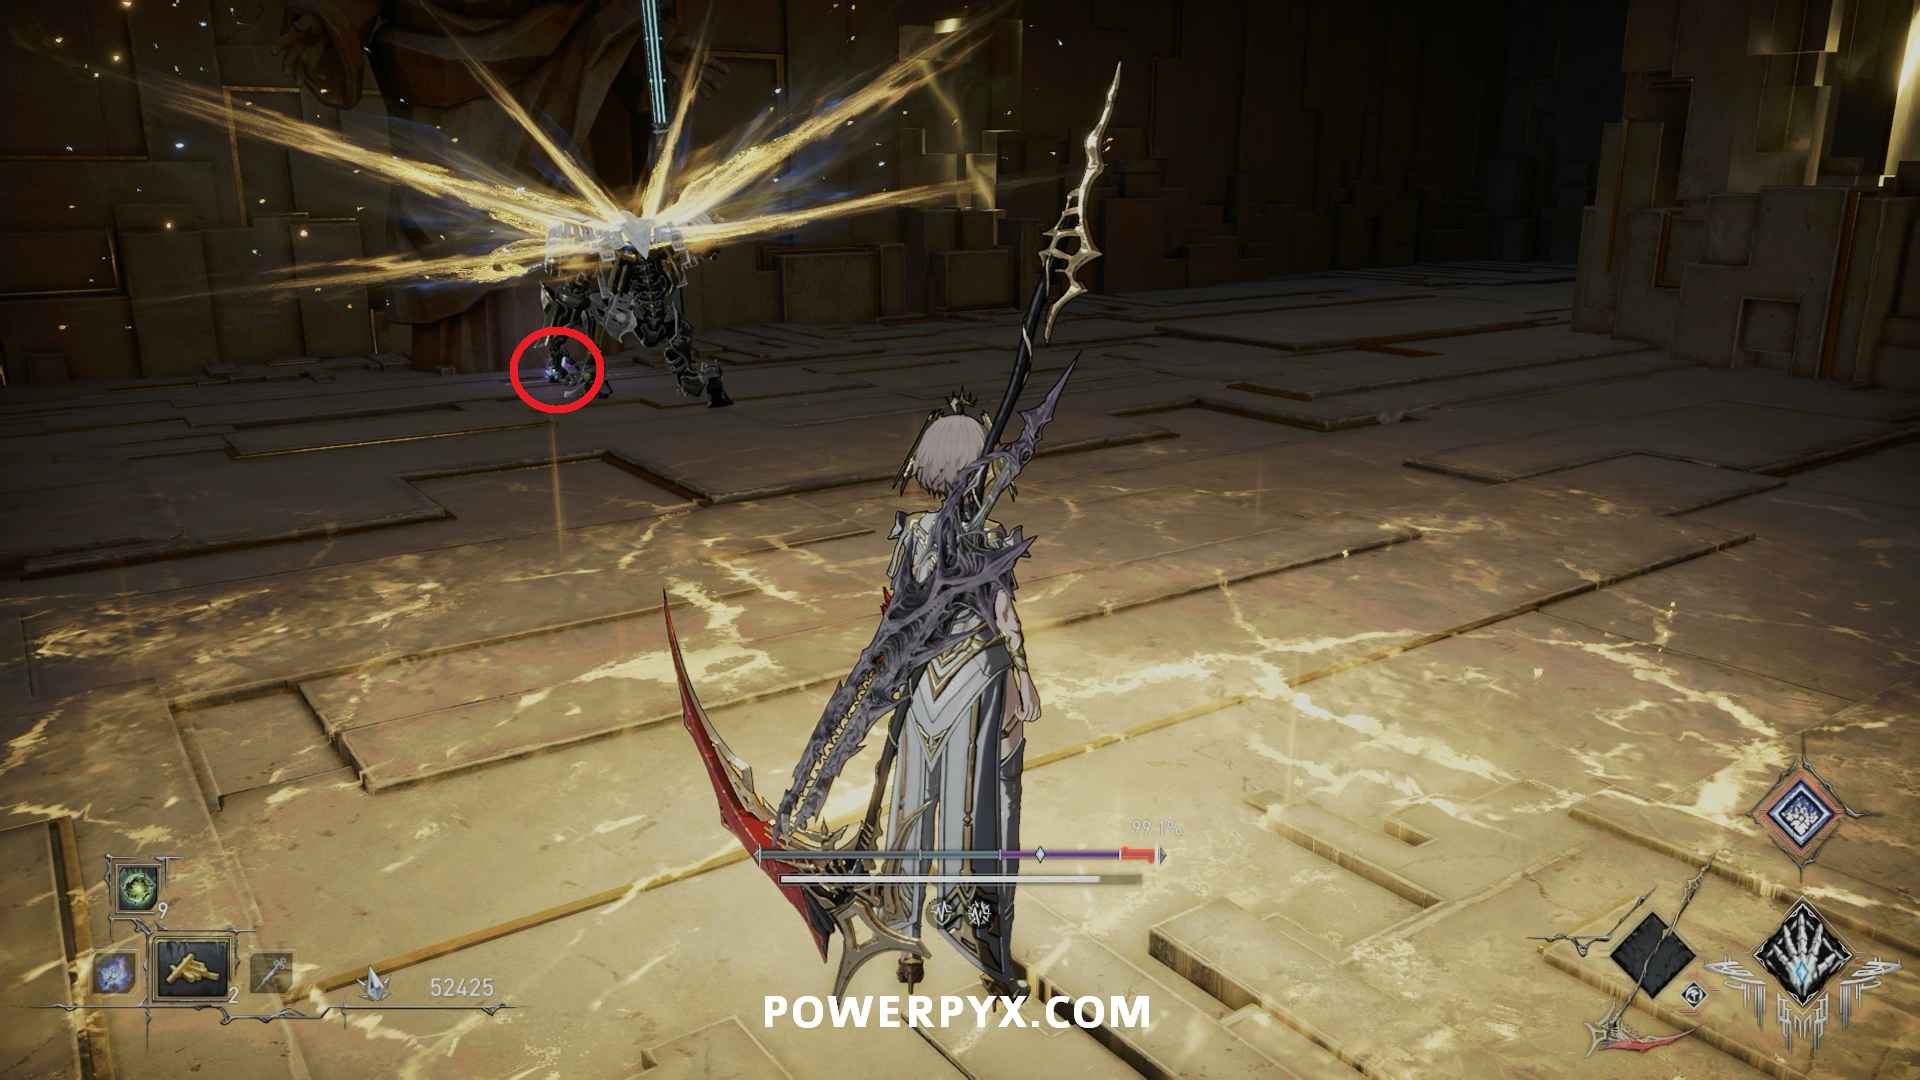
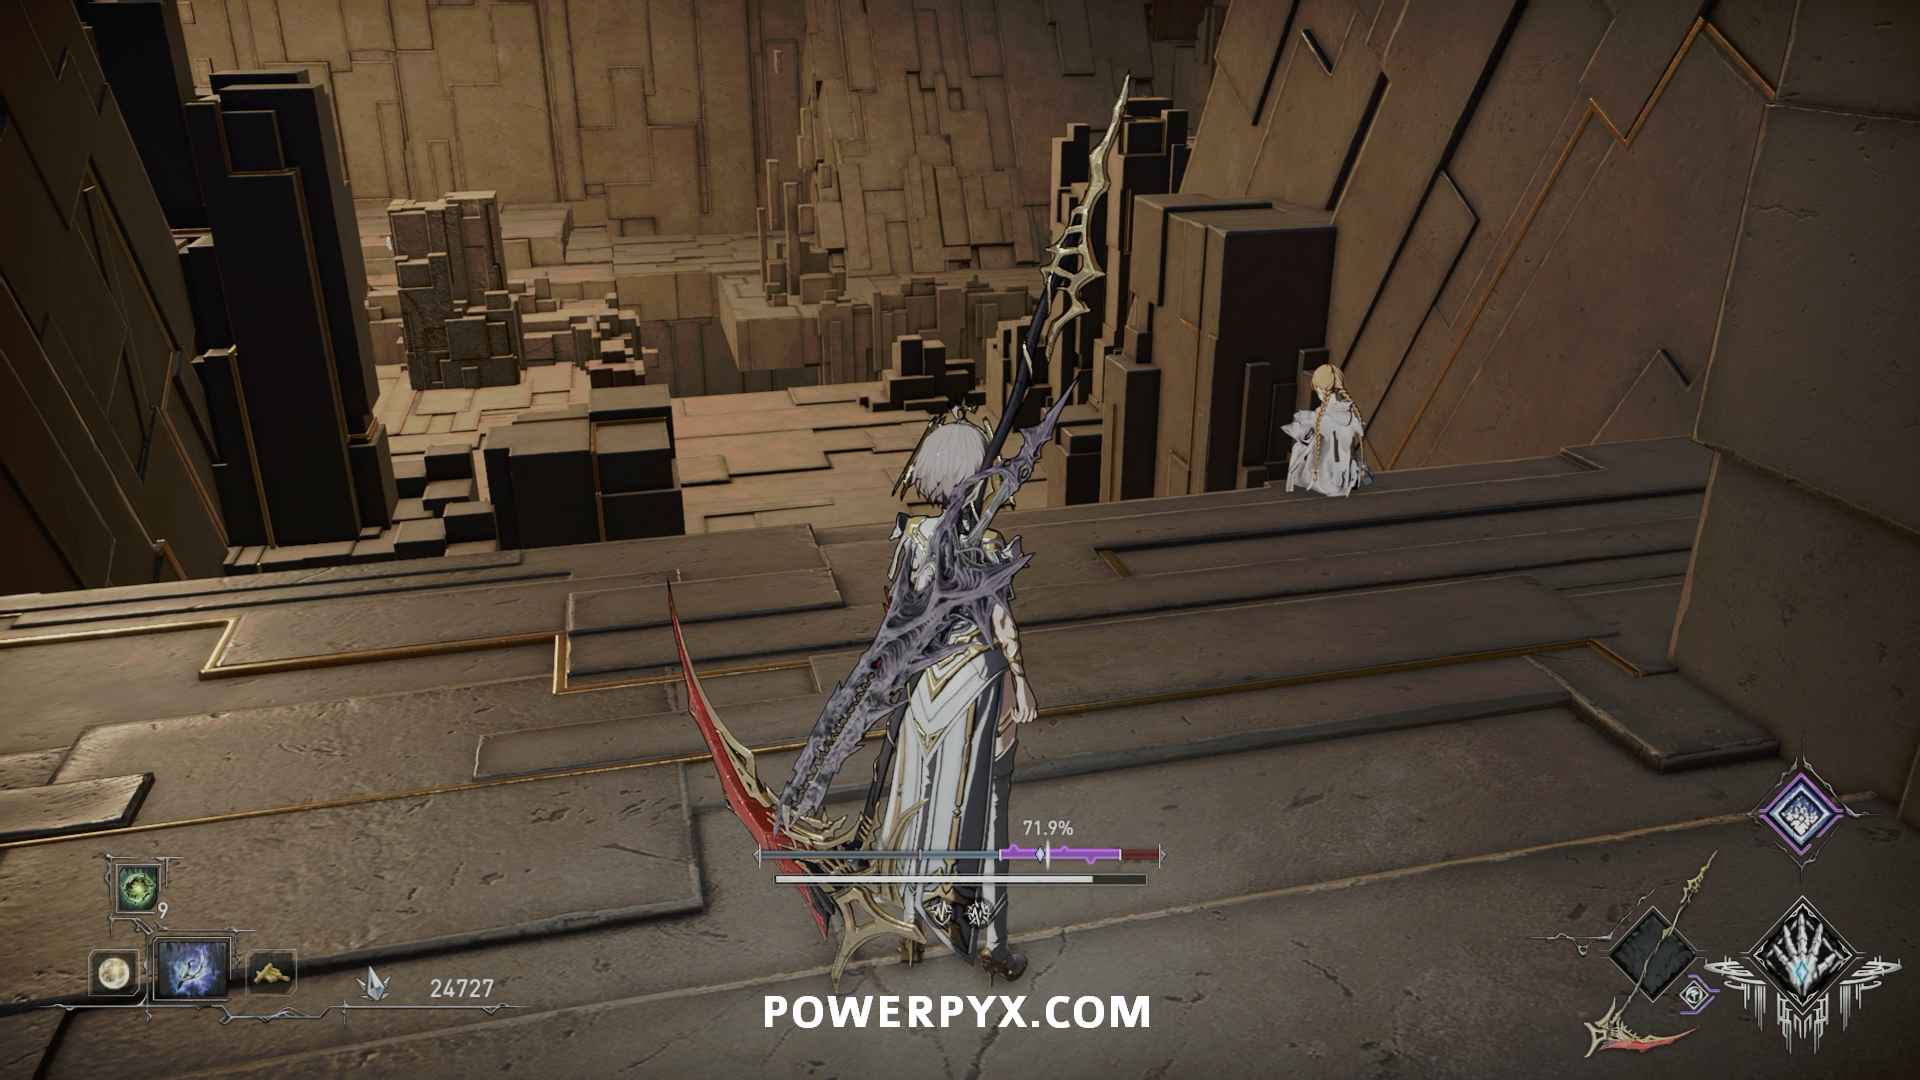
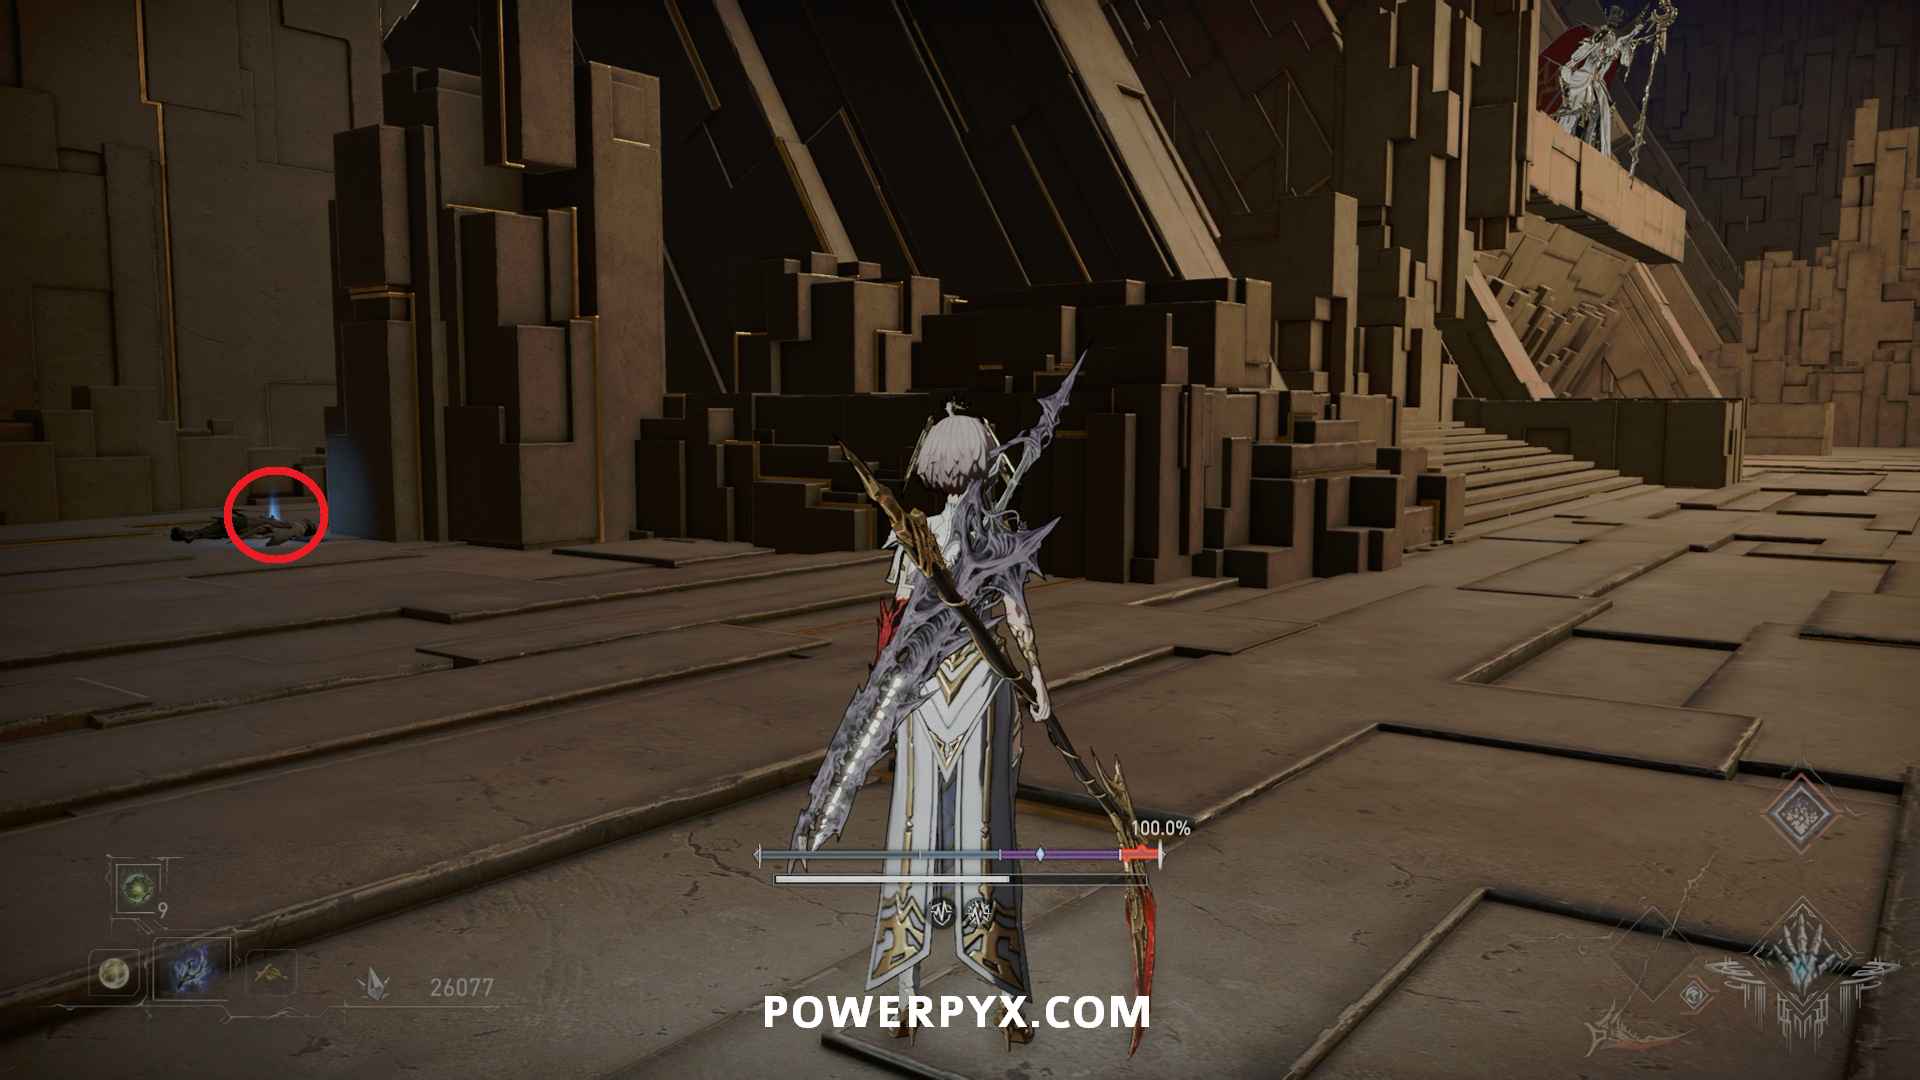
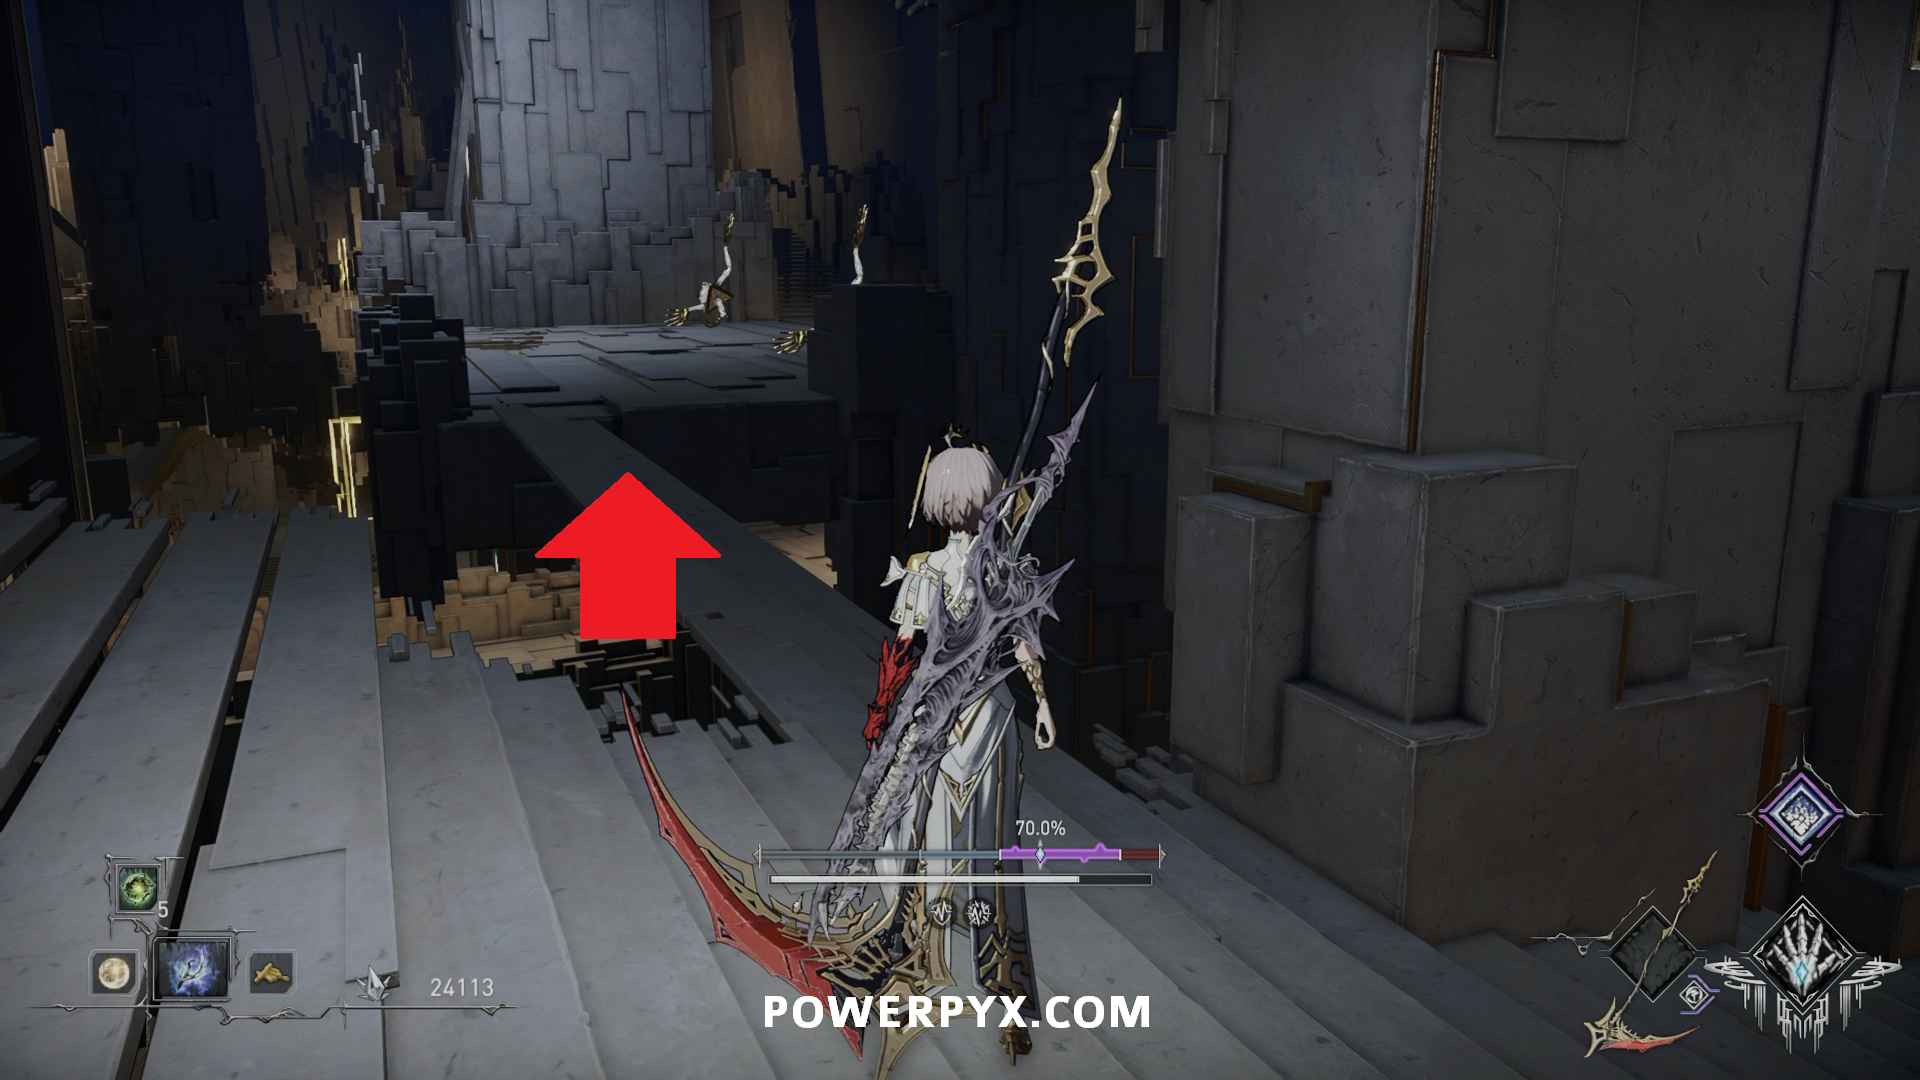
Item: Stellar Remains – Continue along the main path until you see the kneeling winged enemy, this is the pickup sitting in front of them. You can try to fight the enemy, rush in and grab it, or continue first and go down the path left first to kill the enemy summoning the ground AOE spell, which would make fighting the winged enemy significantly easier.
Item: Firebearer’s Codex, Part IX – At the split in the path near the big statue go left instead of continuing up the stairs. In the room with the patrolling red hammer enemy you can pick this up from near a body on the ride side of the room.
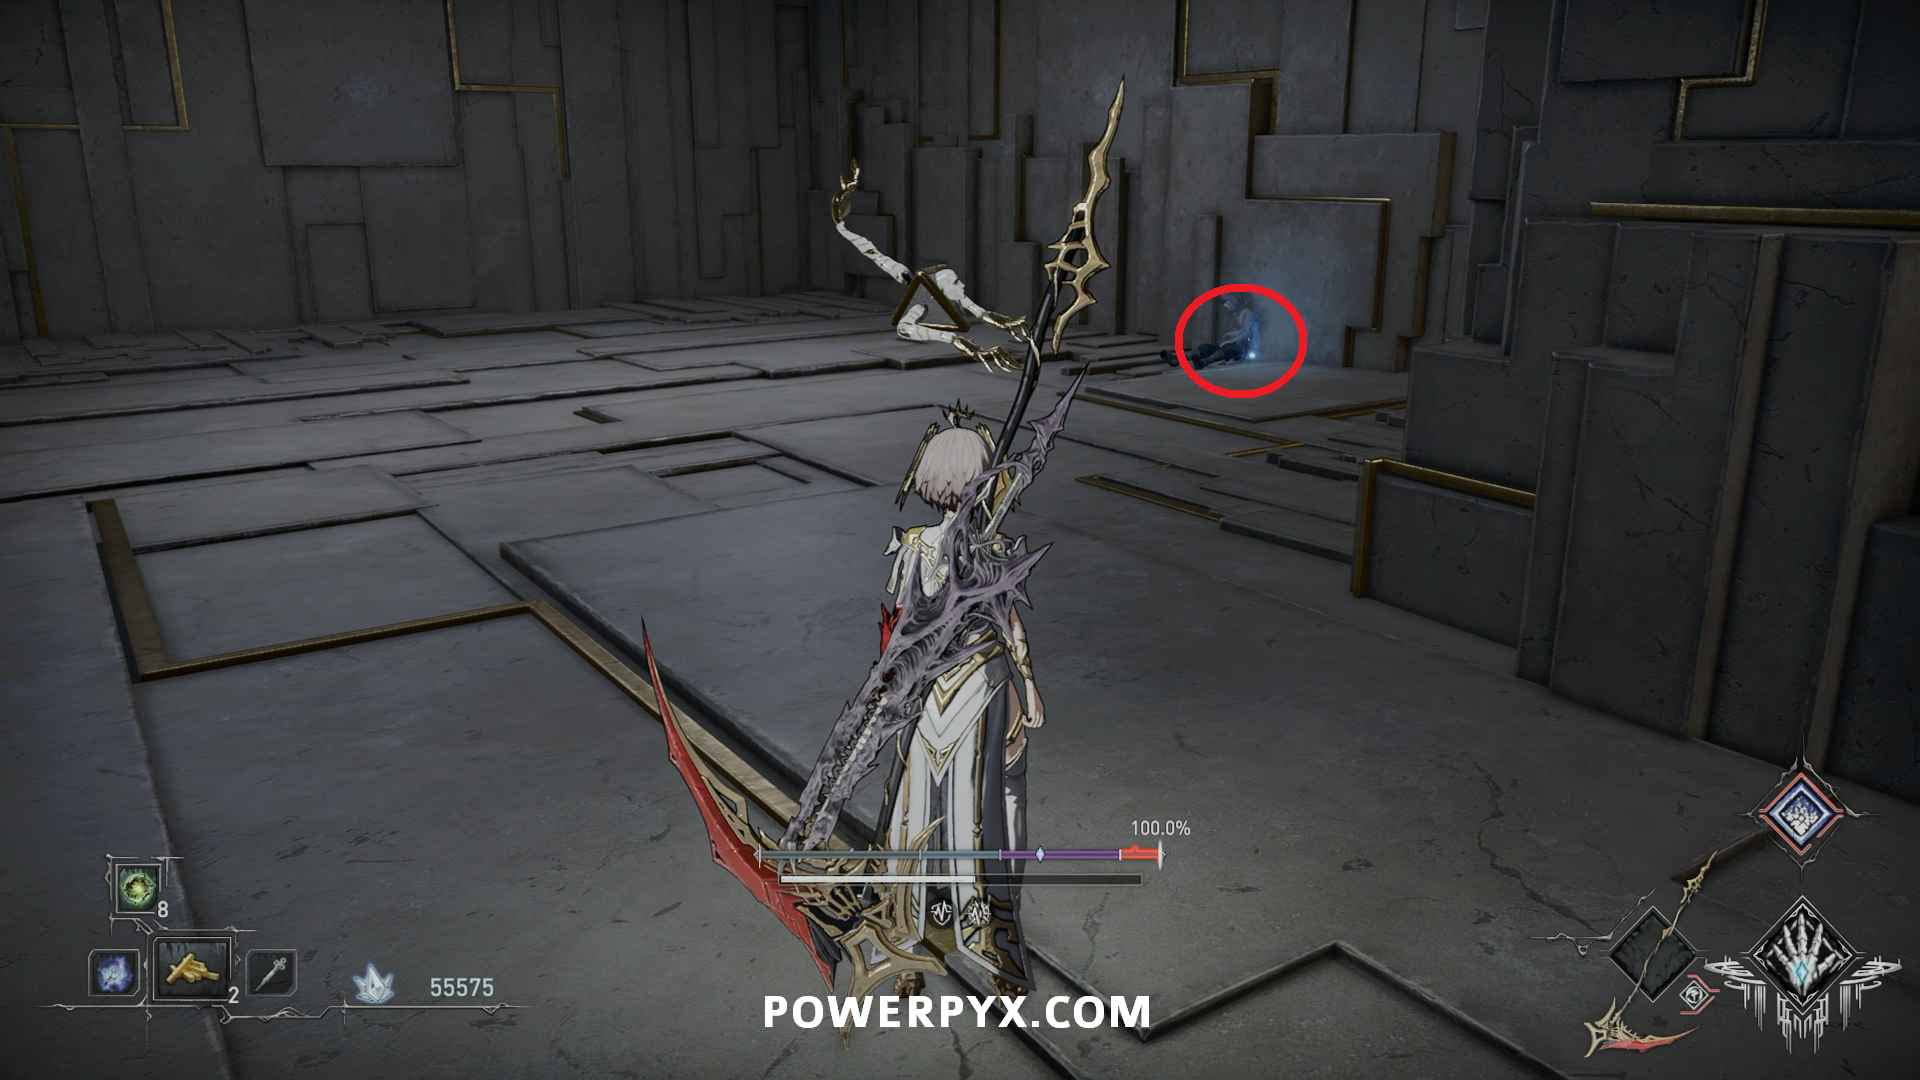
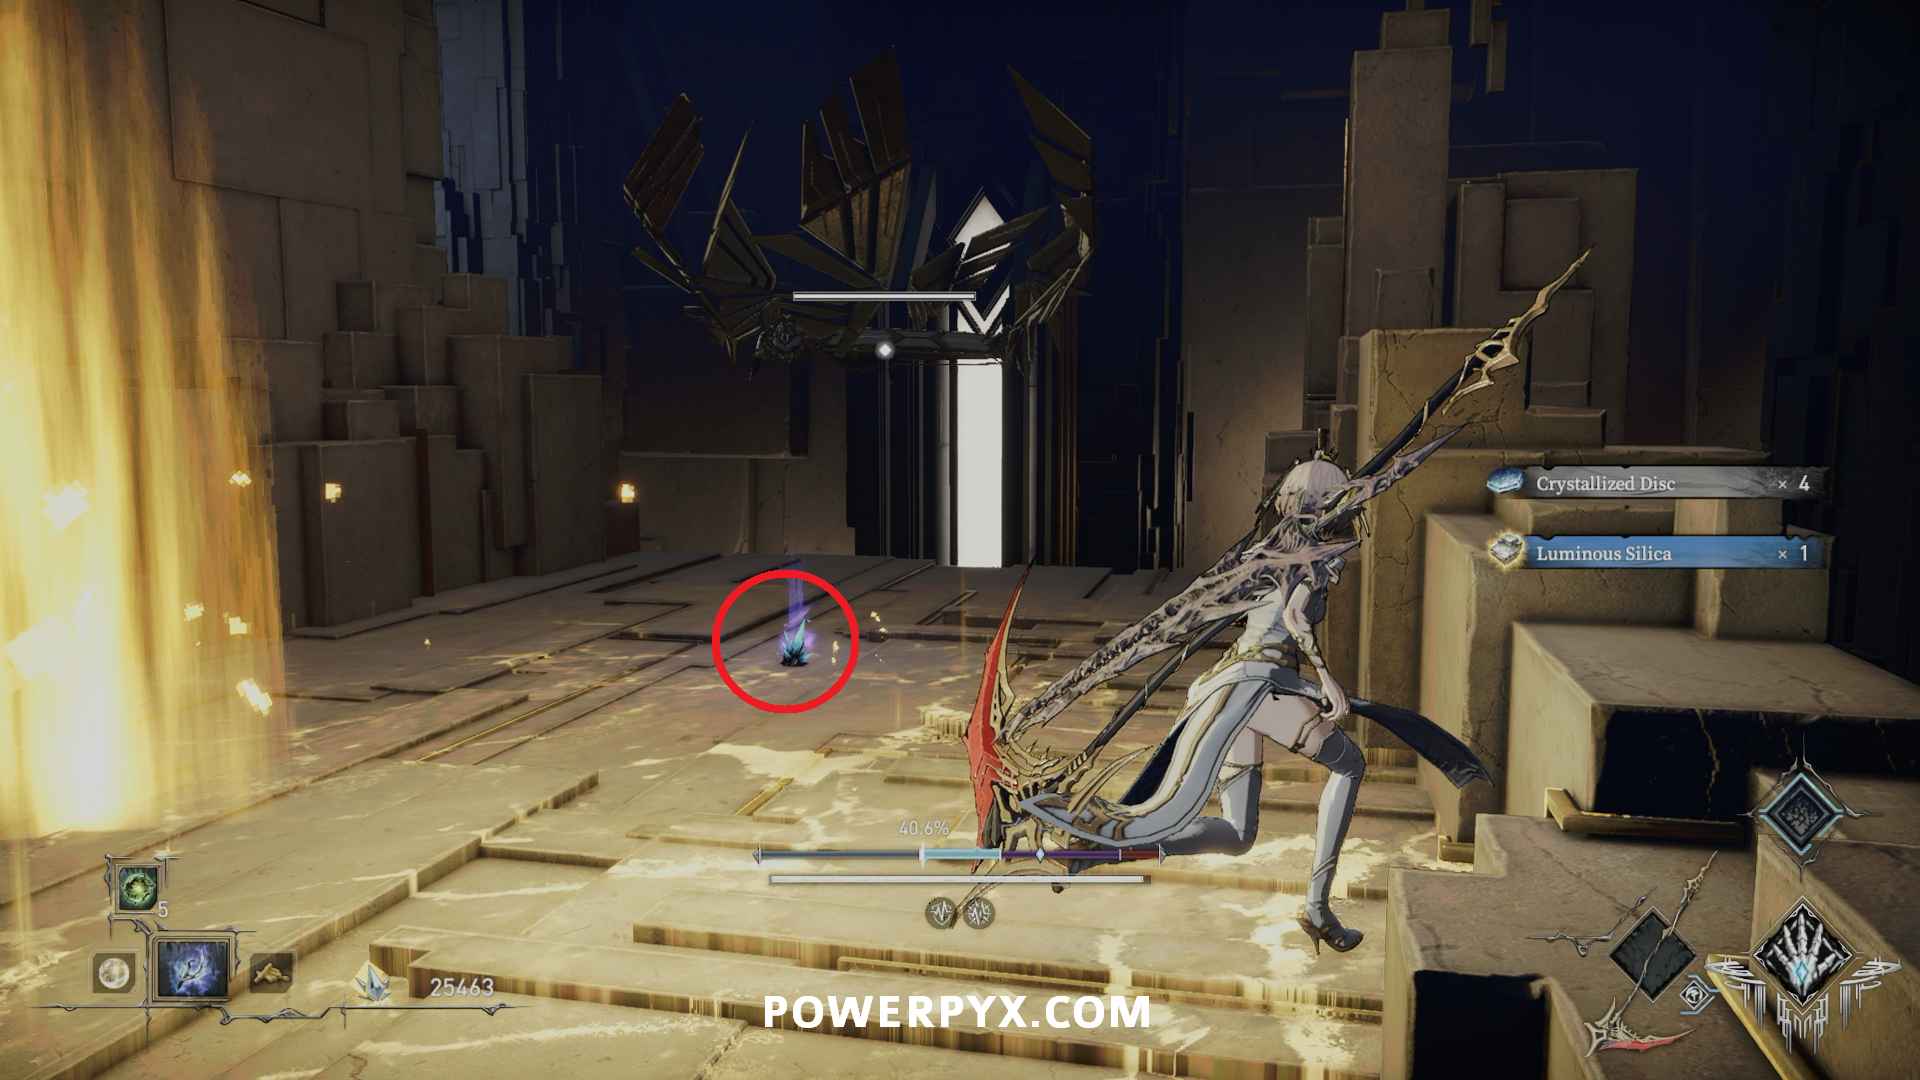
Item: Firebearer’s Codex, Part VI – Continue into the next room and down the hallway to the right to find the enemy casting the ground AOE spells. Pick this up from the body beside it.

Normal Seal: Torrent of Life – Jump down to the lower level and pick this up from in front of the big statue.

Item: Firebearer’s Codex, Part X – Continue up the stairs then go into the room to the right where you can pick this up from a body.

Evolving Palace
Item: Firebearer’s Codex, Part VIII – Keep following the main path until you come back inside from the long staircase between the balconies. Go left to find a spot with two enemies and this sitting beside a body.

Normal Seal: Insulation Transformation – Just ahead this is sitting in front of the statue in the area with the patrolling gauntlet enemy.

NPC: Shirley – Continue up to the top of the stairs and then to the platforms you drop down, speak to Shirley sitting on the edge and exhaust her dialogue. Shirley questline #8
Item: Firebearer’s Codex, Part V – Drop into the large room and go to the right where you can find this by a body.
Item: Sacred Blood Crystal – In front of the pillar in the room with the patrolling scythe enemy.
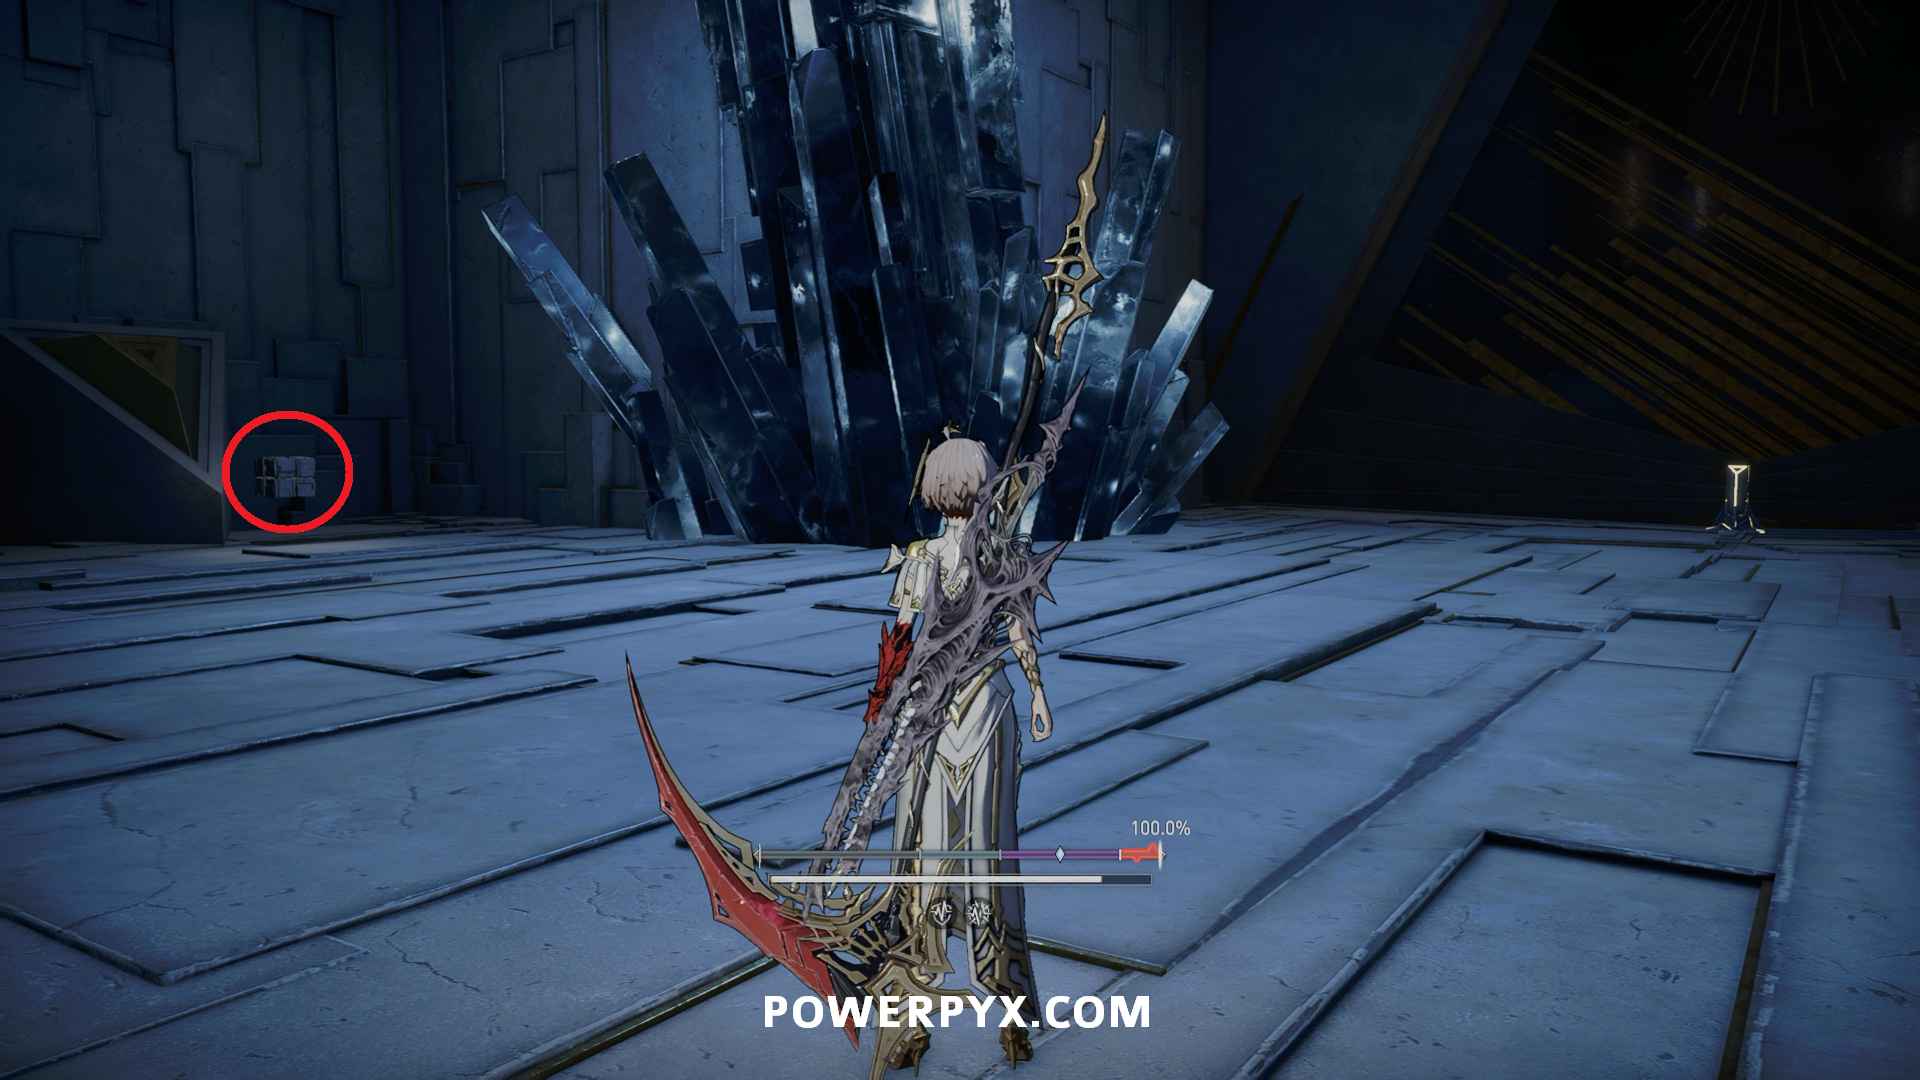
Material: Hereditary Resonance – Go up the ramp to the platform the large caster enemy is located, open the cube and pick this up from inside.

Item: Firebearer’s Codex, Part IV – Continue along the main path and this is by a body directly along the main path.
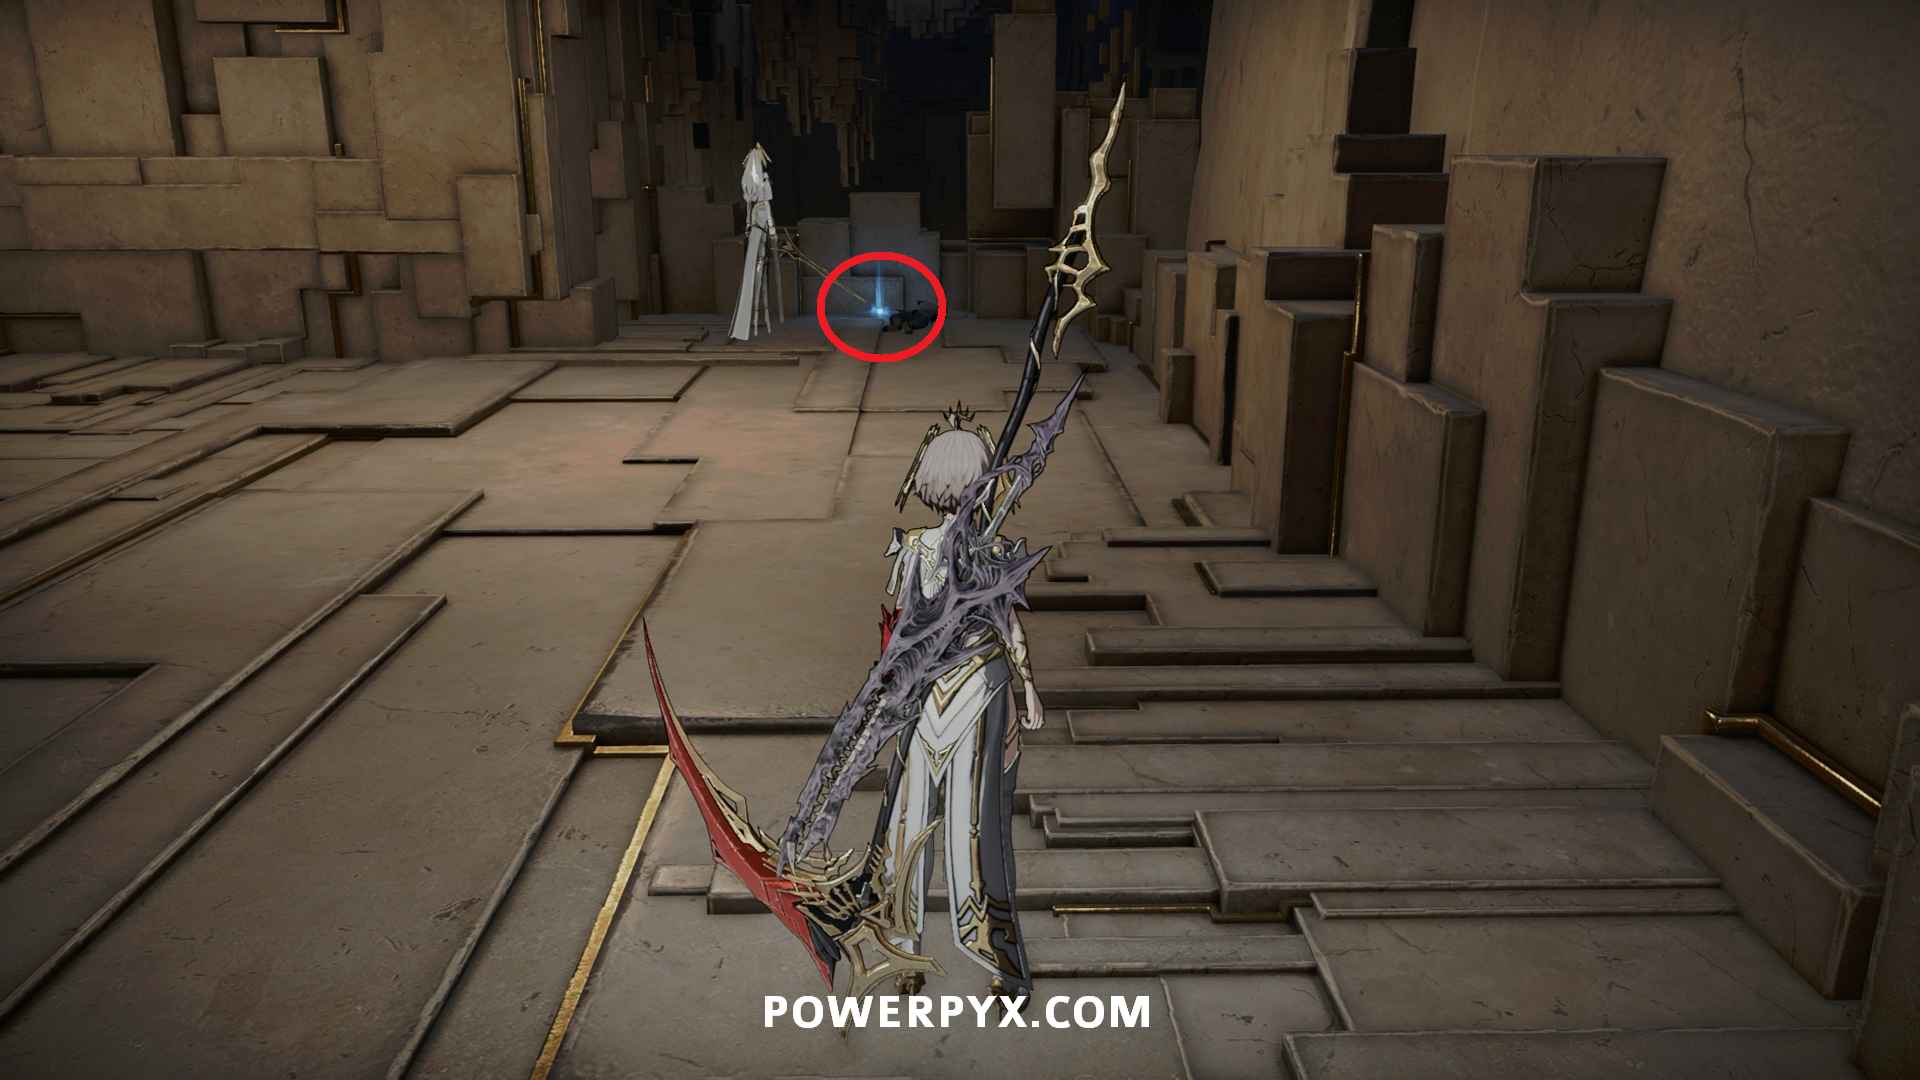
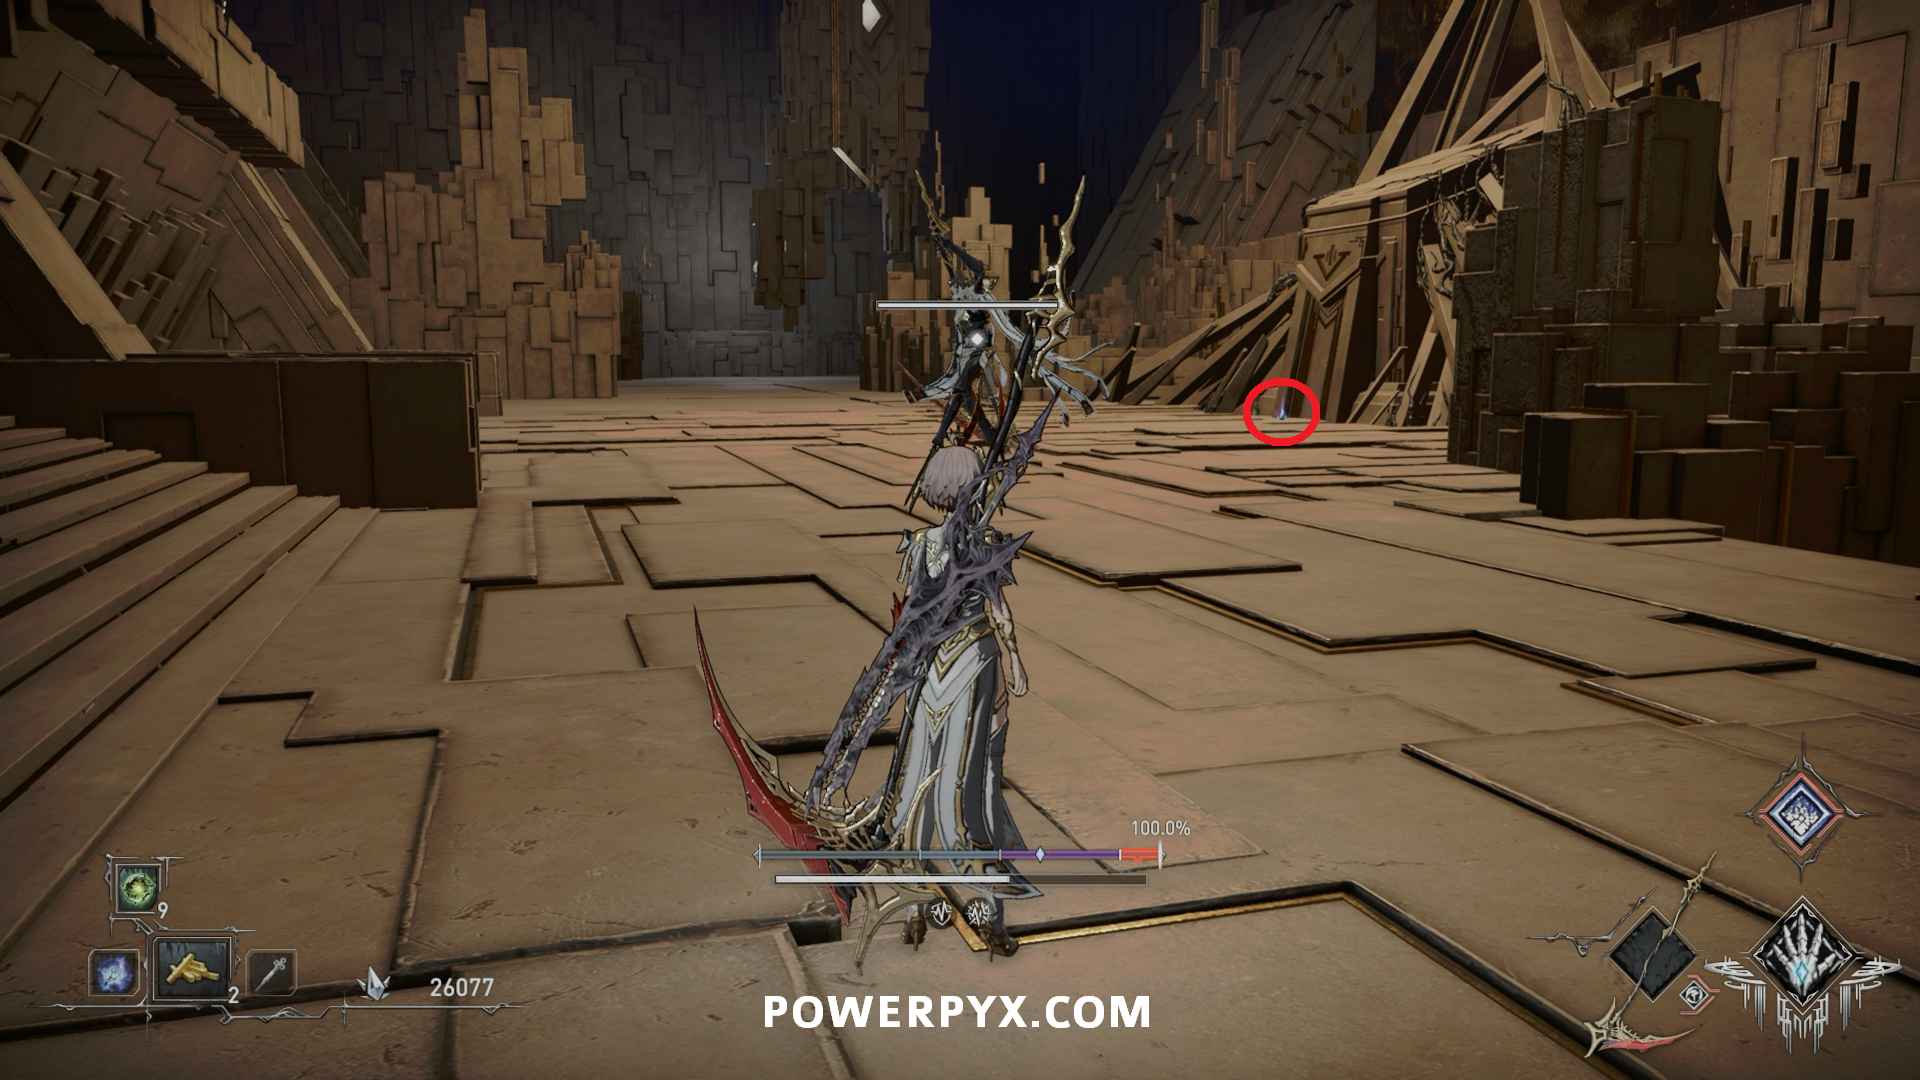
Item: Stellar Remains – Continue up the stairs and watch on the right side for a small walkway leading to a side area. Go to the end where you can find the enemy casting the ground AOE spells, then pick this up from beside it.
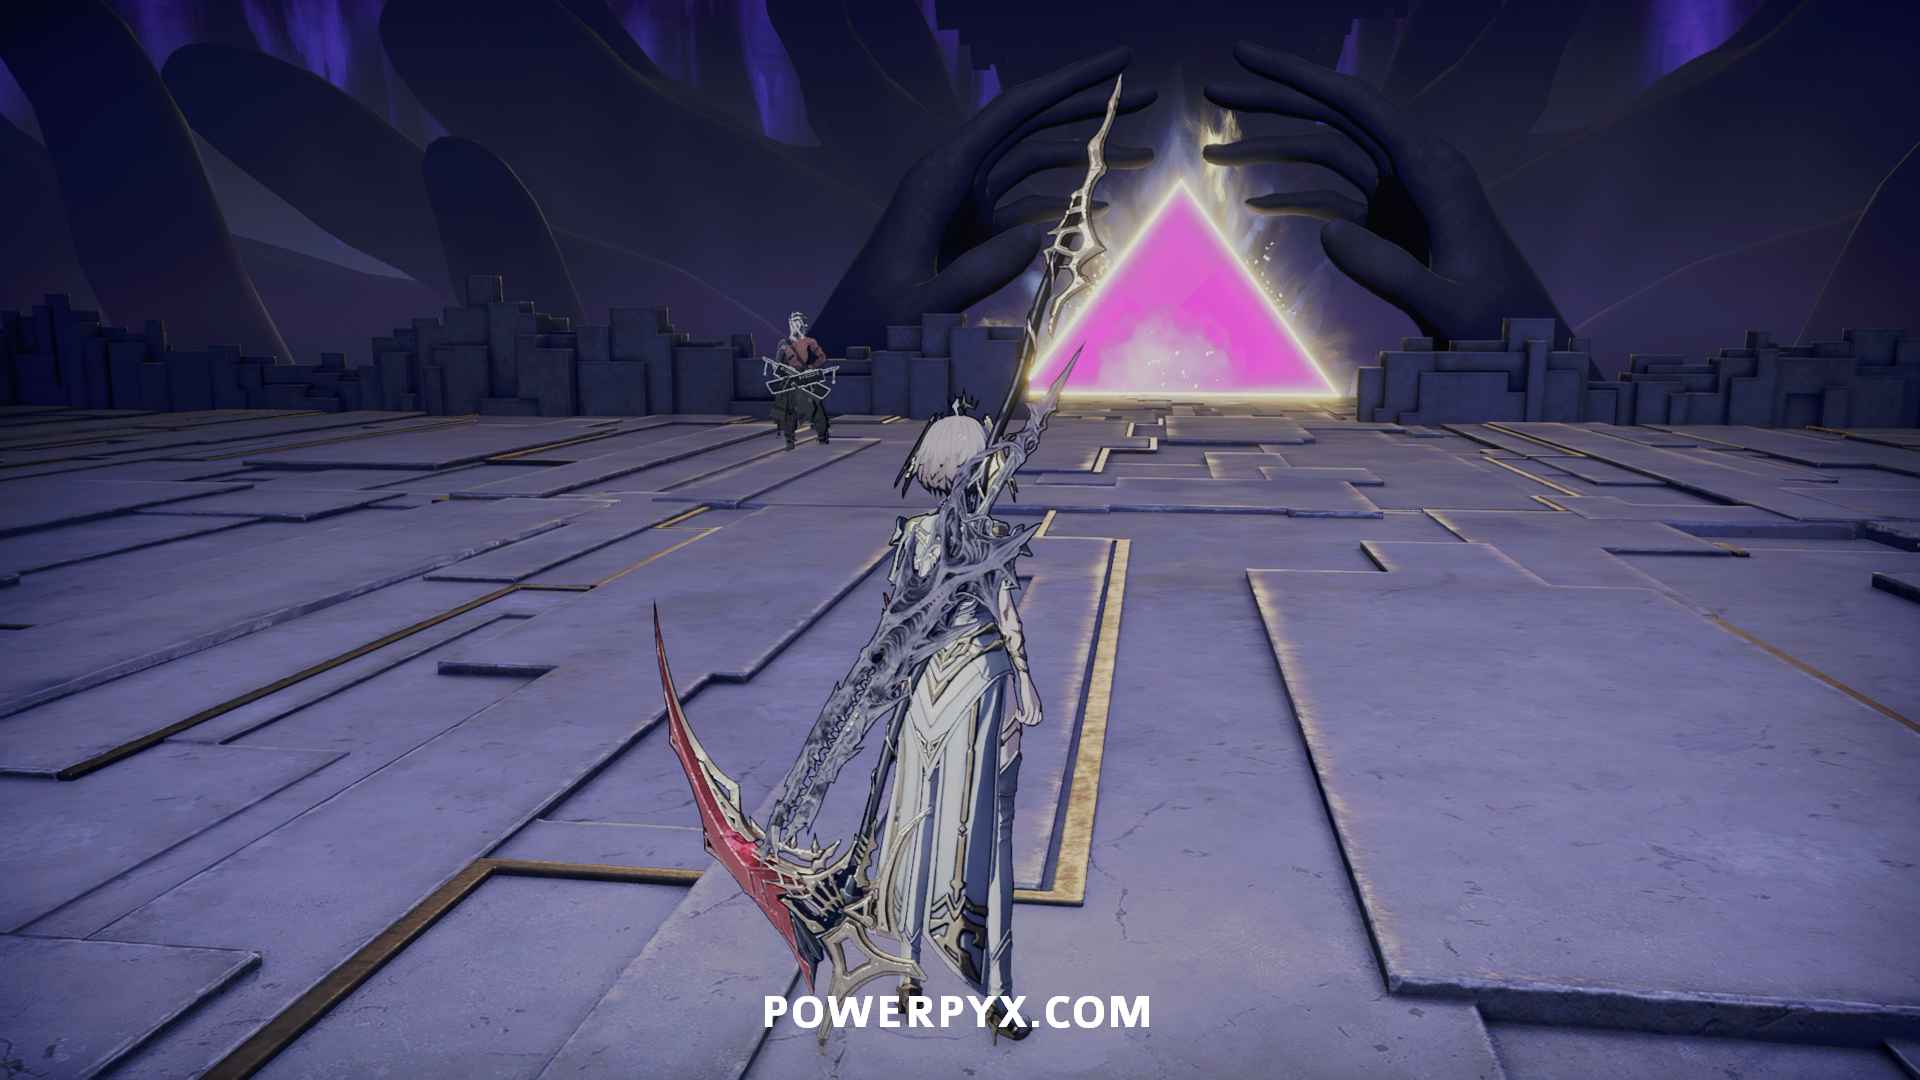
Continue along the main path to where you can find the shortcut elevator leading back to the Faultage Corridor Branch. If you’ve reached the bright area with the large hands you’ve gone too far.
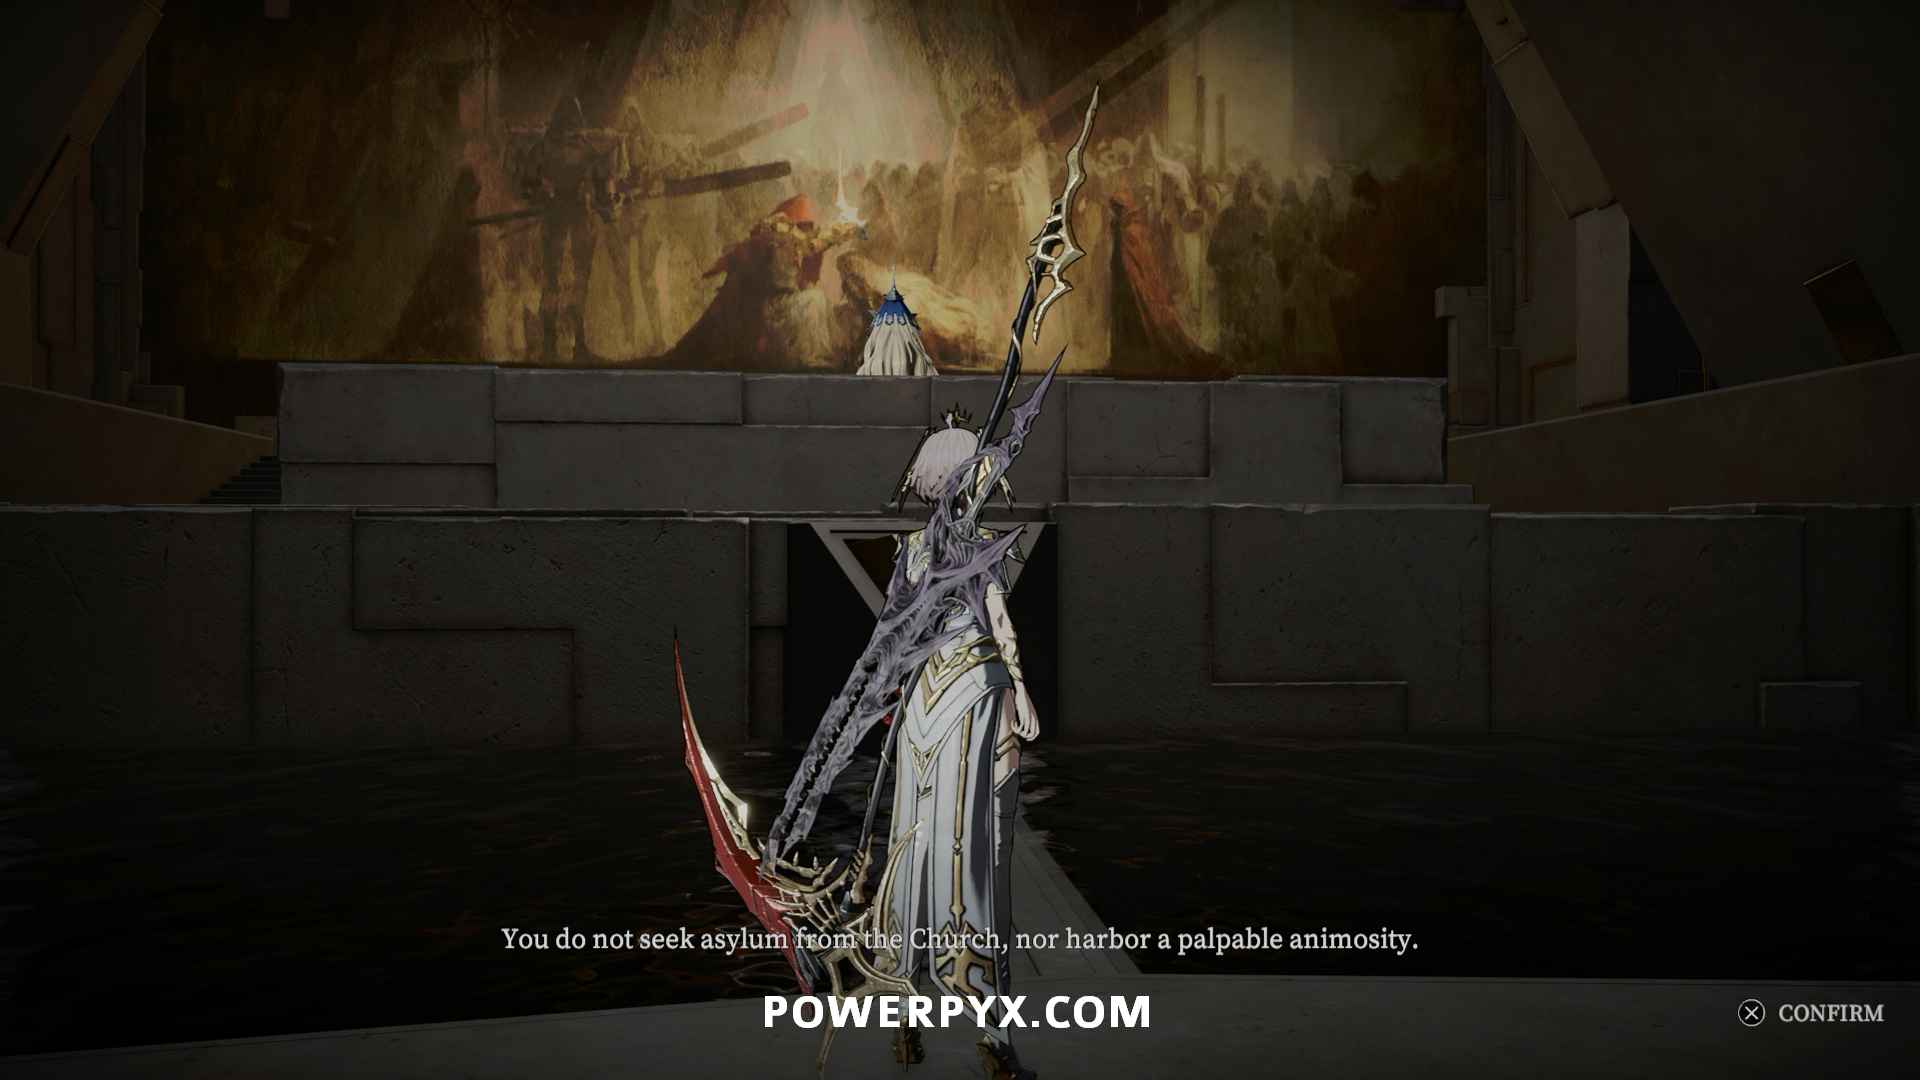
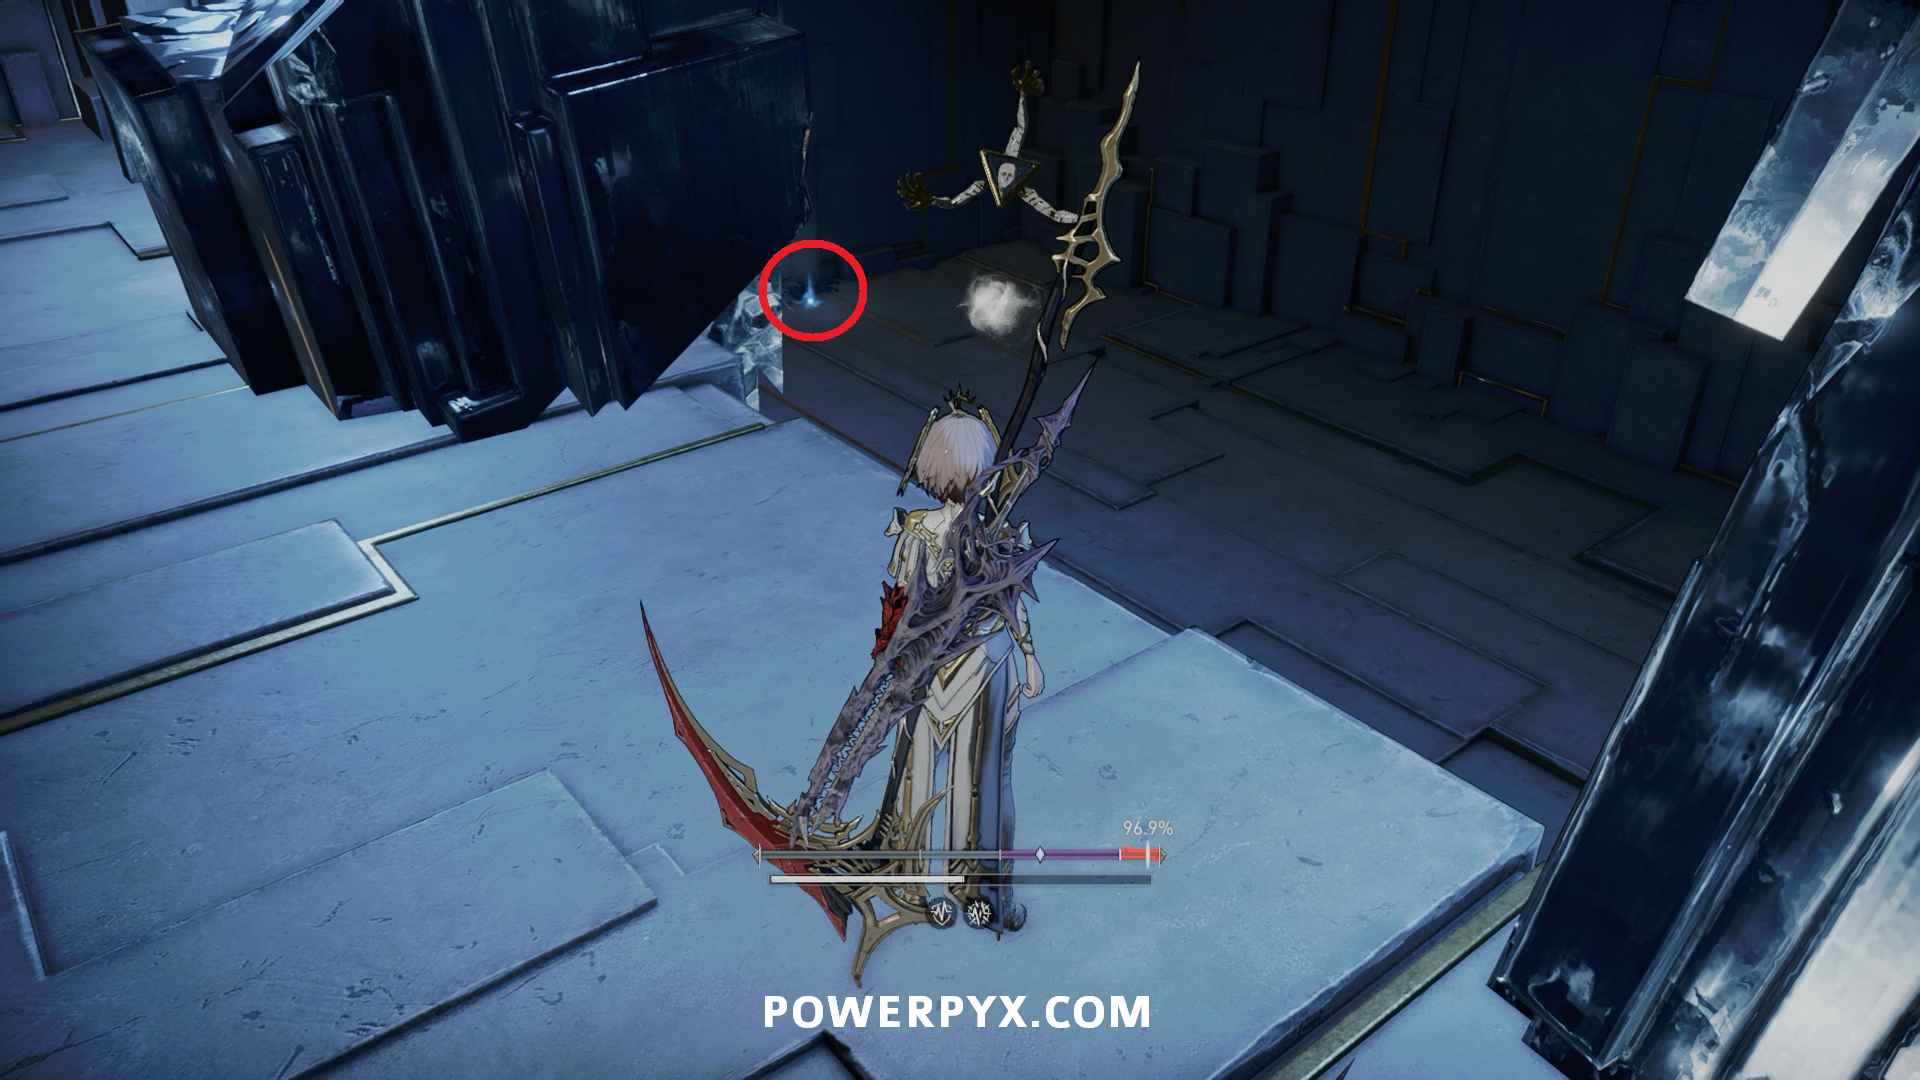
Material: Iridescence – Take the shortcut elevator leading to Faultage Corridor Branch down and jump on the platform halfway down the elevator shaft. Follow the path through the enemies until you reach an area with a big mural, this is in the box to the left.

NPC – Approach and then interact with the person sitting in front of the mural.
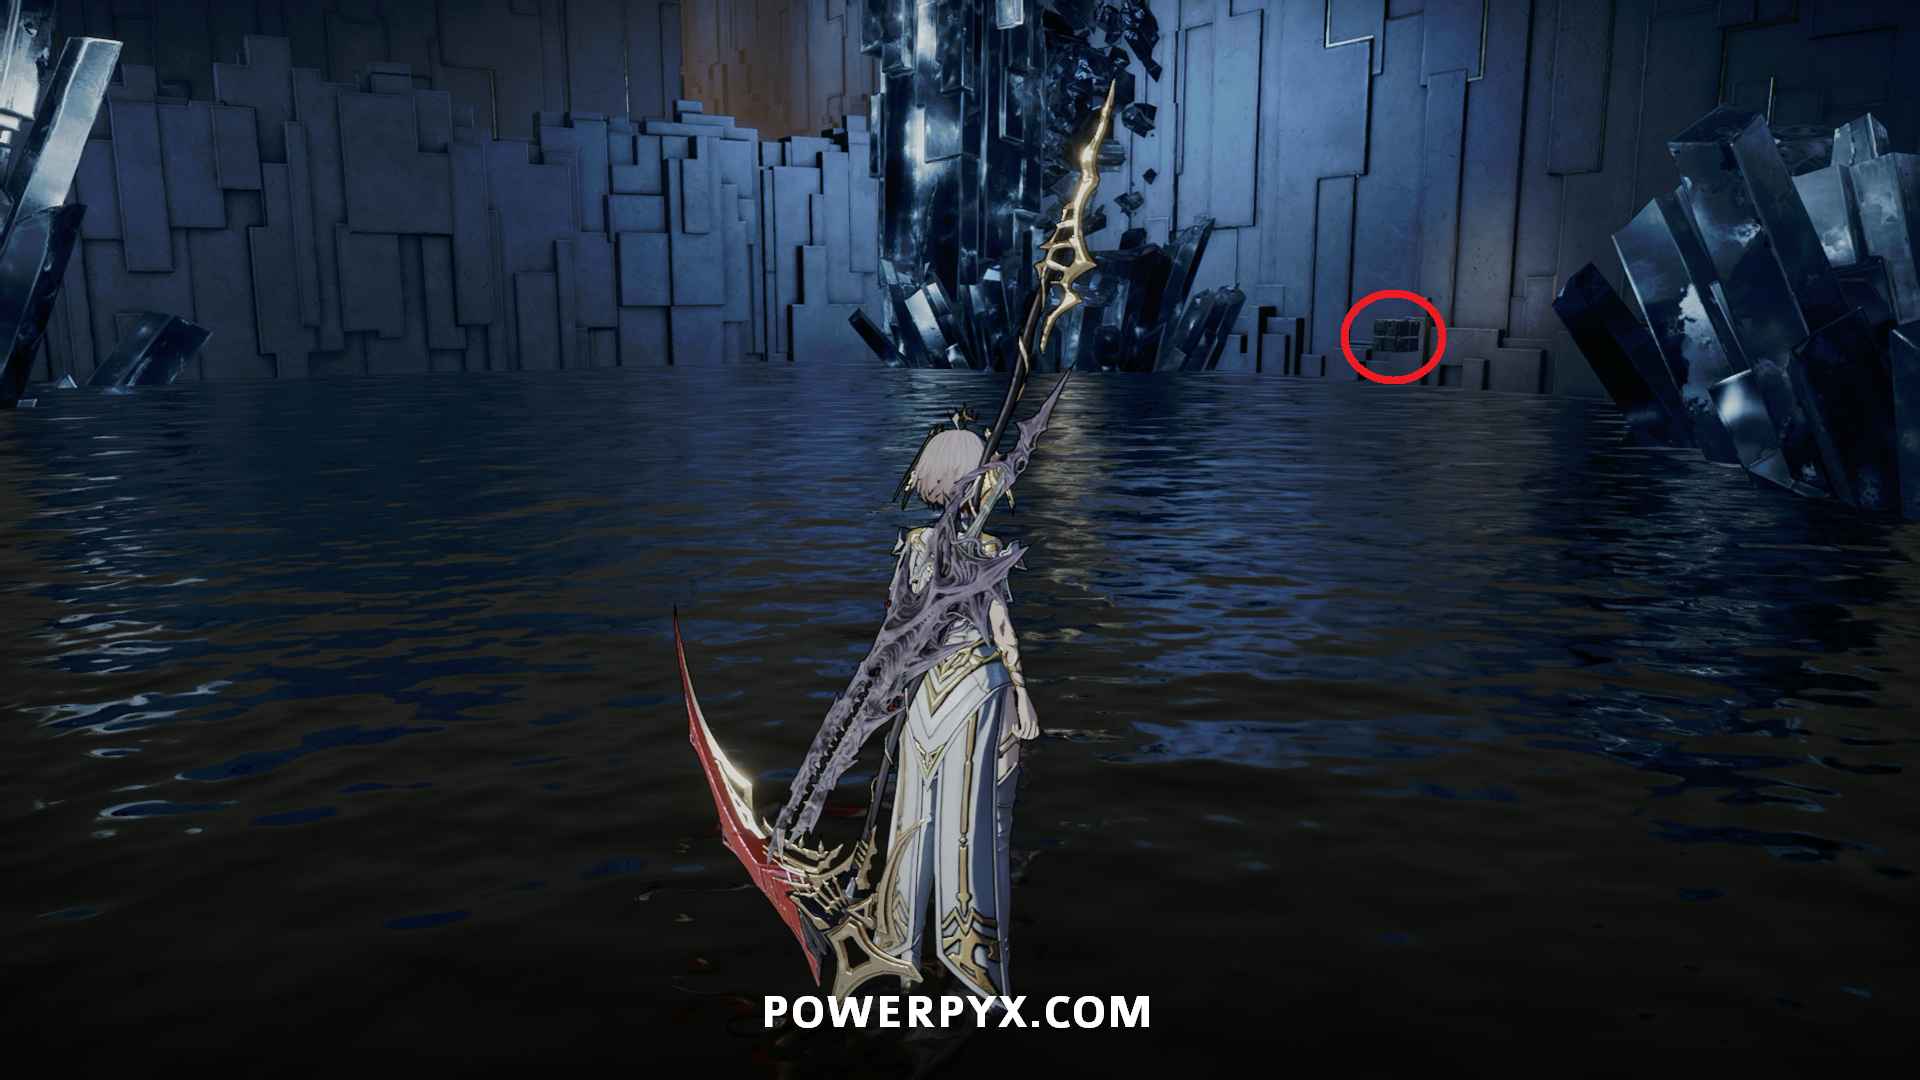
Normal Seal: Divine Guardian – Drop down the hole near the cube to reach a lower level. Take the path around to the right where you can reach the two ranged enemies that were attacking you on the path across the gap, pick this up from the ground in between them.

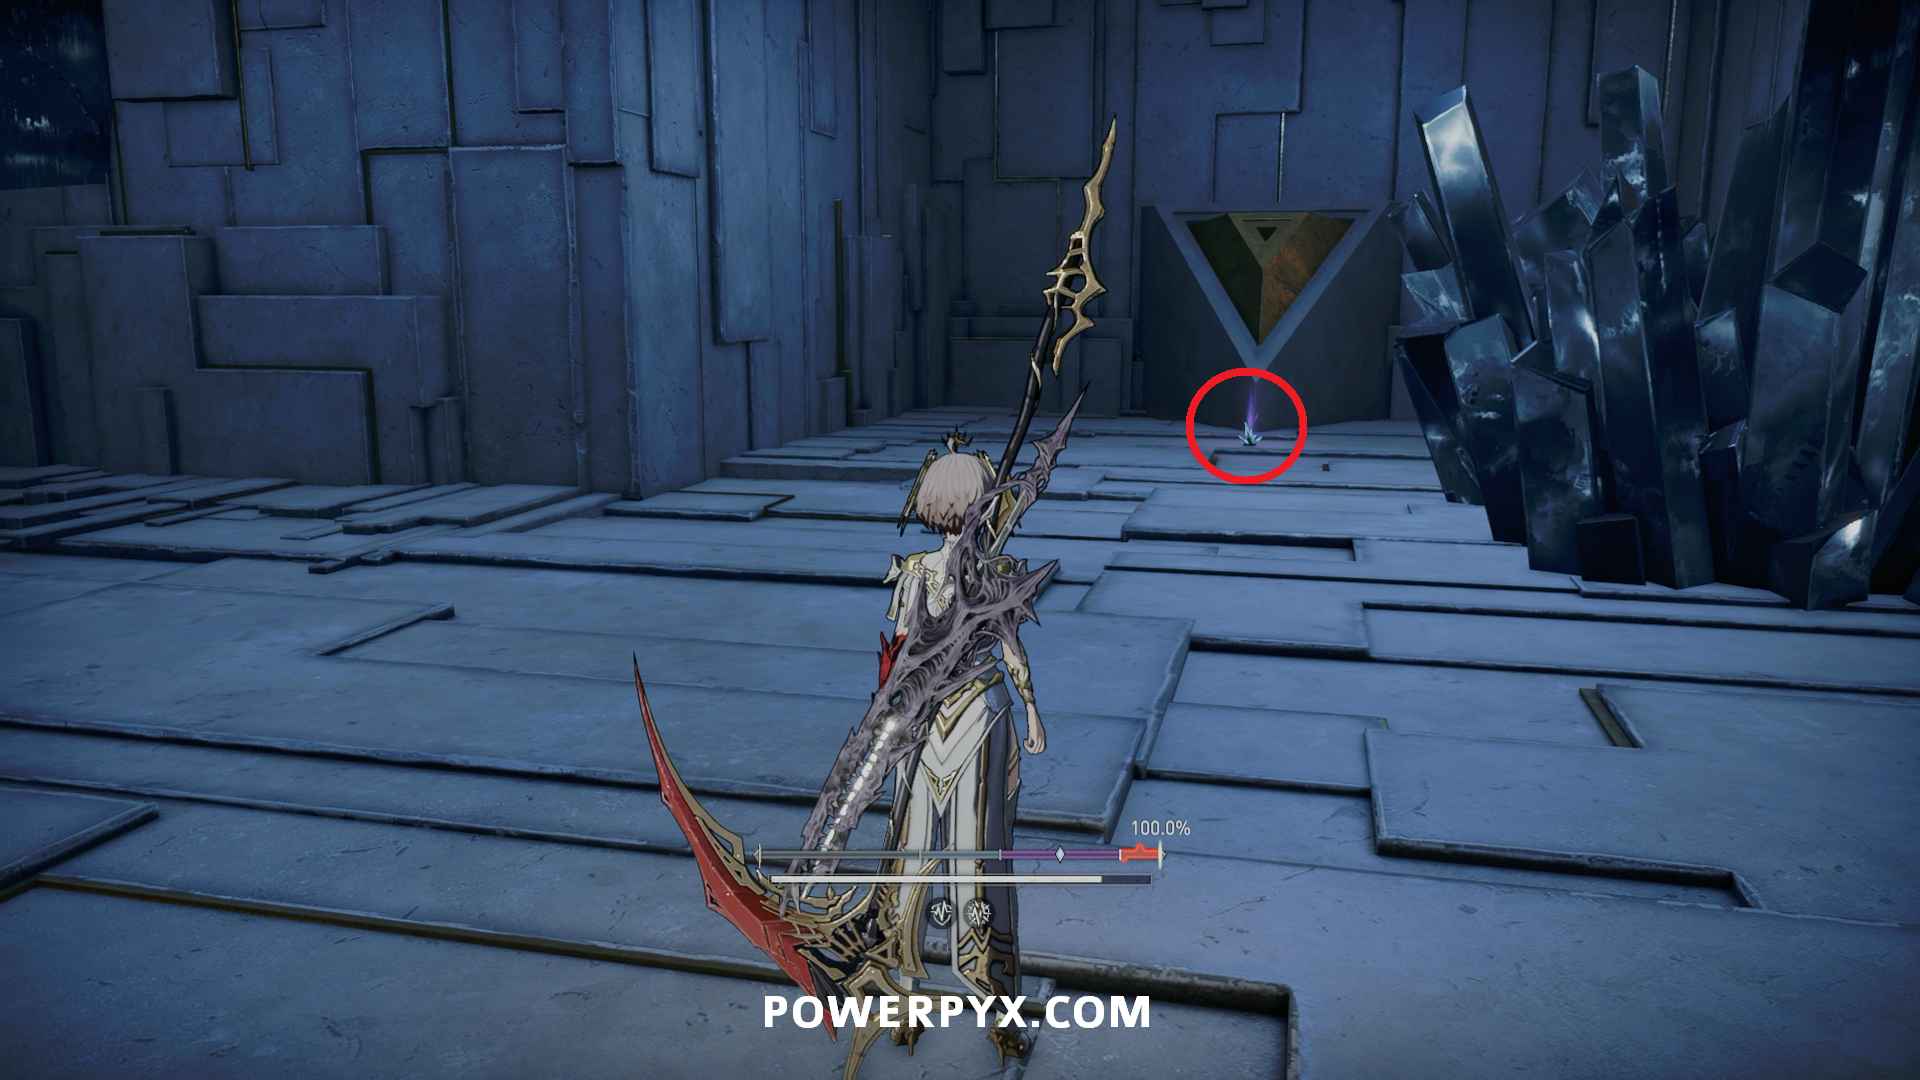
Item: Firebearer’s Codex, Part II – Go out the exit to the nearby balcony and find this on a body.

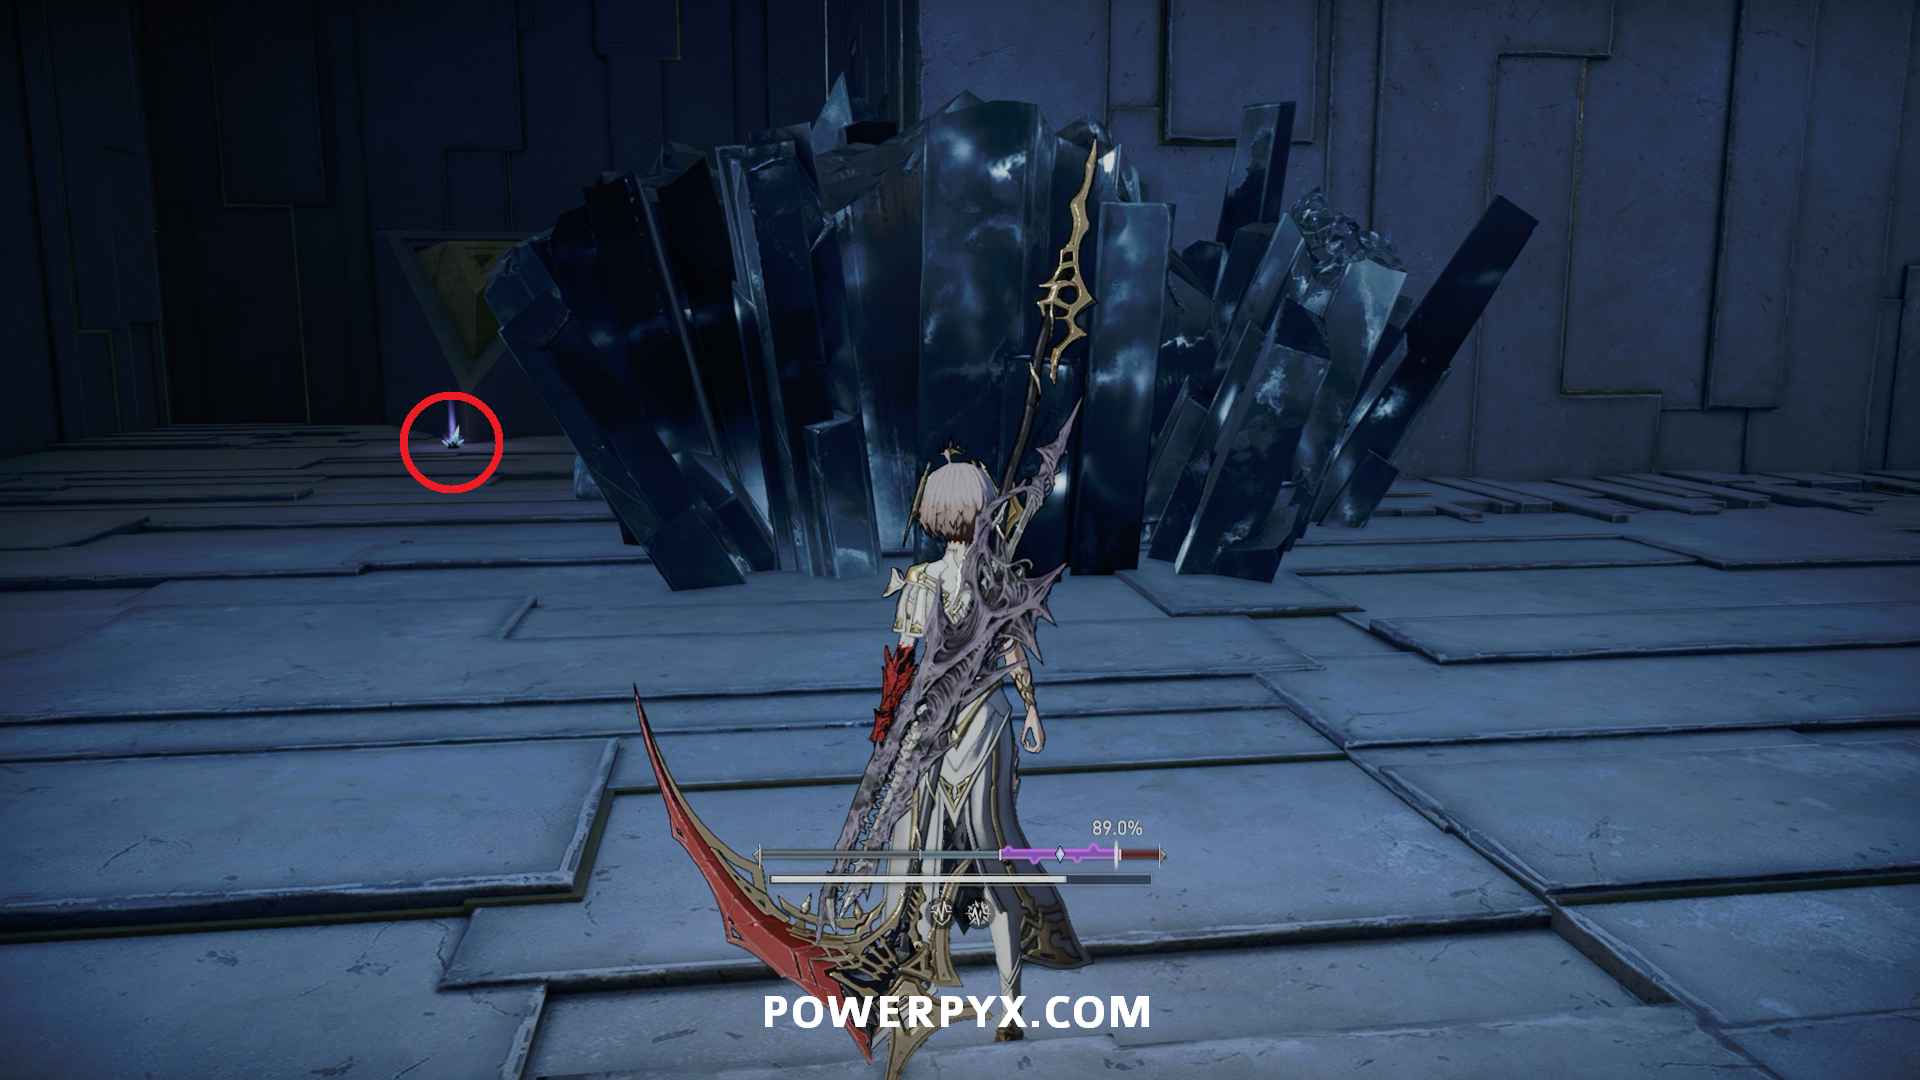
Item: Firebearer’s Codex, Part VII – Now go back to where you dropped down and take the path leading left. Go down the stairs into a dead end instead of the path over the Mud Drawing Room. This is on a body in the corner near a human enemy.

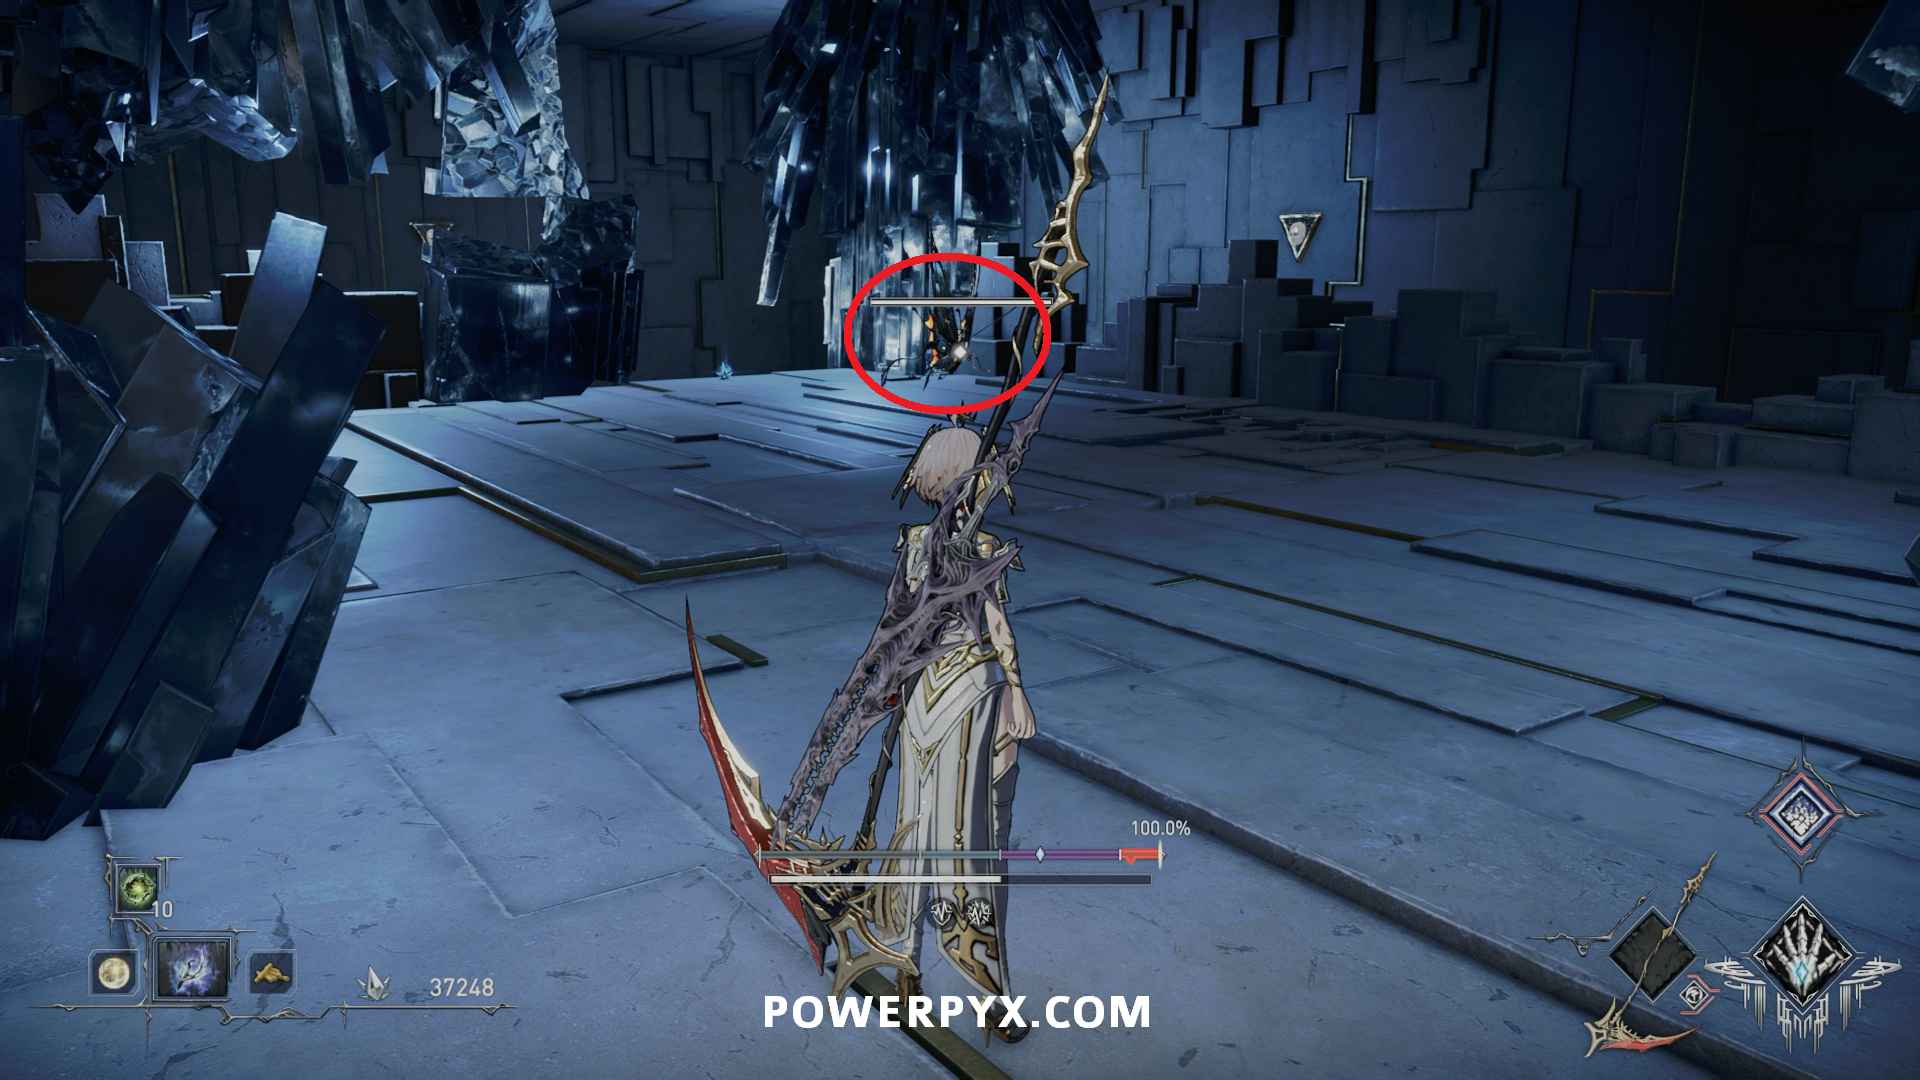
Key Item: Dew Essence – Take the ramp over the Mud Drawing Room toward the two enemies at the top. Go into the crystal room to the right where you can find a Butterfly enemy, defeat it to obtain the Dew Essence.
Item: Firebearer’s Codex, Part XI – Drop down from where the Butterfly was and pick this up from near a body. If you picked up all prior Codex you will earn  Religious Scholar and can now safely sell all the items.
Item: Cleansing Chalice – Go back to the ramps above the Mud Drawing Room and go down the other side. Drop into the room with the three gauntlet enemies and you can find this is a cube in the back right. Make sure to also open the door leading into the Mud Drawing Room so you can return from that Branch if needed.
Item: Stellar Remains – Continue out the back of the room into a long walkway with a patrolling enemy, go left to a corner where you can pick this up.
Item: Stellar Remains – Go to the end of the hallway and on the right before the button you can pick this up.
Item: Cleansing Chalice – Now left of the button, interact with the box and pick this up from inside.
You can now return to the Faultage Corridor Branch and ride the elevator back up to the bright hallway. Walk all the way to the end to reach the next boss.
Boss: Seraphim Absolver
Material: Hereditary Resonance/Iridescence – Obtained automatically after defeating the Seraphim Absolver boss.
Uncharted Realm
NPCs: Vikas – Just past the Branch before the next portal, speak with him and exhaust his dialogue. Vikas questline #6
Boss: Winged Punisher
Normal Seal: Hyperstability – Obtained automatically after defeating Winged Punisher boss.
Boss: Saint of Goldknight
Normal Seal: Gold Hoarder- Obtained automatically after defeating Saint of Goldknight boss.
Boss: Inspector of the Uncharted Realm
Normal Seal: Thunder Mastery – Obtained automatically after defeating Inspector of the Uncharted Realm boss.
Nucleus: Clergy’s Nucleus – Obtained automatically after defeating Inspector of the Uncharted Realm boss.
It is useful to equip the Clergy’s Nucleus if you were still using the basic one, as you can’t trade this one for anything else and it is a flat upgrade over the base one.
Path of Epitome
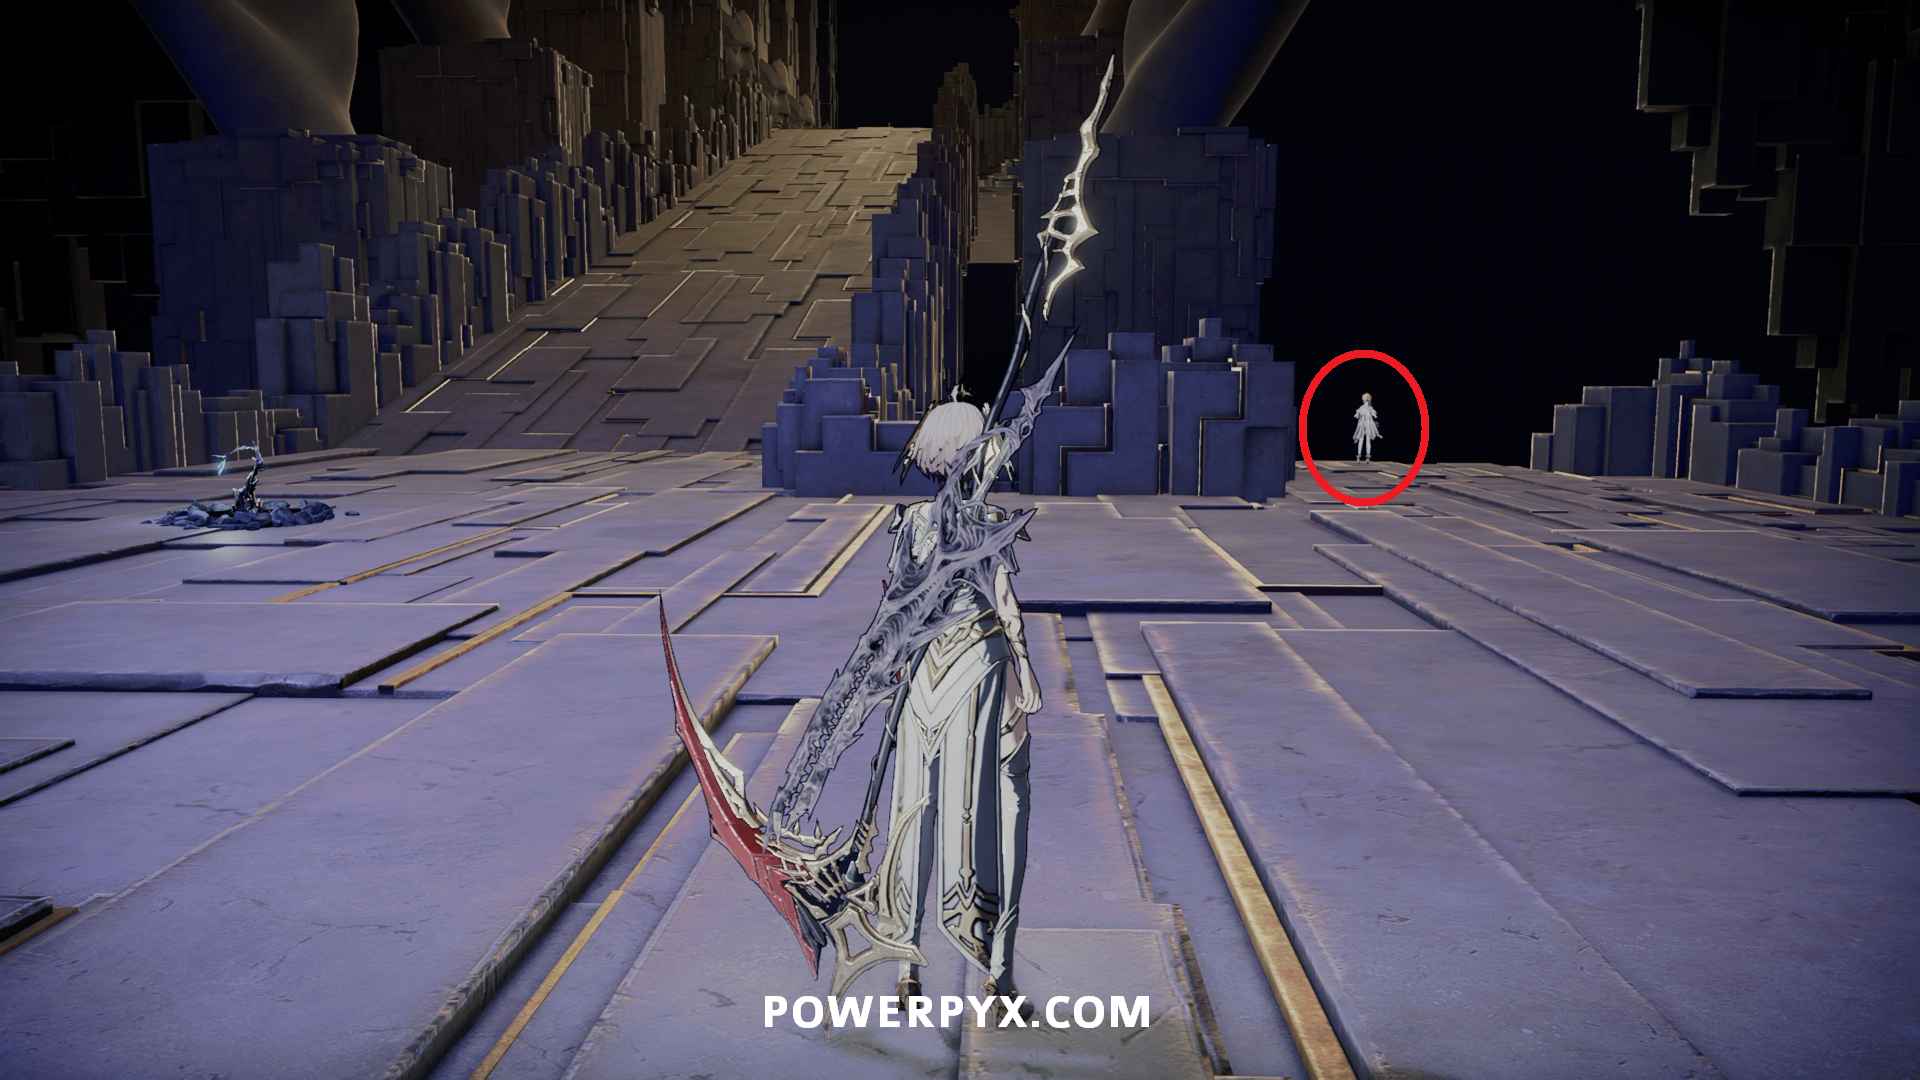
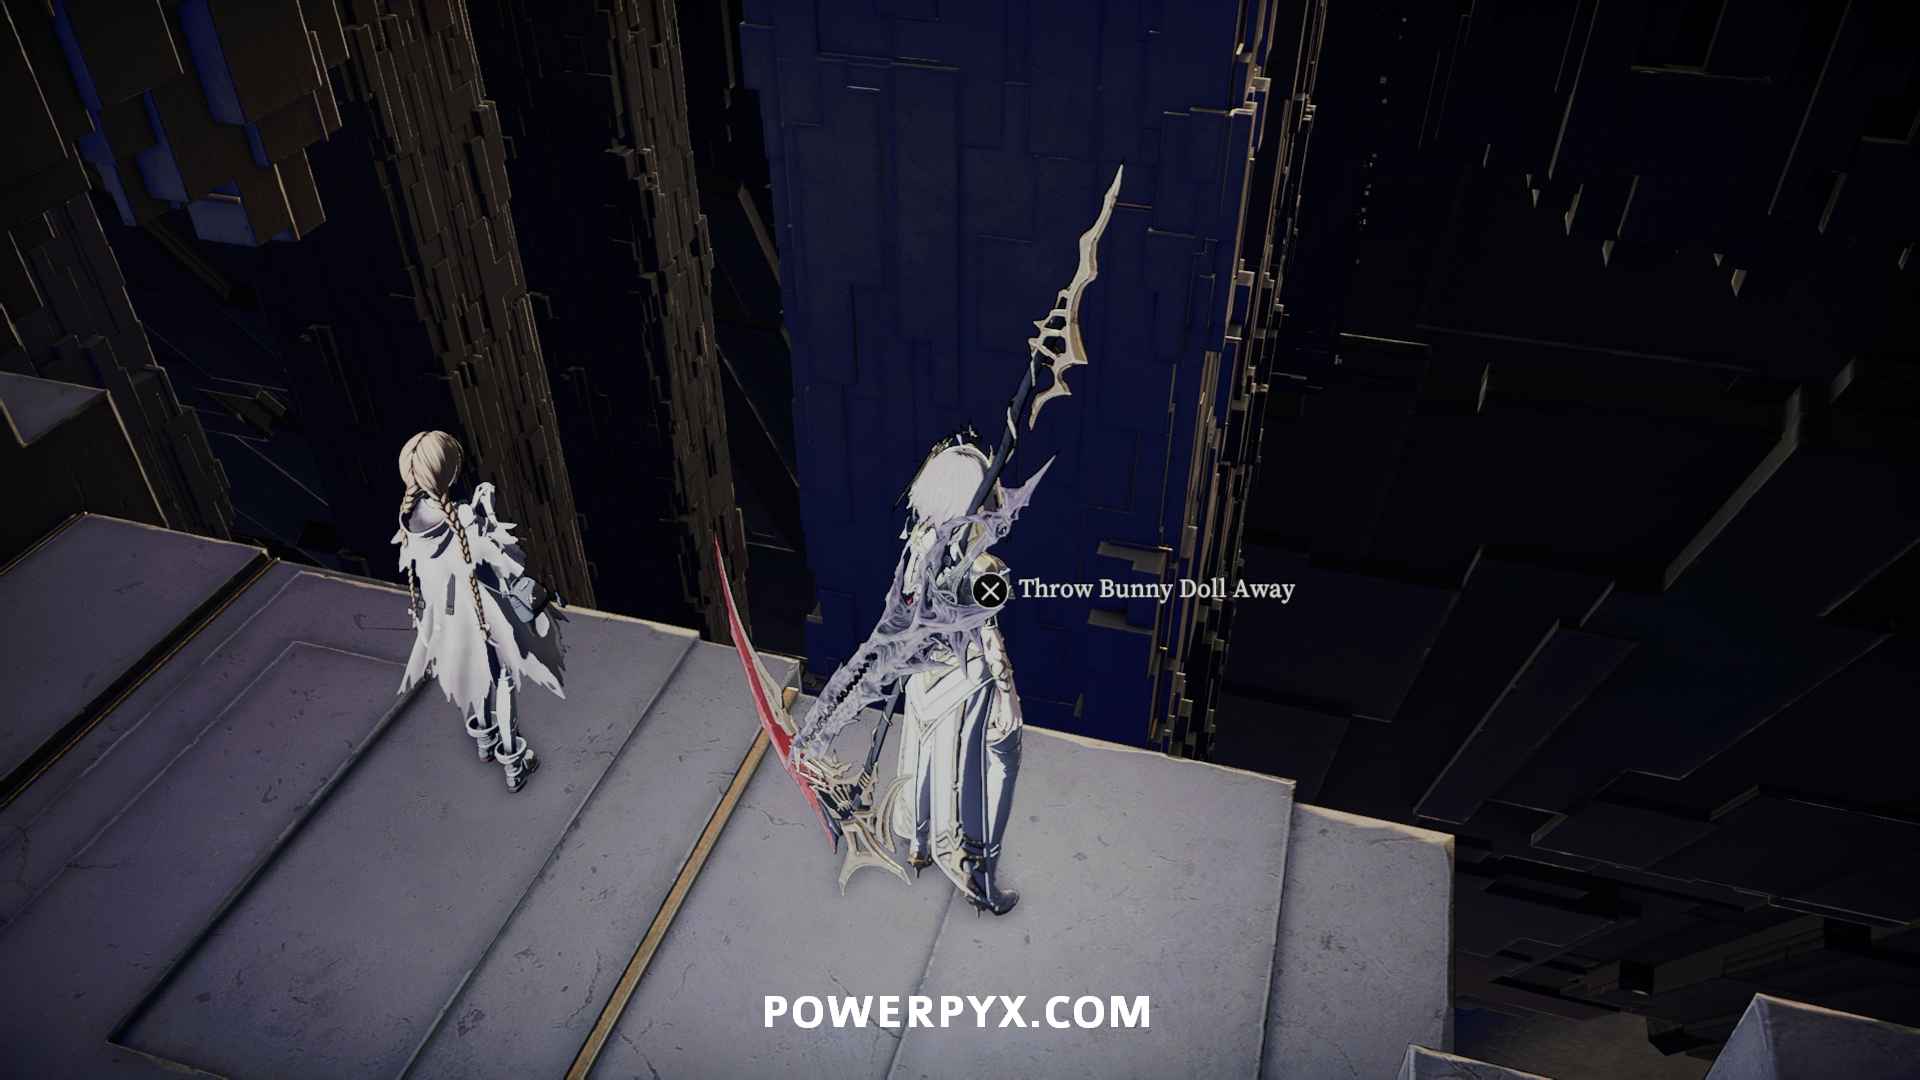
NPC: Shirley – To the right of the stairs you can find Shirley looking over the ledge, speak with her and exhaust her dialogue. If you had previously found Bunny Doll Arrisa key item Shirley will give it back, then you will have an interact prompt to throw it over the edge to earn Farewell to the Past Shirley questline #9
NPCs: Vikas – Vikas appears in your way ascending to the upper level. Beat him in a fight then speak with him to earn The Battlefield of Humanity Vikas questline #7
Welkin
NPC: Feylia – Speak with Feylia right beside the Branch to receive a Sacred Blood Crystal Feylia questline #5
IMPORTANT STORY POINT
At this point in the game if you proceed to fight the next boss it will render all currently unfinished side quests missable. If you are following the walkthrough it is assumed you have finished everything up to this point as it recommended.
For more specific information please see AI Limit Endings & NPC Questlines Guide
Boss: Loskid, the Blade of Judgement
Trophy/achievement  Loskid, the Son
Headwear: The Child’s Tiara – Obtained automatically after defeating Loskid, the Blade of Judgement boss.
Armor: The Child’s Attire – Obtained automatically after defeating Loskid, the Blade of Judgement boss.
Nucleus: Nucleus on the Child’s Tiara – Obtained automatically after defeating Loskid, the Blade of Judgement boss.
Weapon: Arbiter – Purchase from Assis for Nucleus on the Child’s Tiara + 12,000 Crystals
The Altar
ENDING CHOICE POINT
Now is the point where you can determine which of the endings you receive. If you are completing all endings this playthrough using save backups follow the steps below in order. If you are doing multiple playthroughs then skip to HERE and follow the remaining steps, then choose the option to trigger the Second Dawn ending.
Make a backup save before proceeding
ENDING – The End of Childhood
Hagios Patir – Upper Level
The Altar
NPC: Loskid – Speak with Loskid and exhaust her dialogue
Trophy/achievement Oath of Faith
Key Item: Golden Branch – Given by Loskid when you speak with her after the boss fight.
Continue up the steps and interact with the glowing orb to enter Elysium.
The Sphere – Elysium
Celestial Tree Garden
Material: Iridescence – At the fountain take the first left path toward the gazebo and pick this up from the middle.

Gate of the Sphere
If you have repaired all Branches you will earn Prosperity after interacting with this Branch.
Boss: Aether, the Father
Trophy/achievement Aether, the Father
Trophy/achievement The End of Childhood
Revert save, complete steps to prep for Second Dawn
Twilight Hill – Withered Forest
Arboretum
NPC: Delpha – Go speak with Delpha to give him the Living Seed. You can tell him the truth about Ursula or not, then keep talking to him to receive Blooming Life
Key Item: Azure Branch – Received after giving Delpha the Living Seed and seeing the scene with the Branch growing.
Hagios Patir – Upper Level
The Altar
NPC: Loskid – Speak with Loskid and exhaust her dialogue
Trophy/achievement Oath of Faith
Key Item: Golden Branch – Given by Loskid when you speak with her after the boss fight.
Twilight Hill – Withered Forest
Arboretum
NPC: Delpha – Go back and speak with Delpha again and he will give you the flower from the Branch.
Key Item: Nameless Flower – Given to you by Delpha after speaking with him again.
Hagios Patir – Upper Level
Path of Epitome
NPC: Shirley – Go back and speak with Shirley to give her the Nameless Flower, then exhaust her dialogue to earn Last Promise Shirley questline #10
Sewer Town – Courtyard of the Tree
Central Garden
Teleport to the Central Garden. Walk up to the water by Charon and interact with it.
The Sphere – Elysium
Celestial Tree Garden
Material: Iridescence – At the fountain take the first left path toward the gazebo and pick this up from the middle.
Gate of the Sphere
If you have repaired all Branches you will earn Prosperity after interacting with this Branch.
Make a backup save before proceeding
Boss: Aether, the Father
Trophy/achievement Aether, the Father
ENDING – Boundless Stars
After defeating Aether, choose the option “Accept the invitation” (this will be your only option if you don’t give Shirley the flower). This ends the game and triggers the Boundless Stars ending.
Trophy/achievement Boundless Stars
Revert save
Boss: Aether, the Father
Trophy/achievement Aether, the Father
ENDING – Second Dawn
After defeating Aether, choose the option “Decline the invitation” (this is only an option if you gave Shirley the flower). This triggers the boss fight against Charon, the Nurturer. After defeating Charon you receive the Second Dawn ending.
Boss: Charon, the Nurturer
Trophy/achievement Charon, the Nurturer
Trophy/achievement Second Dawn
This finishes the walkthrough, congrats on reaching the end! If you missed any collectible we have guides by collectible type, check out AI Limit Walkthrough & Collectible Guide.
Kevmar1987 says
Hi there,
thanks for the awesome guide as always. Just wanted to add something.
The Event “NPCs: Sklarm/Vikas – Rest at the Branch, then Sklarm and Vikas will now be nearby. Speak to them and exhaust their dialogue. Sklarm questline #3/Vikas questline #5” didn’t happen for me right after the previous Event like the guide says. I returned many times and reloaded the game but nothing happened. But the Event took place right after activating the shortcut elevator a little bit father down the road. Hopefully this will be helpful for others who panicked at the empty branch :D
Gage says
Thank you for the info, I’ll add a note in about coming back after activating the shortcut elevator if they don’t appear immediately
Vez0912 says
Great guide but i have a question regarding sklarm questline #2. I didn’t spot him beforehand and went to open the big door first where (the one infront of the branch) after that i can’t seem to find him. Any solutions?
Thank you.
Enrichua says
Hey, just wanted to say thanks for the awesome guide!
Everything is clear. just got my platinum today.