
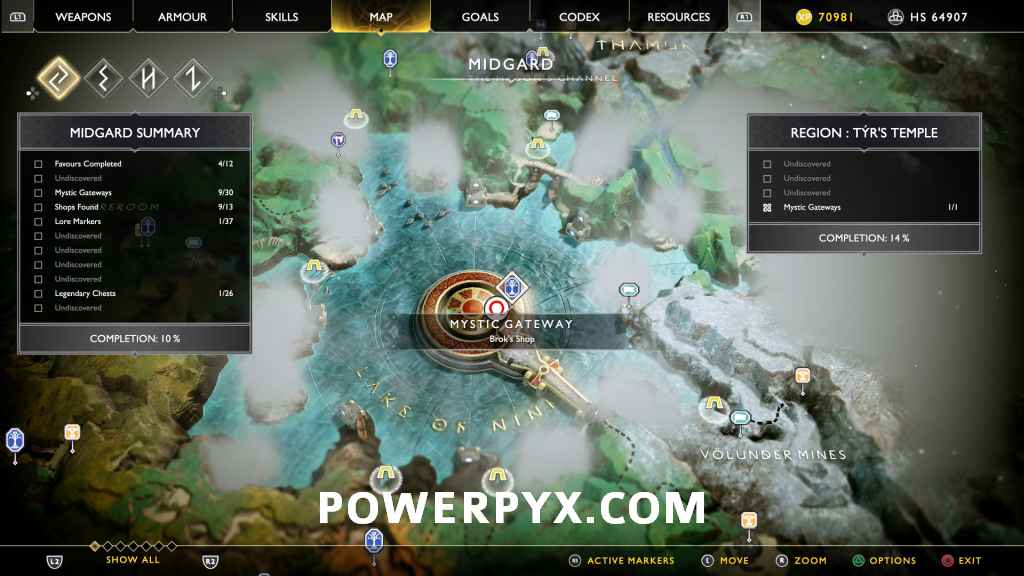
Hail to the King is the 5th Dwarven Favour (Side Quest) for Brok & Sindri in God of War 2018. This walkthrough will guide you through all objectives of Hail to the King Favor and details the 3 key locations to enter the Konunsgard stronghold. You must beaten the story and completed 2 favors for Brok and 2 for Sindri in Midgard to get this final favor from them at Brok’s Shop in Tyr’s Temple.
- Quest Giver: Brok (at one of his shops)
- Requirement: Completed all favors for Brok & Sindri in Midgard (Second Hand Soul, Deus Ex Malachite, Fafnir’s Hoard, Family Business) & Finished the Story
- Reward: Runic Attack “Fire of Ares”, Dwarven Armor Recipe (Brok’s Armor + Sindri’s Armor), 3290XP
- Trophy: Like Oil and Water

Hail to the King – Starting Location
The favor starts by talking to Brok at his shop in Tyr’s temple. It’s only available after the story and after having done all other favors for Brok and Sindri (2 for each of them, see the links in overview above).
Go to Konùnsgard stronghold
Brok and Sindri tell you about an armor worthy of the gods and send you to Konunsgard to investigate. As usual, mark the favor in your “Goals” and follow the waypoints. You’ll have to enter through the “Konunsgard” sea tunnel, just north of the Forgotten Caverns. The red line in the image below shows the path you need to take – you can only go by boat.

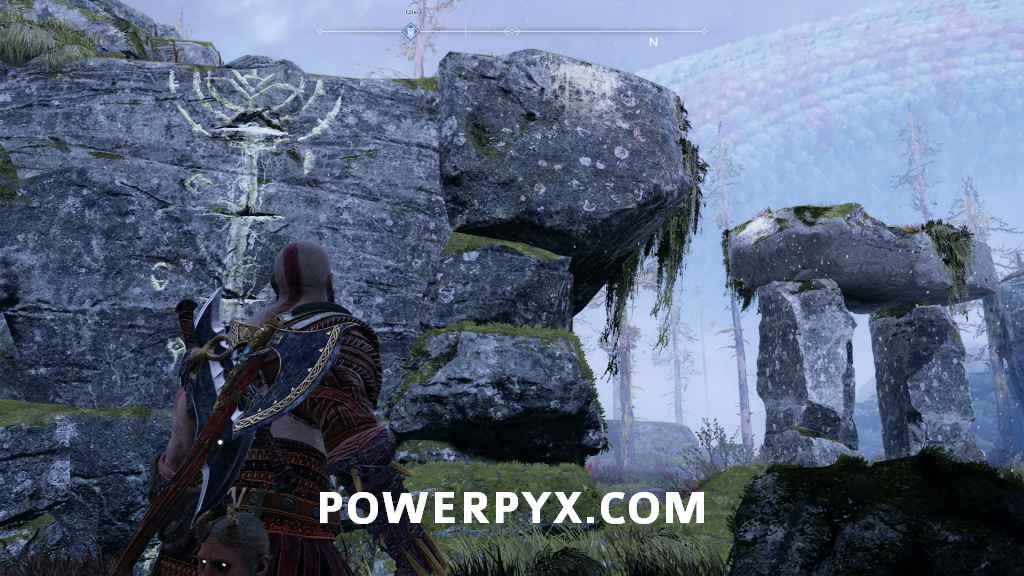
Use the Konunsgard Entry Stone that Brok gave you to open the gate leading to the quest marker. Once you reach Konunsgard, talk to Sindri at his shop. Then follow the waypoint downhill. There’ll be some poison fog which you can freeze by throwing the axe at it. The enemies in this area are weak to the Blades of Chaos. After the poison fog you come to a pedestal in front of the stronghold’s main gate. The next objective begins.
Collect Keys to enter stronghold
Key Location #1
The first key is in plain sight in front of the stronghold’s main gate, where the last objective has ended. You can pick it up from the corpse and place in on the pedestal.

Key Location #2 – Left Side
We’re taking the path on the left first!
Follow the path on the left side all the way to the end. Halfway through you encounter some werewolves. A combo of your runic attacks and Atreus’ arrows will make quick work of them. Take note of the blue “crystal holder” next to the werewolves. At the end of the path there’s a stone ancient (screenshot #1). It won’t attack on its own but killing it may yield some resources for crafting the Ancient Armor Set. Continue up the path behind the Stone Ancient and push along the wall to the other side (screenshot #2).


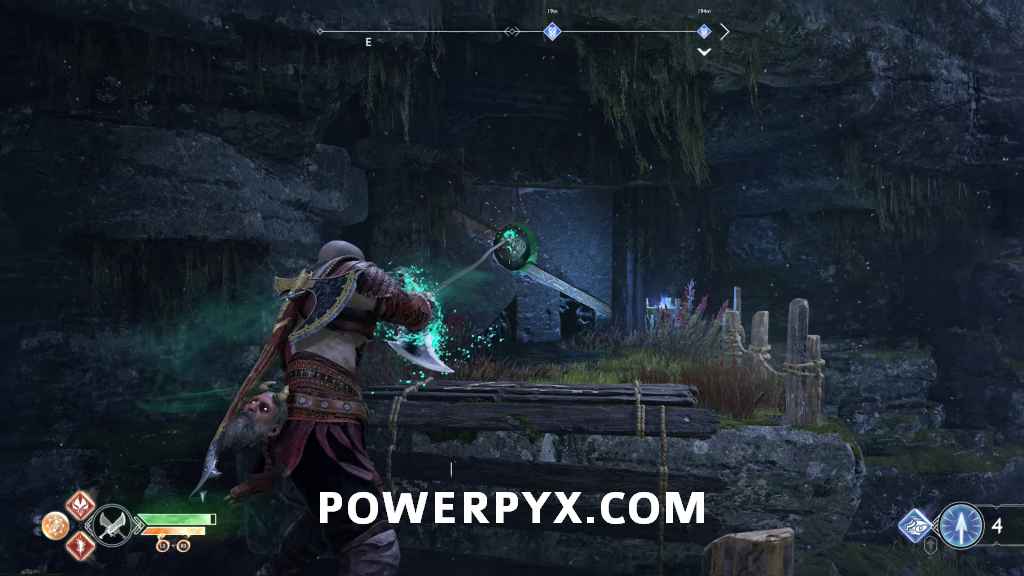
Once on the other side of the wall your task is to obtain a blue crystal and put it in the “crystal holder” where the werewolves spawned earlier. The blue crystal can be seen hanging high above the river (screenshot #1 below). Throw the axe at it (screenshot #2) and wait for it to wash up at the river end (screenshot #3).


Carry back the crystal to the “crystal holder” where the werewolves had spawned (screenshot #1 below). Be warned, one more of them will spawn along with normal wolves. So get ready to put down the crystal and fend off those enemies. Then insert the crystal in the holder and shoot it with blue arrows. This creates a bridge of light above you, where the broken wall was (screenshot #2).


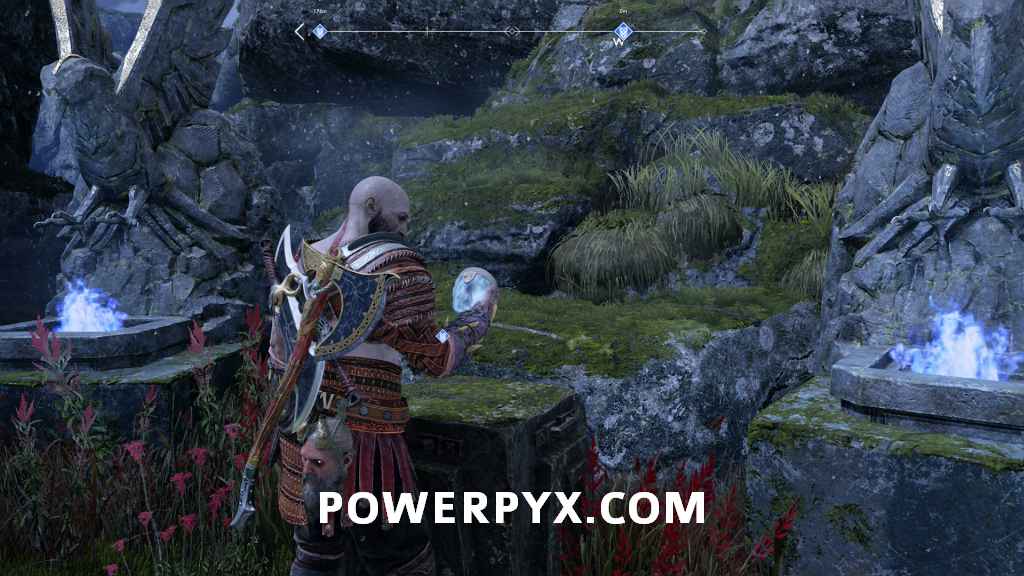
The hardest part is done. Return to the Stone Ancient and you’ll notice a green “orb” stuck in a stone (screenshot #1 below). The bridge of light you just created gives you enough time to carry that green orb over to the other side and put it in the next “orb holder”. Finally, put it in the door where the path ends (screenshot #2). You’ve done this a few times before in Helheim. The green orb can only be grabbed with the Blades of Chaos (  +
+  ). The green orb opens the door and behind it the second key aways (screenshot #3).

Return to the stronghold’s main gate and insert the key at the pedestal. Then continue with the path on the right.
Key Location #3 – Right Side
We’re now taking the path on the right side of the stronghold’s main gate!
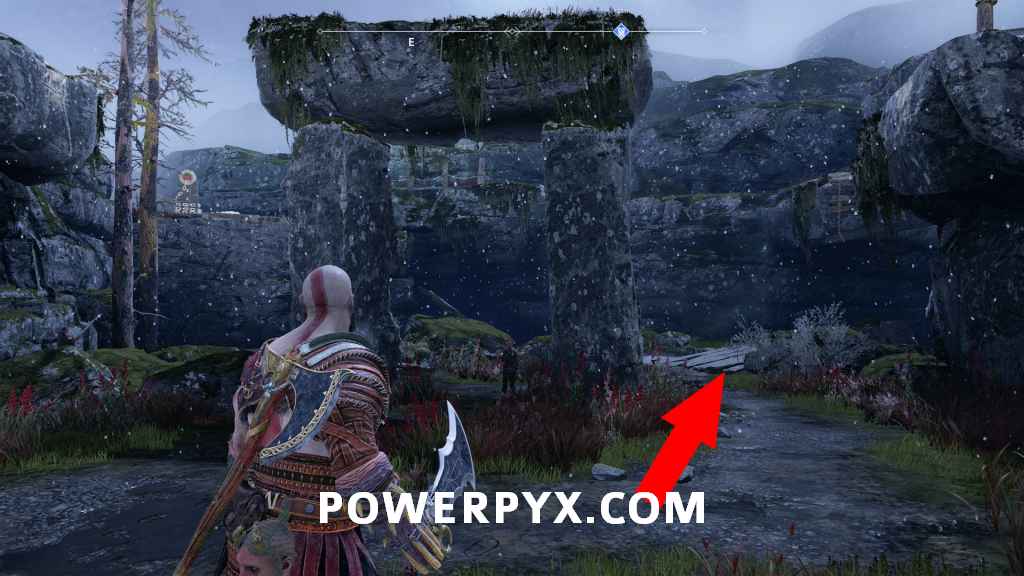
Follow the path on the right side of the main gate. You’ll come to some stone pillars and an Ogre spawns. After killing it, go around the corner on the right side of the pillars (screenshot #1 below), then climb up the wall (screenshot #2).
From the top of the wall you can jump over the pillars to the other side. There you see a huge dragon in the distance (screenshot #1 below). Go down the hill, ignoring the dragon for now. Defeat all enemies in the area. You’ll come to a door with 3 rune seals at the end of the path (screenshot #1 below). First, shoot the red tree sap on the right side with electric arrows to reveal the third rune. The other two runes are on the left (circled in red colors on the screenshot). The trick is to grab the red explosive ball from the vine on the right side. Throw it between the two runes on the left, as shown in screenshot #2 (it will stick to the wall). Have Atreus shoot the red sticky ball with electric arrows. Meanwhile, you throw your axe at the third rune on the right side. By hitting all 3 in quick succession the door will open.


The rest is simple. Go through the now open door and follow the path all the way to the end. There will be a dark elf at the end of the hill and the dragon will do some electric attacks (but they do little damage). The third key is at the end of the path (screenshot below). If you want, you can free the dragon by destroying all 3 dragon shrines in the area. One behind the key, one in the cave to the left of the dragon, one in front of the dragon.

Now back to the stronghold’s main gate to insert the key and open the door! The hard part of this quest is done.

Explore the Stronghold
Finally, that door is open! Enter the stronghold, take the path on the left and enter the throne room. Defeat the Traveller enemy inside and press  on the left side of the throne to push it aside. This triggers a little cutscene.
Return to Brok and Sindri’s Shop
Follow the secret tunnel behind the throne until you get to a Mystic Gateway. Fast travel back to Brok’s shop in Tyr’s temple and talk to Brok at his shop. This concludes the “Hail to the King” favor and unlocks Brok’s and Sindri’s master armors. They are expensive but I recommend Sindri’s armor, it’s the best in the game in my opinion. It greatly reduces cooldowns on Runic Attacks which is a huge help with Valkyrie Bosses (allows you to just spam Runic Attacks every few seconds).
This also unlocks the gold trophy “Like Oil and Water” for having beaten all 5 dwarven favors.
For more Walkthroughs, check out the full God of War Favours Walkthrough (All Side Quests).
Zack says
I’m at the throne but there isn’t the option to push circle it’snot something up and I can’t push the throne to the side. What should I do?
Mahlerion says
walk to the left of the throne (as you face it) and and everything will happen on its own. No tapping the circle to get him to push the throne aside is needed.
Inveracity says
I’ve seen two updates on PSN for the game since I’ve read this page but Sindri’s armor does not mention anything about reducing cooldowns for Runic attacks. It offers element mastery perks. Maybe I’m missing something or maybe they nerfed the armor but just wanted to give anyone a heads up if they’re doing this quest as of the date/time of me posting this.