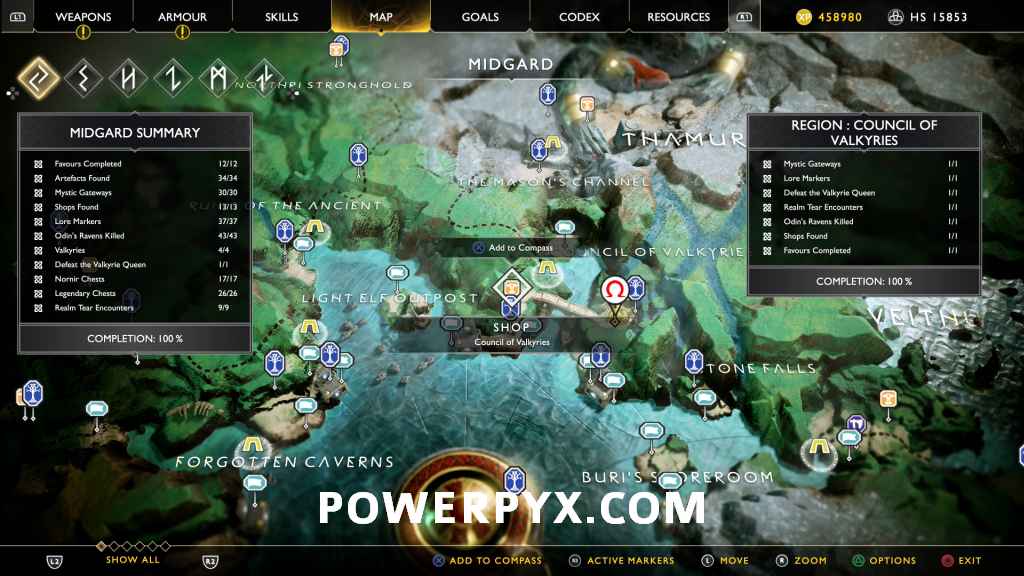
Council of Valkyries contains 8 Collectible Locations in God of War (2018, PS4). This walkthrough will guide you to all the collectibles in Council of Valkyries Region in chronological order. Everything that’s needed for trophies and 100% completion is included. Nothing is missable, everything can be collected after the story.
- Mystic Gateways: 1
- Lore Markers: 1
- Valkyrie Queen: 1
- Realm Tear Encounters: 1
- Odin’s Ravens: 1
- Shops: 1
- Favours: 1
- Dragons (counts as favour): 1
- Purple Language Cipher Chests (not tracked): 1
When you first visit the area in the story, you are still missing the unlockable skills needed to reach some collectibles. The order in which you can reach the collectibles may also be slightly different in the story. This walkthrough is intended for use after the story.
Video Guide
Council of Valkyries is the area in the north of the Lake of Nine. It’s split into two areas, to the left and right of the Mason’s Channel. You can get to either one only by boat.
We’re starting at the eastern boat dock (on the right side of Mason’s Channel).
#1 – Raven 1/1 – 0:05
Arrive the boat dock on the right side of the statues overlooking the Mason’s channel (east). The dock is actually called “Alfheim Tower” on the map. There’s some red stuff blocking the path, just have Atreus shoot it with electric arrows (unlocked later in story) to blow it up. Then climb up the wall. From here you can turn left to find the raven sitting on top the big brown statue overlooking the channel.
#2 – Purple Language Cipher Chest 1/1 – 0:40
From the raven, turn around and proceed up the path. There are some yellow stones blocking the path. Circle around them (by taking the left path) and have Atreus shoot the red explosives behind the yellow stones. This will blow them up. Now you can go along the path where the yellow stones were, and find a purple chest in the back.
#3 – Realm Tear Encounter 1/1 – 1:15
Where you blew up the yellow stones for the previous collectible, actually before the yellow stones on the path that led to the purple chest.
#4 – Lore Marker 1/1 – 1:26
Same area as the last two collectibles — proceed further up the path. You’ll come to a big door, go through it. Now you see a huge dragon in front of you. On the left side of the area (when facing the dragon), is a lore marker, after climbing up a wall.
#5 – Dragon / Favor 1/1 – 2:16
The dragon is in plain sight in the area with the last lore marker. To free it, destroy the 3 “dragon shrines” in the area. They are blue glowing stones.
When facing the dragon from the front, they are at:
- Far left side (where the lore marker was)
- Under the dragon on the left
- To the right of the dragon, must jump up a wall by a little waterfall / stream of water. Climb up that wall to find the shrine.
Now return to the dragon. Some enemies will attack you. Kill them, then interact with the platform in front of the dragon to have Atreus free it. Mimir will tell an entertaining story along the way.
Left Beach – We’re moving on to the other beach now, the one to the left (west) of the Mason’s channel. So get back in your boat and row it over there.
#6 – Shop 1/1 – 4:46
At the left beach, you can see a climbable wall. It has some yellow markers on it, indicating that it can be climbed. Up at the top, you will find one of Sindri’s shops, in a little cave.
#7 – Mystic Gateway 1/1 – 5:31
From Sindri’s shop, climb up further. At the top of the area there’s a door you can go through, leading to the throne room of the Valkyries where they hold their Council. In that throne room is a Mystic Gateway.
#8 – Valkyrie Queen 1/1 – 6:25
In the room with the Mystic Gateway, there are 8 red thrones. You must put the helmets of the 8 valkyries on them. First, you must kill each of the Valkyries in the game. After the story they are marked on the map automatically, but you can follow the rest of the collectible guides for the other areas for their locations (4 in Midgard, 1 in Alfheim, 1 in Helheim, 1 in Muspelheim, 1 in Niflheim).
After placing the 8 Valkyrie helmets on the thrones, a realm tear will open up in the middle of the room. Interact with it and the Valkyrie will spawn. She’s the hardest boss in the game, but there are plenty of ways to make it easier.
If you have trouble, refer to this guide: How to Defeat Valkyrie Queen Easily.
That’s 100% of the collectibles you can find in Council of Valkyries area in God of War.
Next Up: Alfheim
For more Collectible Guides, check out the complete God of War 2018 Collectibles Guide.


Leave a Reply