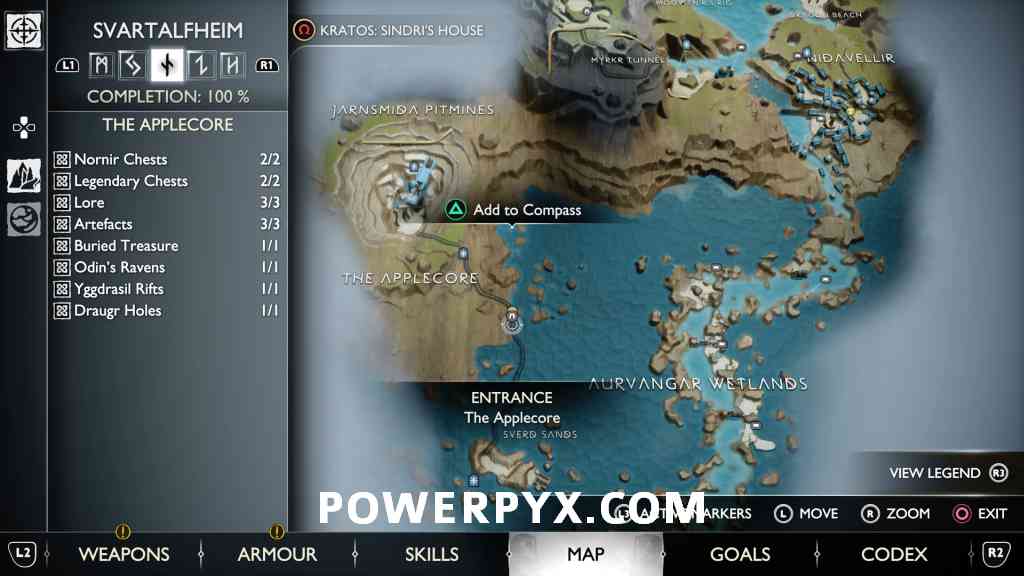
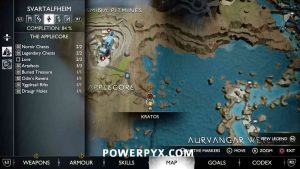
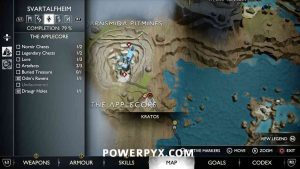
The Applecore contains 14 Collectible Locations in God of War Ragnarok. This walkthrough will guide you to all the collectibles in The Applecore Region in chronological order. Everything that’s needed for trophies and 100% completion is included. Nothing is missable, everything can be collected after the story.
- Nornir Chests: 2
- Legendary Chests: 2
- Lore: 3
- Artifacts: 3
- Buried Treasure: 1
- Odin’s Ravens: 1
- Yggdrasil Rifts: 1
- Draugr Holes: 1
When you first visit the area in the story, you are still missing the unlockable skills needed to reach some collectibles. This walkthrough is intended for use after the story.
Collectibles Overview:
Collectibles
How to enter The Applecore after Story:
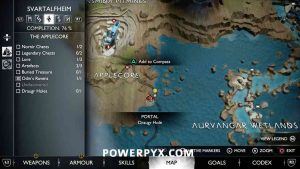
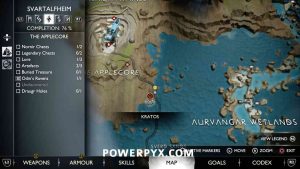
For the purposes of this walkthrough we will backtrack to The Applecore after the story. You can’t get most collectibles during your first visit anyway. To get back there, fast travel to the Mystic Gateway in Aurvangar Wetlands, from the portal go left to find the Ferry. Ride the Ferry to Sverd Sands island, there you find an elevator that takes you down to The Applecore. It’s the opposite path you took in the story, basically where you came out of The Applecore during the story. The steps described here will not work during the story, you have to come back after the story.
#1 – Lore (Treasure Map – Demise of Dagestr)
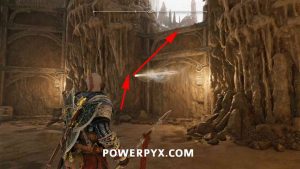
After entering The Applecore via the elevator from Sverd Sands, walk down the tunnel until you see a wall on the right with wind coming out of it (there should be 2 ghost-type enemies in this area too). Throw a spear at the wind in the wall, then you can climb up to find the lore on the ground. The spear is an automatic story unlock.
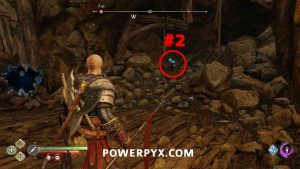
#2 – Nornir Chest
From the lore climb up to the left to find the Nornir Chest. You must throw the spear at 3 glyph seals and explode them all at the same time with  . The first and second are opposite the chest, hanging in the air. The third glyph is found to the right of the chest, climb up to the top of the rocks, then turn around to look in the direction of the chest and you will see it. After detonating all 3 with the spear you can open the chest.
#3 – Artifact (Kvasir’s Poems – Sanguinity)
From the Nornir Chest, climb back down and go to the end of the area. There you plant another spear in a wall to climb up. After climbing up, turn left and blow up the rubble with the spear, behind it is the Artifact on the floor (purple item).
#4 – Odin’s Raven
Behind the Artifact follow the path to the end and look up at the ceiling. There’s a grappling point, press  on it to swing across. Then you can climb down a golden chain, in the next room a Troll boss spawns, called “Miklimunnr”. Defeat him, then crouch through the tunnel in the back of the room. This leads into a room with a red resource chest, exit through the gate on the right and the Raven will be in front of you.
#5 – Artifact (Things Left Behind – Durinn’s Stone Statue)
From the Raven, climb along the path on the right, open the gate, then drop down straight ahead. Shoot a green arrow at the soundstone to find the purple-glowing artifact.
#6 – Draugr Hole (Chaos Spark)
Go through door to the right of the artifact to trigger a Draugr Hole fight. Kill the miniboss to count this “Draugr Hole” as completed.
#7 – Legendary Chest (Fortified Frost Knob – Axe Attachment)
In the same room has the Draugr Hole miniboss, it’s on the right side, open it after clearing out the room.
#8 – Buried Treasure (Treasure Map – Mining Glory)
From the Legendary Chest, leave the room, climb back up on the left, then turn right. Use the grappling hook at the ceiling to swing across, then at the first opportunity drop down on the right. Now follow the mine tracks in a downward spiral to the bottom of the area. The treasure will be at the end of the tracks on the right, next to the river where you went with the boat in the story. For the treasure to spawn you must first have collected the Treasure Map, it’s from a Lore Scroll collectible found in Svartalfheim > Nidavellir. See Nidavellir Collectibles: #6 Lore (Treasure Map – Mining Glory). You’ll get it automatically when going for 100% completion in Nidavellir. Backtrack here afterward, the treasure will then glow golden on the ground. You always need the treasure map first for the treasure itself to spawn.
#9 – Lore (Lore Marker – Cooperation)
To the left of the treasure, destroy the wooden barricade at the end of the path to see it.
#10 – Lore (Rune Read – The Vault)
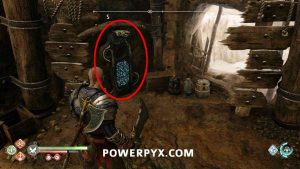
Go back to where the treasure was buried, from there you can jump over the river (simply sprint towards it and you will automatically jump). Follow the linear path behind until you get to the water wheel puzzle. Freeze the water with your axe so that it flows into the lower waterway, then the grappling hook in the middle unlocks and you can use it to swing over. After this turn left, you can shoot a green arrow at the wall to reveal blue lore letters on the wall. This is just next to the blacksmith shop (basically where you first entered The Applecore during the story). Odds are you already got this one during the story.
#11 – Artifact (Things Left Behind – Althjof’s Statue)
Now backtrack all the way to the treasure, where you came from. From there, go back up the spiral mine path. At the top, go across the bridge (if it’s blocked by rubble, climb up and throw a spear at the red explosive vase). At the end of the bridge you can squeeze under a gap to enter the next area. Then swing left, climb up, exit via the big gate (if enemies spawn, defeat them first). After going through the gate, turn left for a purple-glowing artifact. This is also the path you have to take to get back to Jarnsmida Pitmines.
#12 – Yggdrasil Rift (Lindwyrm + Gale Spark)
To the right of the Artifact, you can throw a spear at the wind in the wooden beams. Then use it to climb up, turn left and you’ll see the Yggdrasil Rift. It contains a Lyndwyrm for “The Lost Lindwyrms” Favor. You must have accepted this favor from the Squirrel at Sindri’s house, he gives you the Lindwyrm Trap, without it you won’t be able to pull the wyrm out of this rift. The favor is available after Main Mission 09: Word of Fate but you can’t access this area anyway until you got the spear from Main Mission 10 so you should already have it. After pulling out the Lindwyrm, interact with the rift a second time to make it count as completed.
#13 – Nornir Chest
Same place as the Yggdrasil Rift, on the right side. You must throw the spear at 3 glyph seals and blow them up simultaneously. The first is to the right of the chest, in the distance behind some water. This one is hard to see, you can see a blue shimmer through the water, and when aiming at it the reticle should change (see image with #1 below). The second is to the left of the chest where the Rift was, must throw axe at the explosive vase to clear the rubble, then the glyph becomes visible. The third is in on the path in the middle, next to a Mystic Gateway. Blow up all 3 spears with  to open the chest.
#14 – Legendary Chest (Banahogg Knob – Axe Attachment)
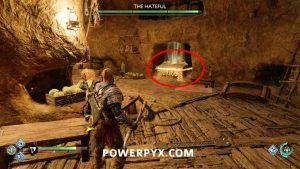
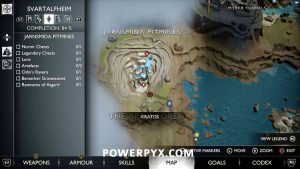
This one is actually in Jarnsmida Pitmines region but it counts towards The Applecore. From the Nornir Chest, go through the big gate past the Mystic Gateway. In the next room, climb down the tunnel on the left (if enemies spawn kill them first). Then follow the linear path until you see the light at the end of the tunnel (Jarnsmida Pitmines region). There’s a blue altar on the left, just before the tunnel exit. Interact with it to open the rock wall, behind it is the legendary chest. Interacting with the altar requires the Chisel (automatic story unlock).
That’s 100% of the collectibles you can find in The Applecore area in God of War Ragnarok.
Next Up: Jarnsmida Pitmines
For more Collectible Guides, check out the complete God of War Ragnarok Collectibles Guide.
















Tel U says
Good information
Declan says
Possibly a stupid question but can I get the applecore mystic gateway before completing the game?