Resident Evil 8 Village has 20 Goats of Warding Locations. Finding all Goats unlocks the Heretic trophy or achievement. They are all missable because there’s no Chapter Select and no Free Roam after the story. So make sure you get them in their chronological order, you get locked out of certain areas after advancing the story too far.
After the story you unlock the Challenge Menu in the Pause Menu. From there you can track under the “Heretic” Challenge how many you found. However, there is no way to tell which ones exactly you have gotten, so if you don’t remember you must check all of their locations again manually.
The Goats of Warding are also part of our All-in-One Collectible Guide that shows all other types of Collectibles in chronological order too. If you’re going for all Collectibles including Files, check out the Resident Evil 8 Village Collectibles Guide. If you’re just looking for the Goats then this page is more practical for you.
Village
Goat of Warding #1
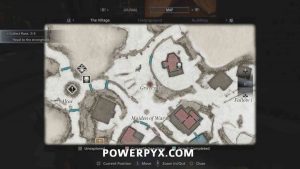
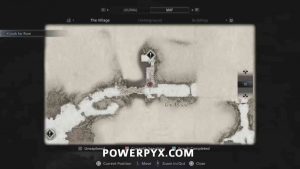
Village 1F, Graveyard: When you first reach the Village Graveyard (after Lycan Ambush), check the little shrine on the right side with a goat collectible in it.
Goat of Warding #2
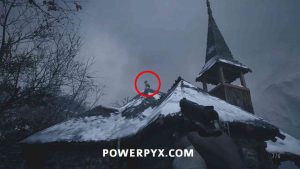
Village 1F, Church: On the rooftop of the church (when you enter the gate to the Church area look up at the roof).
Goat of Warding #3
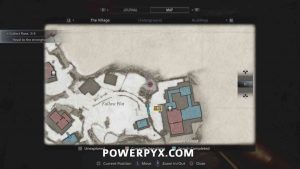
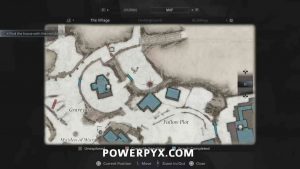
Village 1F, Fallow Plot: Exit the church and you’ll come to some cornfields (there are Lycans roaming in the field, kill them). Behind the cornfield on the left side are some stairs leading up. At the end of the stairs look up to see a goat collectible on a wall.
Underground (Mines)
Goat of Warding #4
Underground 1F, Vineyard: After escaping the mines and going back outside you’ll come to a snowy vineyard with scarecrows. On the right side in the snow sits a Goat Collectible (listen for the sound it makes, next to the scarecrow furthest to the right).
Castle Dimitrescu
Goat of Warding #5
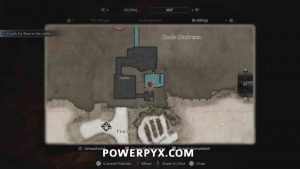
Castle Dimitrescu B1, Basement: After solving the statue puzzle, go down into the basement where this is immediately in front of you on the floor after you climb down the ladder.
Goat of Warding #6
Castle Dimitrescu RF, Attic: After solving the 5 Bells Puzzle and going through Lady Dimitrescu’s portrait, you climb a ladder up the attic. This is then directly behind you when you get to the top of the ladder.
Village 2nd Visit
Goat of Warding #7
Village 1F, Lone Road: When you encounter the first enemies after the Lady Dimitrescu boss fight, go down the wooden stairs on the left side to the draw bridge. Goat Collectible is under stairs.
Goat of Warding #8
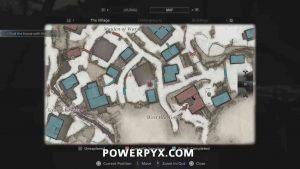
Village 1F, West Old Town: After using the Jack Handle (key item) to raise a tractor and then crawling under the tractor, you will soon encounter a new enemy type that looks quite big and has claws to attack. To the left of where you encounter this enemy there’s a gate with a padlock on it and a note on it says “Missing Owners”. Melee the padlock to open the gate and enter the yard. The goat is on the little roofing between the House with Missing Owners and the adjacent shack.
Goat of Warding #9
Village 1F, Graveyard: Go through the Iron Insignia gate in the northeast of the church yard, turn immediately right and this goat is between the crypt building and the wall on the ground.
Goat of Warding #10
Village 1F, Suspension Bridge: While crossing the wooden suspension bridge on the way to House Beneviento, look to the left to see another wooden bridge with a Goat on it.
House Beneviento
Goat of Warding #11
House Beneviento, Outside: When you reach the next story location “House Beneviento”, but before going inside, follow the front porch around to the left and down another set of stairs to a fenced area. The goat is just outside the fence.
Moreau Section
Goat of Warding #12
First Windmill: After you reach the Sluice Gate Control building (where a Duke Merchant is located), you will have to go to a Windmill. There’s a crank you can interact with here but it breaks off. Go around on the outside top deck of the windmill (where you can use the crank) to find the Goat Collectible sitting at the very end. Before entering the inside of the Windmill.
Goat of Warding #13
Switch Platform: While moving through the area avoiding Moreau as he swims around and tries to knock you off the floating platforms you reach the area with the three colored switches on it. Facing back the way you came, look out to the left to see the goat sitting on top of a pole sticking out of the water.
Goat of Warding #14
Village 1F, Moreau Area: After the Moreau boss fight, return to where you got in the boat earlier (the one that required the boat key and you drove around in it). The water is now drained where the boat was. Walk through the broken windmill there and turn left for a goat.
Village 4th Visit
Goat of Warding #15
Village 1F, Otto’s Mill: Head through the gate in the north-west of the village that requires the Six-Winged Unborn key. Then you will see a yellow sign “Good Luck”. Head left (don’t go up the stairs straight ahead). This will lead you to Otto’s Mill. Underneath the mill is a little shrine with a goat in it.
Stronghold
Goat of Warding #16
Stronghold B1: After having a large enemy encounter and fighting your way up the Stronghold, you will come to a spiral staircase leading down. At the bottom of the spiral staircase look to the right to find this goat (before pushing through a crack in a wall).
Factory
Goat of Warding #17
Heisenberg’s Factory B2, Ventilation Duct: You will get to a part where you start flying in the air because a ventilator blade is trying to suck you in (scripted part of story). Shoot the ventilator to not get shredded by it. In the same area, after you land on your feet, turn around and walk to the “balcony” (looks like a ramp with yellow excavator shovels). The goat sits here on the balcony, on one of the excavator shovels. It blends in quite well so listen for the sound it makes.
Goat of Warding #18
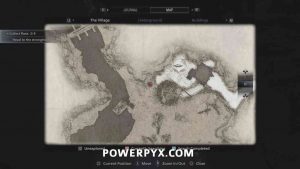
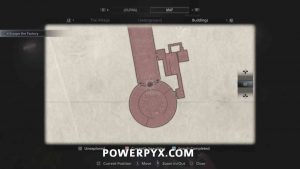
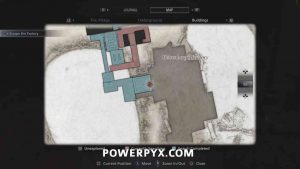
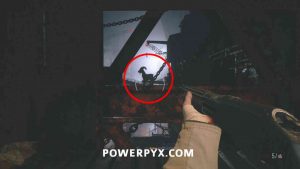
Heisenberg’s Factory, Merchant Elevator from B1 to B3: Enter the elevator where the Duke merchant is and take it from B1 to B3. Look in the direction where the elevator door opens to B1/B3. During the elevator ride the goat can be seen briefly on a red railing. Have your shotgun in hand to shoot it while the elevator moves, it’s only in view for about 2 seconds. You can just keep using the elevator as many times as you need to hit it. Note; if you forget this goat it can also spawn later when you drive a vehicle (artillery) into the elevator, then you can shoot it using the vehicle (same elevator, same goat, just at different points in the story).
Goat of Warding #19
Heisenberg’s Factory B1: In the room immediately after defeating Sturm (the propeller machine boss). There’s a part of a wall missing where you can crawl in to find the goat at the end. Just before going to the cargo bay.
After Heisenberg Boss Fight
Goat of Warding #20
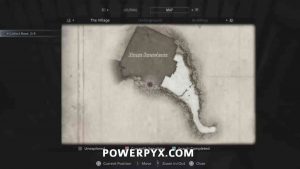
After the cutscene where Chris throws an explosive at megamycete (big fetus hanging from cave ceiling). There will be spikes in a dark corner, which you can’t walk past, but behind them in a pretty dark spot will be a woman statue and the goat sitting in front of it. Pretty hard to see because of the darkness. (No Map View available in this section)
After finding all Goats of Warding you will earn the Heretic trophy or achievement.
For all other Collectibles, check out the Resident Evil 8 Village Collectibles Guide.
For everything else, check out the full Resident Evil 8 Village Wiki & Strategy Guide.
















Leave a Reply